Looking to transform your IKEA furniture through the magic of paint? In this blog post, I’ll guide you through the step-by-step process of achieving a professional finish that not only adds a personalized touch but also withstands the demands of everyday life.
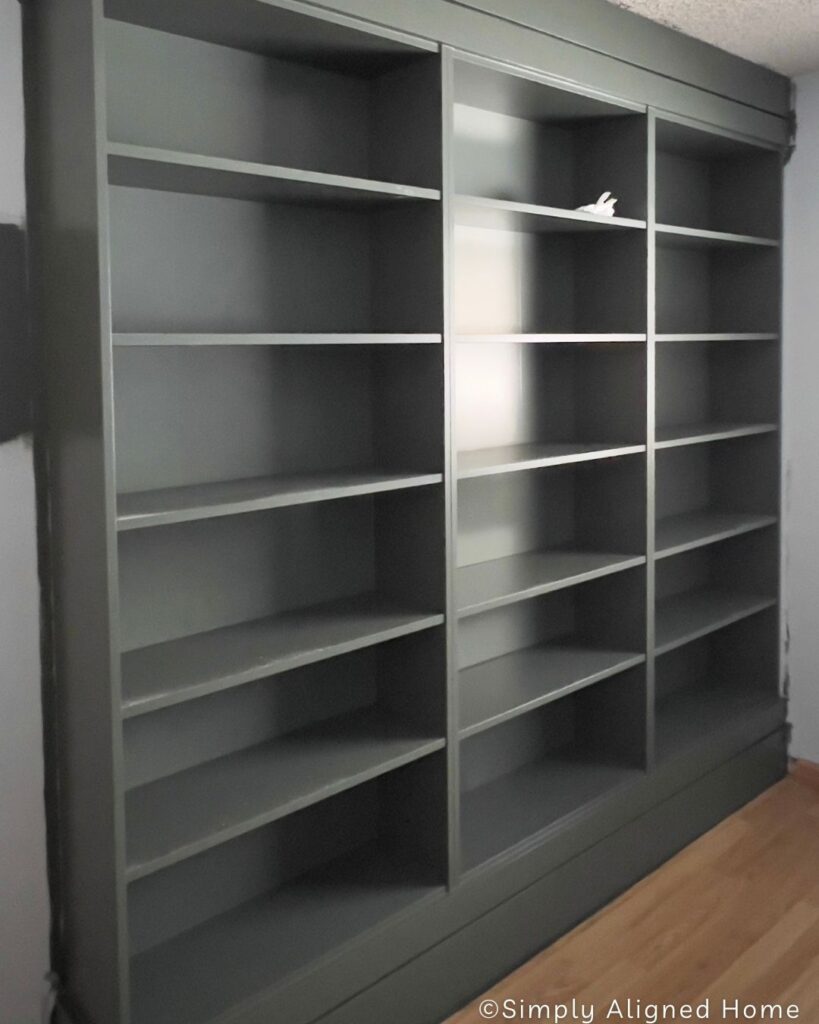
When it comes to painting IKEA furniture, I’m well acquainted! I appreciate the practicality of their Besta units and Pax systems. I enjoy giving these pieces a completely personalized touch, often involving a fresh coat of paint in a new color.
I’ve had a lot of people ask in the past how to get a professional finish on IKEA furniture that will last and withstand everyday life. It’s quite straightforward – just follow the steps outlined below, and you’ll be able to personalize your IKEA furniture with ease!
**This post contains affiliate links to products that I used or recommend. If you purchase something through an affiliate link, I may receive a small percentage of the sale at no extra cost to you. I really appreciate your support!**
Mastering the Art of Painting IKEA Furniture
Every step I share in this process is extremely important, be sure not to skip any steps to achieve a durable finish!
Lightly Sand And Remove Dust
First step to painting your IKEA furniture is to lightly sand your pieces. You can use a 220 grit sanding block or a palm sander. When sanding you want to just lightly run the sandpaper over the surface making sure to get in all the corners.
You simply wanted to scuff up the smooth surface. This will allow the primer to adhere better. Most IKEA furniture is made from fiber board with a durable exterior coating. Be careful not to damage the exterior surface when sanding.
After you have sanded everything you want to take a damp paper towel, rag or tack cloth to remove any dust that is left behind.
Apply Shellac Primer
My favorite shellac primer to use is Zinsser BIN primer. I have used many primers in the past and for me personally, this one has worked the best. I always apply my paint with my 1/2″ nap 4″ microfiber roller. Apply two thin even coats to all areas you plan to paint and let dry between coats.
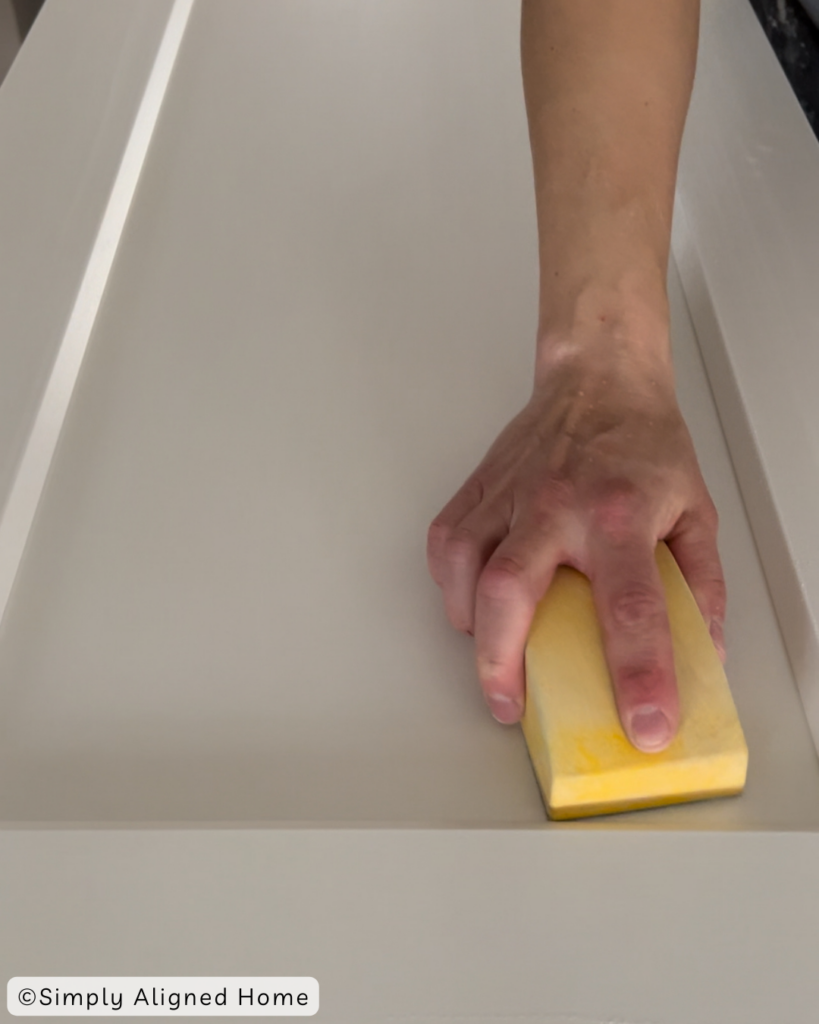
Once dry, you are going to give your furniture one last light sanding. You want to do this to get rid of any imperfections or brush marks that could have happened in the painting process.
Don’t forget to wipe your pieces clean with your damp cloth or tack cloth before your final step!
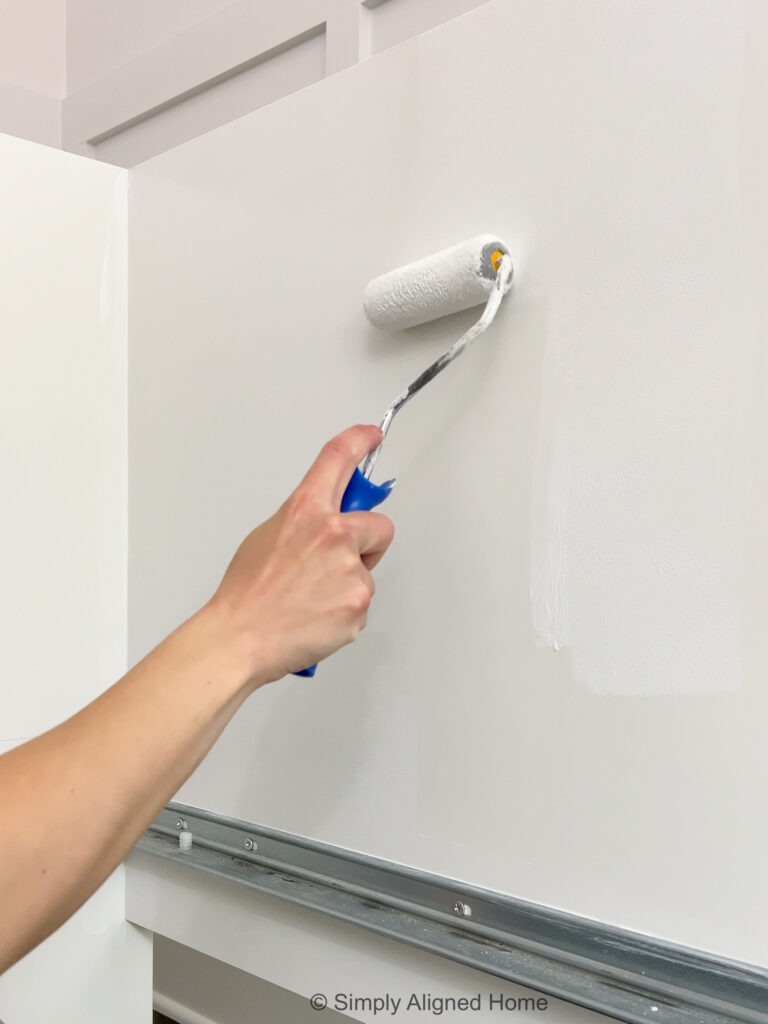
Apply An Enamel Paint To Your IKEA Furniture
The last and final step is to apply an enamel paint in your choice of color! There are tons of enamel paints out there but my go-to is Sherwin Williams Emerald Urethane Trim Enamel.
Sherwin Williams Emerald Urethane Trim Enamel is water-based and unlike conventional oil-based enamels, this paint is resistant to yellowing. It forms a durable finish that can endure frequent cleaning and can be used in high-traffic areas.
When painting my IKEA furniture, I always use my paint brush to paint in any corners first. Then, I come in with my 4″ roller and roll over the area to smooth out any brush marks that my brush could have left. I do that as a precaution but the enamel paint itself does have great self leveling properties to it!
Depending on your furniture pieces and color of choice you might have to do 2 coats. If you need more than one coat, make sure that your first coat is nice and smooth before applying the second coat. If it is not, do another light sanding using a 220 grit sand block. This will help the next layer of paint stick better and create a smooth finish in the end!
I hope this tutorial was helpful and encouraged you to tackle that IKEA project you have been wanting to get around too! For more tutorials on IKEA furniture you can check out a few of my favorite IKEA furniture hacks down below:
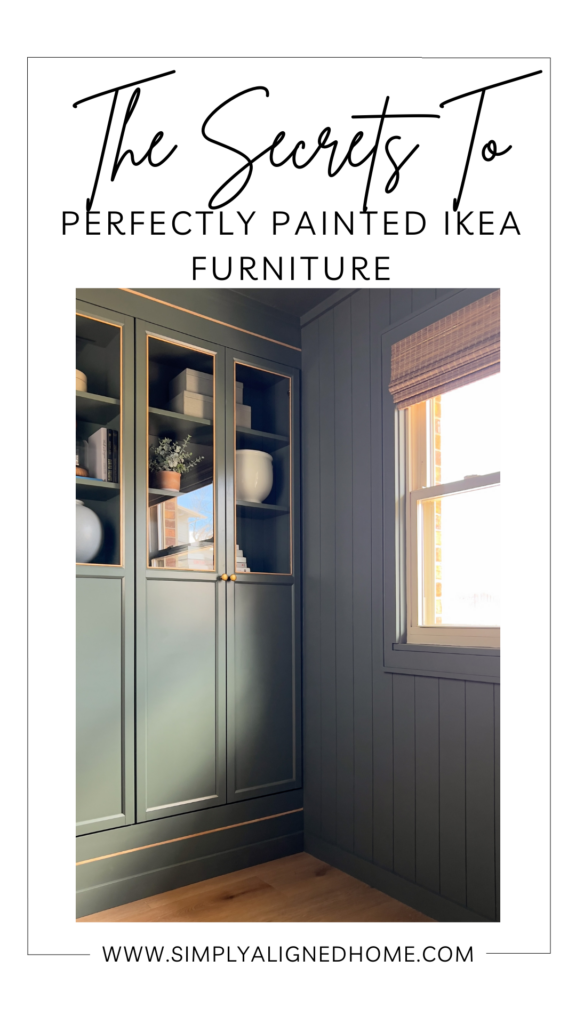
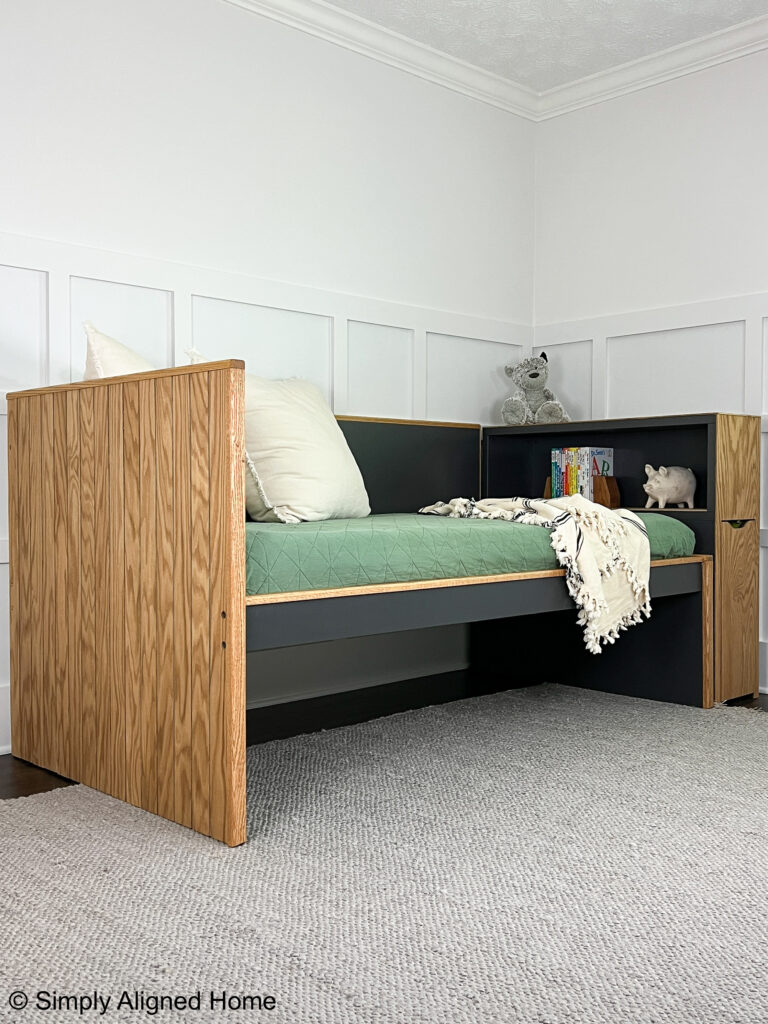
- IKEA HACK: Flaxa Bed Made Modern with Paint and Wood Accents
- IKEA HACK: SIMPLE CUBE STORAGE UNIT TURNED MID-CENTURY MODERN MARVEL
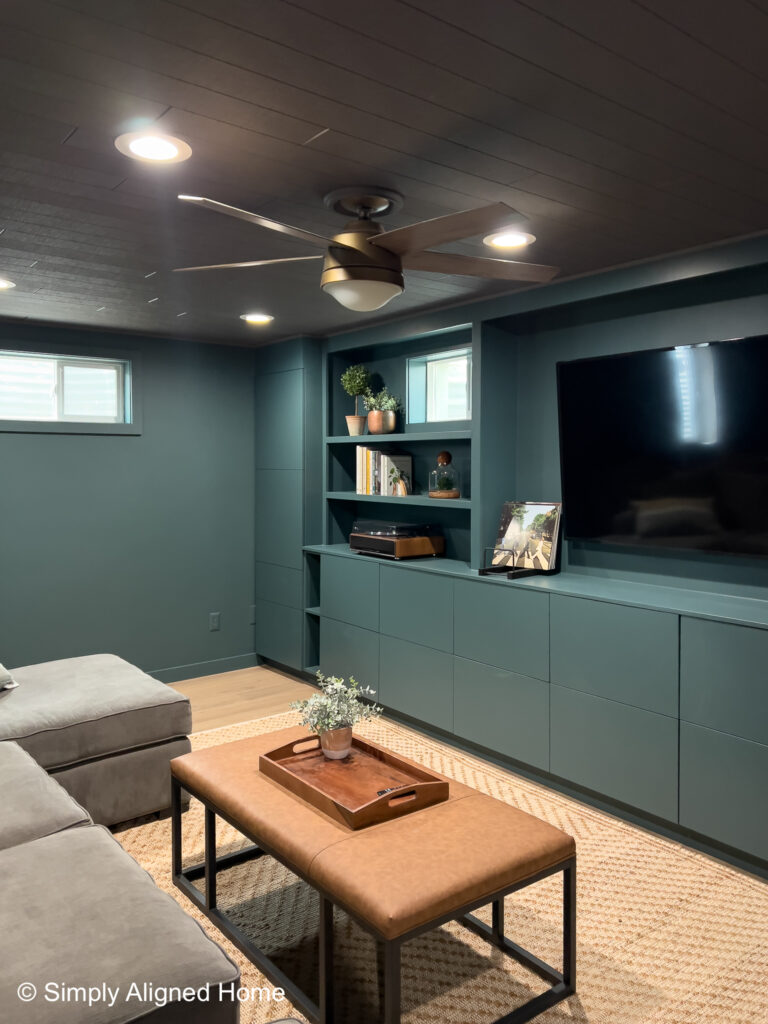
- IKEA HACK: SHIPLAP BUILT-IN BESTA UNIT

**Note: I am not a professional and do not claim to be an expert. Please be sure to always read instructions for all tools and products. Safety is very important and should be your top priority. Wear necessary protection when using tools (eye wear, hearing protection, gloves, etc.) and dust masks when sanding or cutting. Simply Aligned Home is not responsible for any injury or damage. All of my designs are not professionally designed and are for private use only.**
Materials Used
- Zinsser BIN Shellac primer
- Enamel Paint
- Paper Towel, Rag OR Tack Cloth
Tools Used