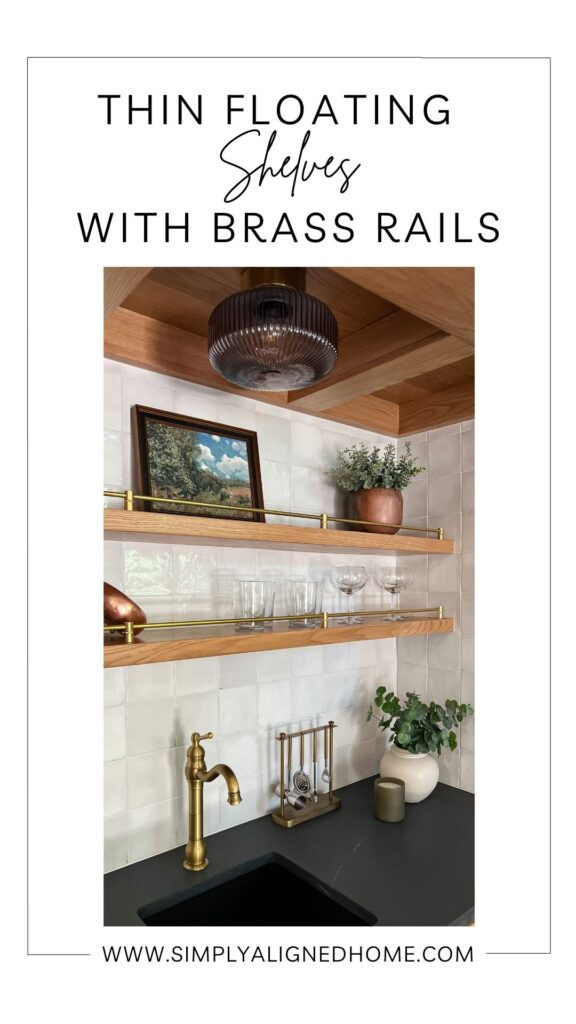
In this article, I’m going to show you how to make your own simple floating shelves with a modern brass railing. You can use these shelves to elevate any area where you want to put some open storage.
If you have been watching along on Instagram stories you would have seen me makeover our wet bar area. From demoing the old existing cabinet, to new countertops and even a new coffered ceiling I knew this space needed some thin floating shelves.
I have thoroughly enjoyed turning this house into a home that is more my style, and a place that the whole family can enjoy. If you are a beginner DIY-er, then this tutorial is for you. These floating shelf step-by-step instructions are quite simple to follow, even for the beginner woodworker!
**This post contains affiliate links to products that I used or recommend. If you purchase something through an affiliate link, I may receive a small percentage of the sale at no extra cost to you. I really appreciate your support!**
How To Make DIY Thin Floating Shelves
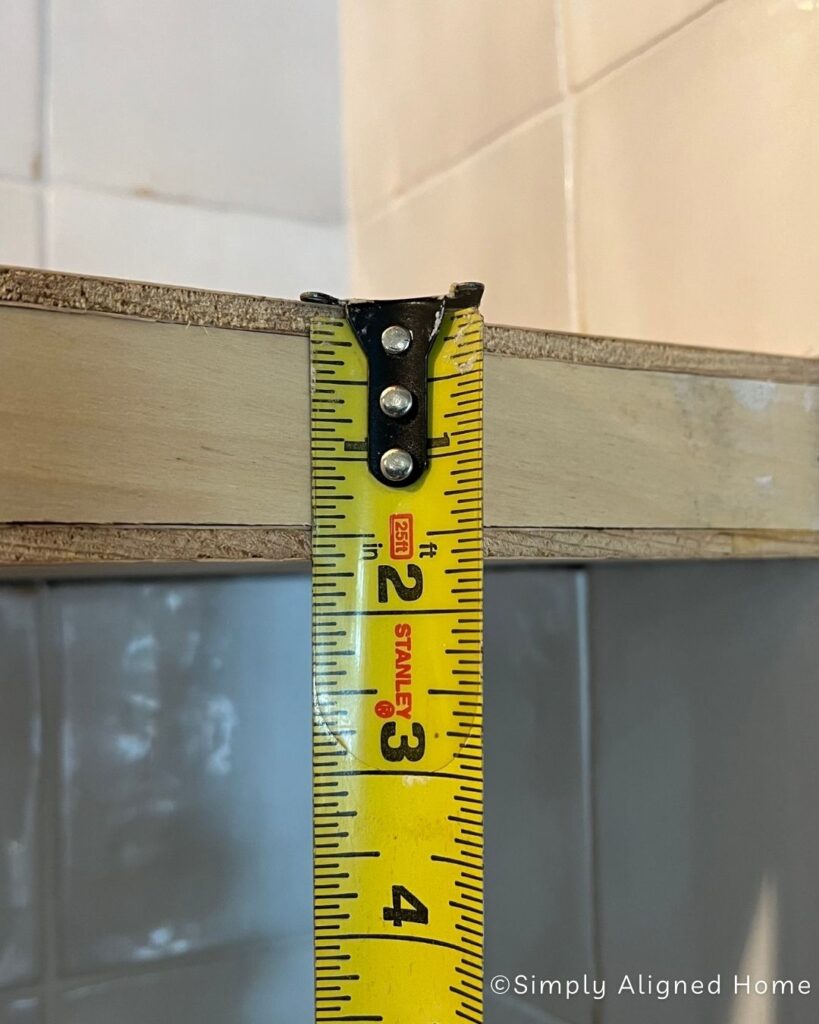
Step One: Measure And Cut Lumber To Size
Keep in mind you can use this tutorial for any size floating shelves. For our wet bar area I wanted to put two thin shelves up. So thin that I decided to rip down my own support frame boards instead of buying something pre-made at the hardware store.
I already had some poplar lumber on hand so I used my table saw to cut them down to the width of 1 1/8 inch pieces. Whatever length you decided to cut your pieces to, make sure that you have 2 pieces the length of your shelf and enough small pieces cut to the depth of your shelf. For my specific shelf I needed 7 center brace pieces.
Depending on how long or short your shelf is determines the number of braces you need to cut. If you plan on storing a ton of heavy items on your shelf, be sure to add more braces for more support.
Step Two: Assemble Floating Shelf Brackets
The next step, once you’ve cut all of your lumber to your preferred dimensions, is to construct your shelf brackets. First thing, is to form a rectangular box. Position the longest pieces at the front and back of the brackets, then secure the smaller braces in between. Refer to the photo below for a visual example.
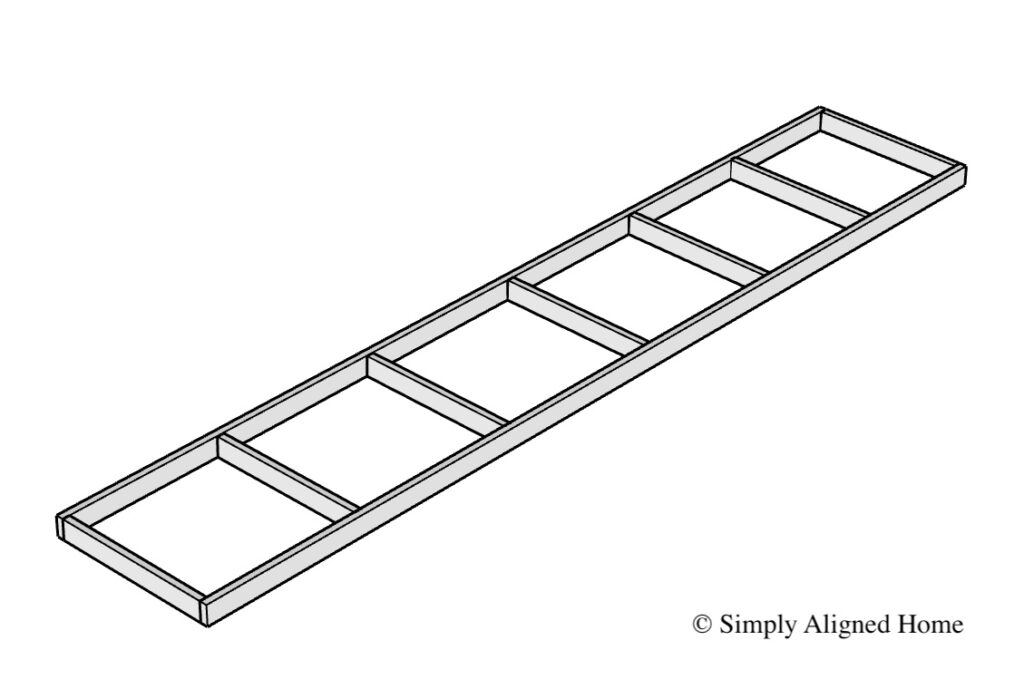
When assembling your floating shelf bracket use wood glue and countersink your wood screws. You want to make sure your screw heads don’t interfere with your face trim when you go to install it.
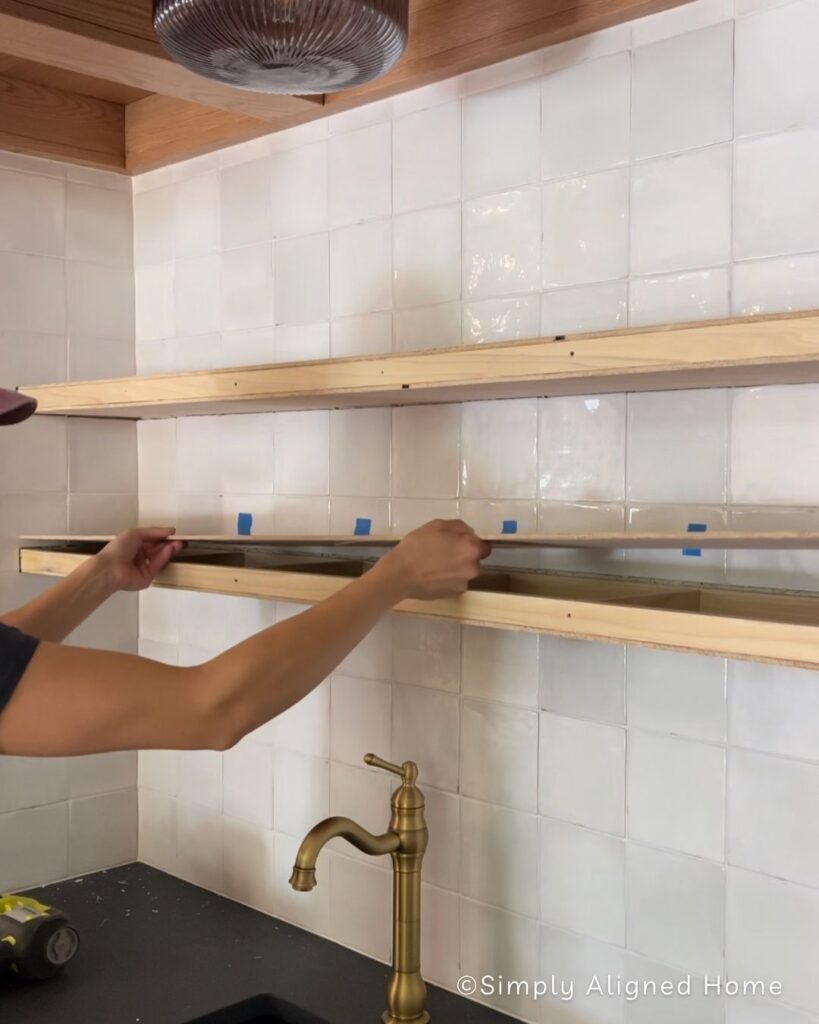
Step Three: Attach Floating Shelf Brackets To The Wall
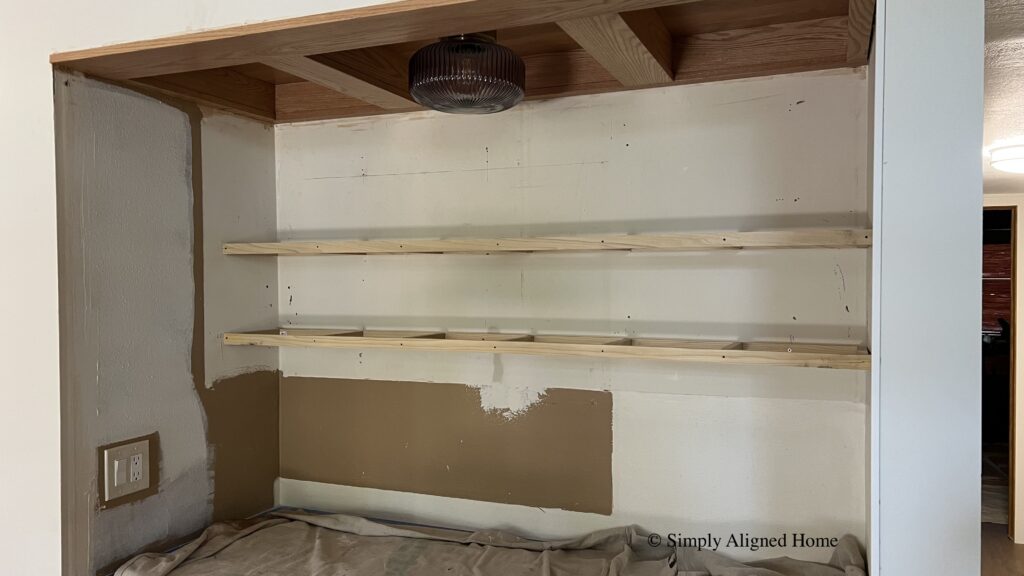
To attach the floating shelf brackets, you will need to locate all your wall studs on the back wall and side walls by using a stud finder. For the areas with no wall studs you should use wall anchors for extra support.
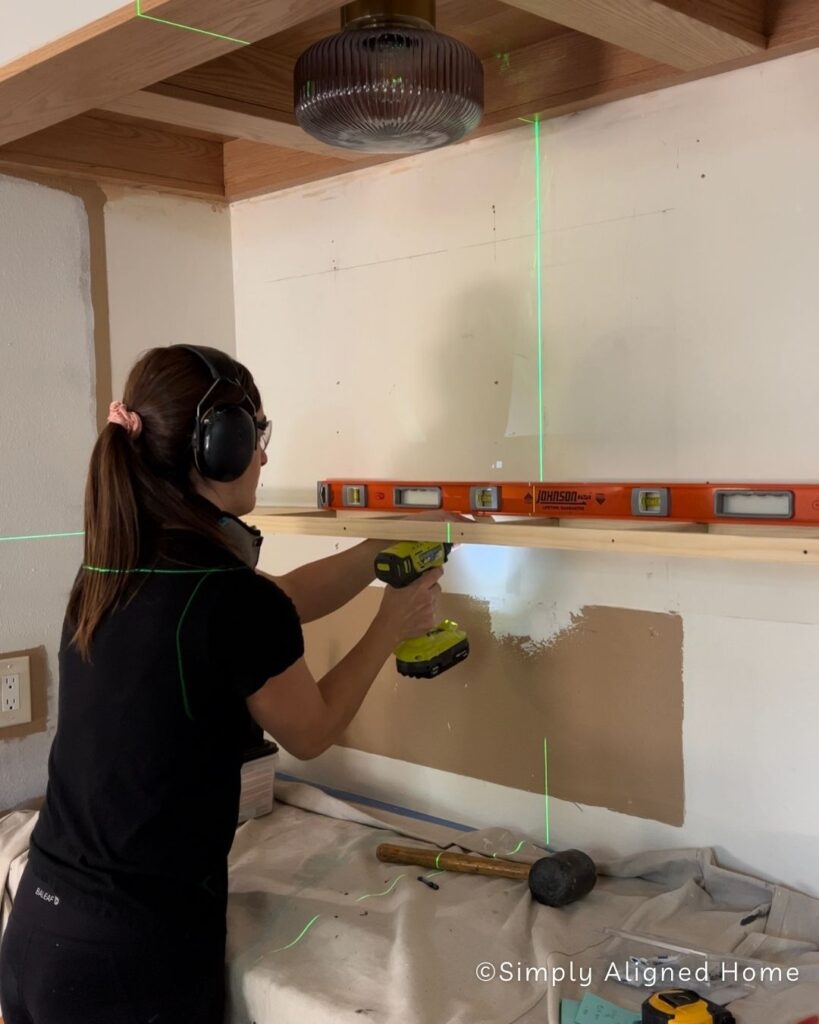
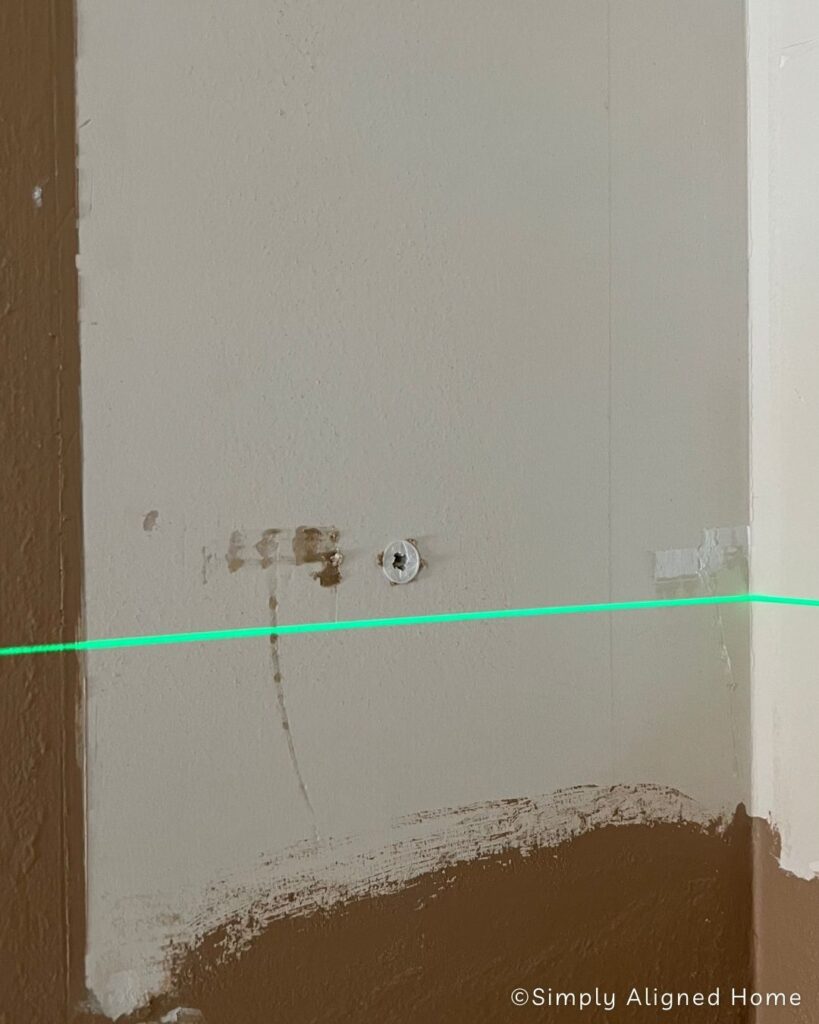
To ensure your shelves are straight and even, use both a laser level and a traditional level for precise measurements. Remember to frequently check the level while attaching the brackets, as screwing them in can sometimes cause the wood to shift up or down during installation.
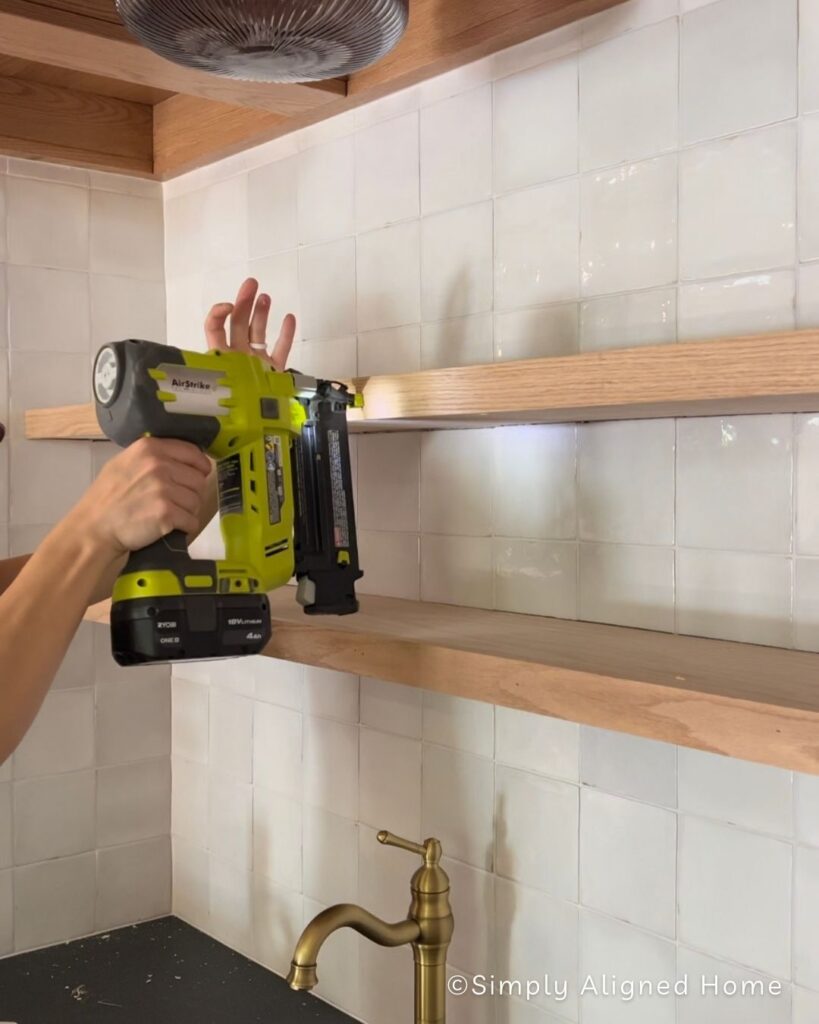
Step Four: Install Shelf Lumber
I wanted my floating shelves to be sleek and slim, so I opted for 1/4-inch oak plywood. Using my table saw I cut two pieces from my plywood sheet for each shelf. I secured the top piece with brad nails and attached the bottom of the shelf using wood glue and more brad nails.
For the front board of the shelves I used a solid piece of oak and nailed that to the front of the bracket.

Step Five: Fill Holes, Sand, Stain And Seal Shelves
Once, all your boards are nailed and glued on you will need to fill and sand all the nail holes. When that is all done your shelves will resemble solid oak wood!
I used my favorite Behr paint stain combo on our floating shelves: 1 part Golden Pecan, 1 part White Wash Pickling and 1/2 part Early American. I’ve discovered that using an old baby sock is a fantastic way to apply the stain!
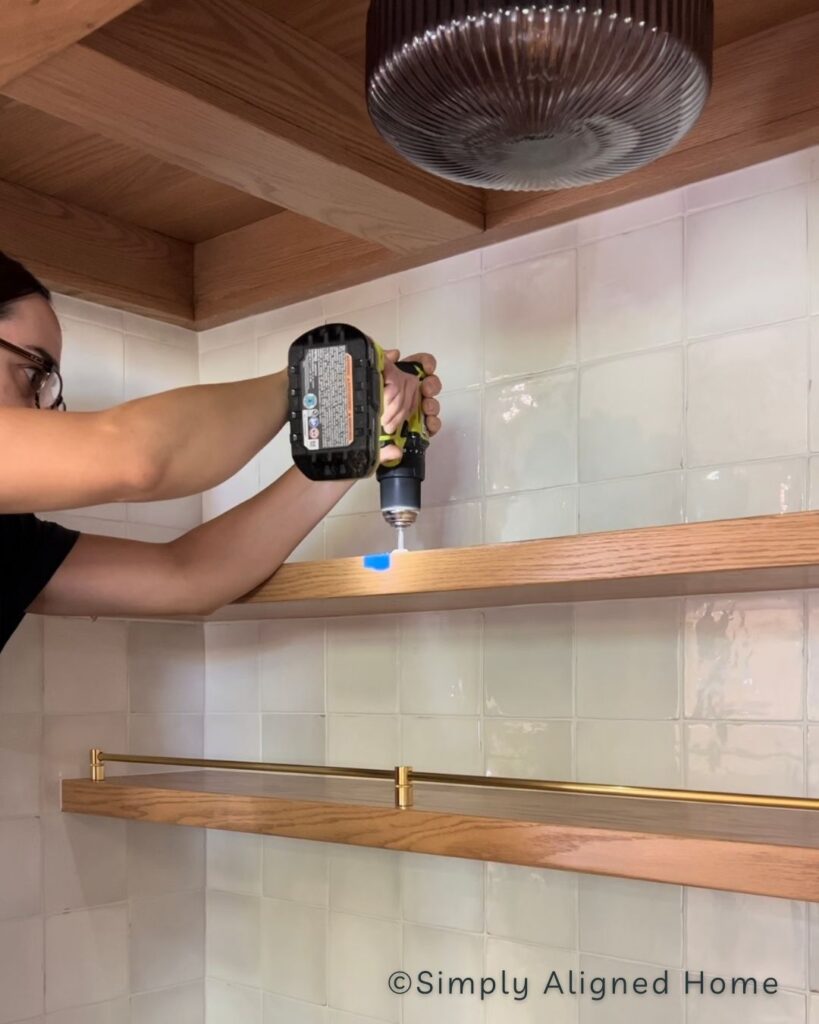
Step Six: Add Brass Shelf Railing
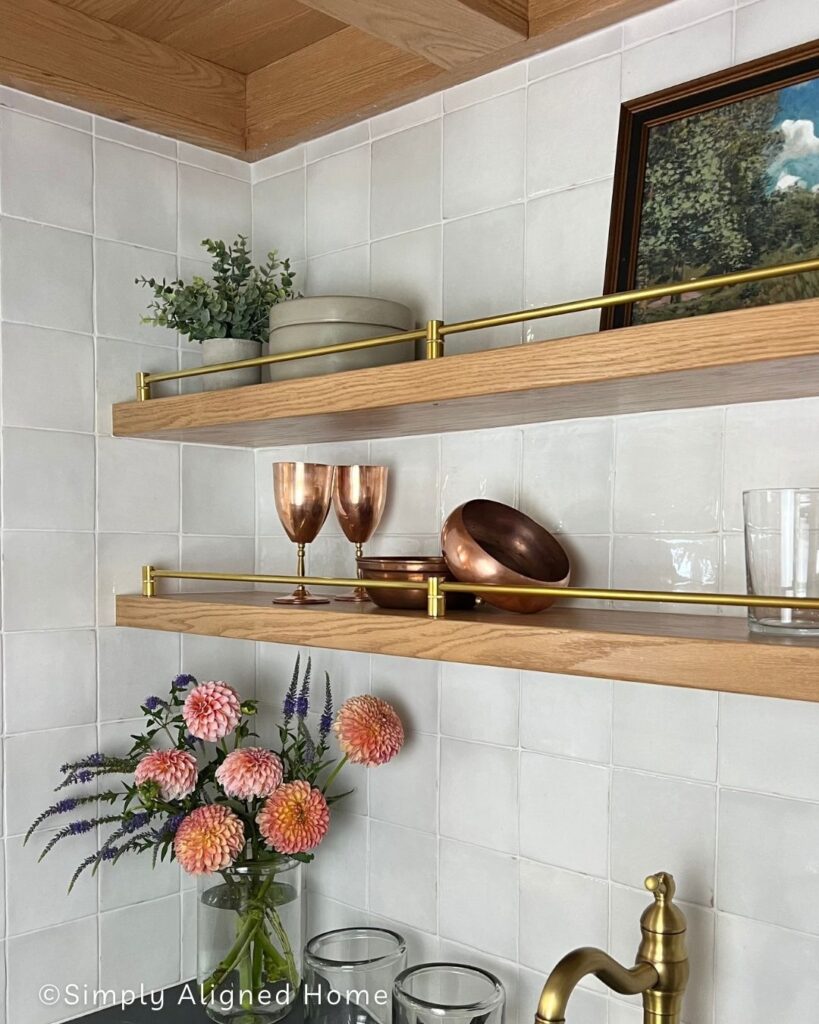
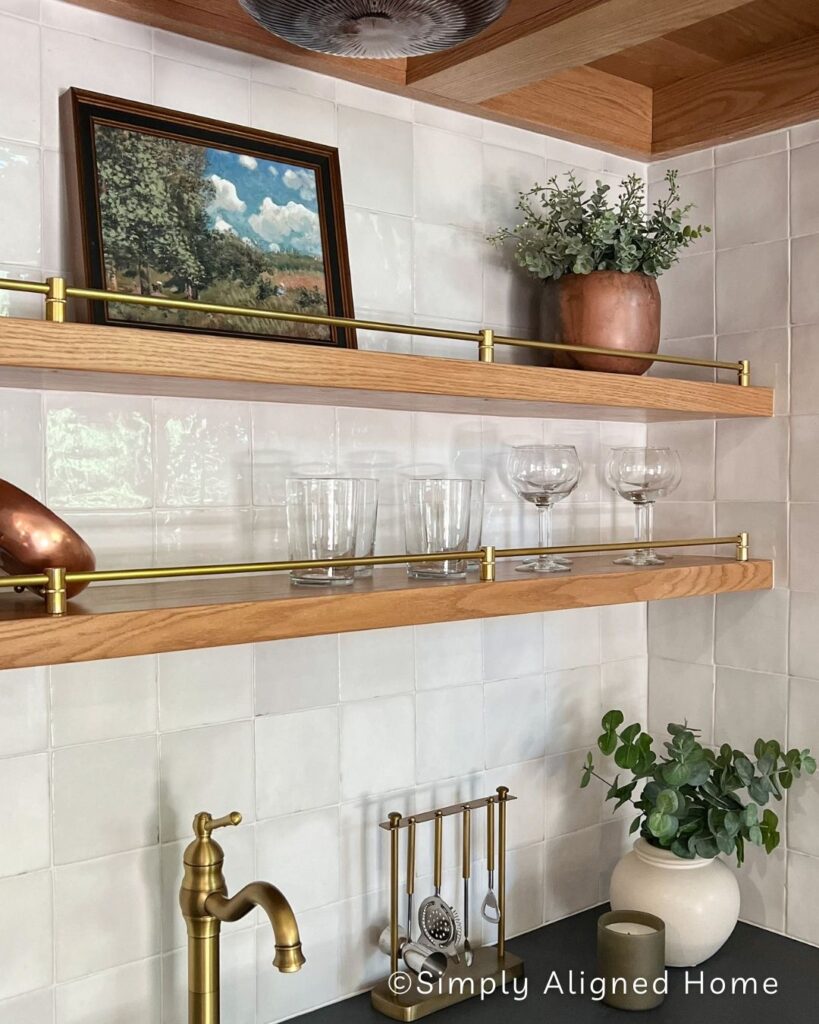
Now, for the finishing touches! I decided to add a modern brass gallery shelf rail to each shelf. I found the perfect shopify store called Pepe & Carols Handmade that sold exactly what I was looking for. Their shelf rails come in two different finishes and they have tons of rod length choices and posts to choose from.
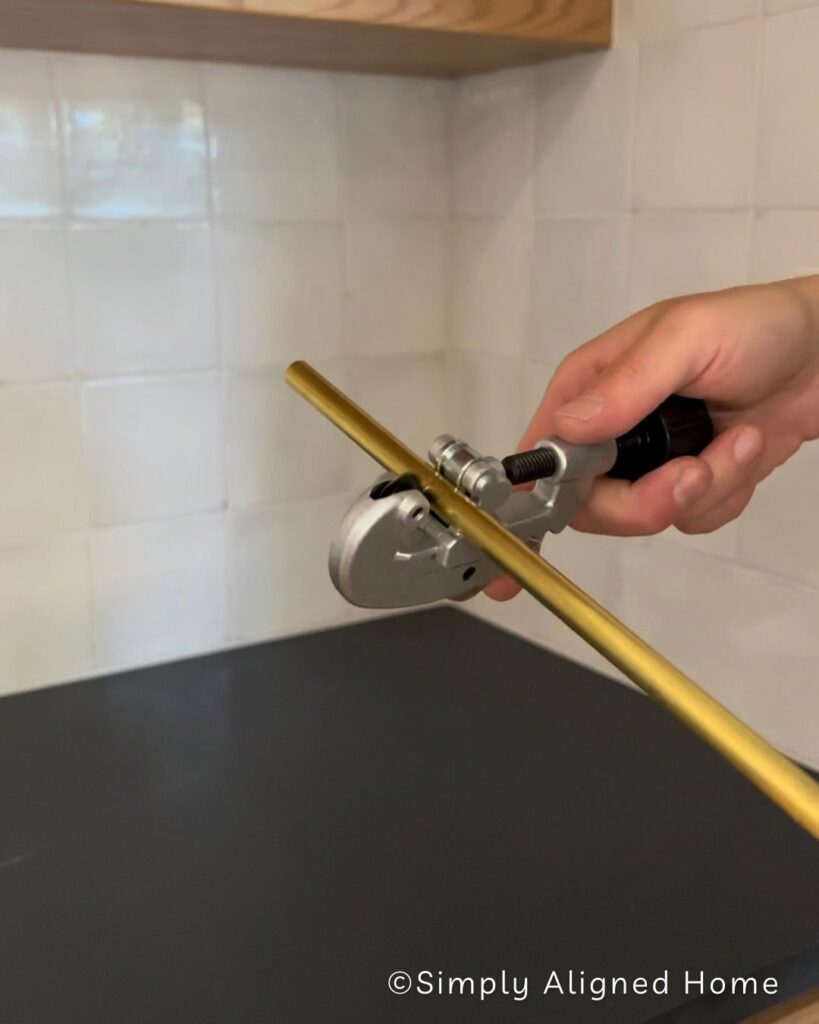
To trim the rods to the right size, I got a pair of pipe cutters, which made the task much simpler. To fasten the posts, I drilled holes through the shelves and used a countersink bit to conceal the screw head. The attachment involves screwing up through the shelf’s bottom into the post.
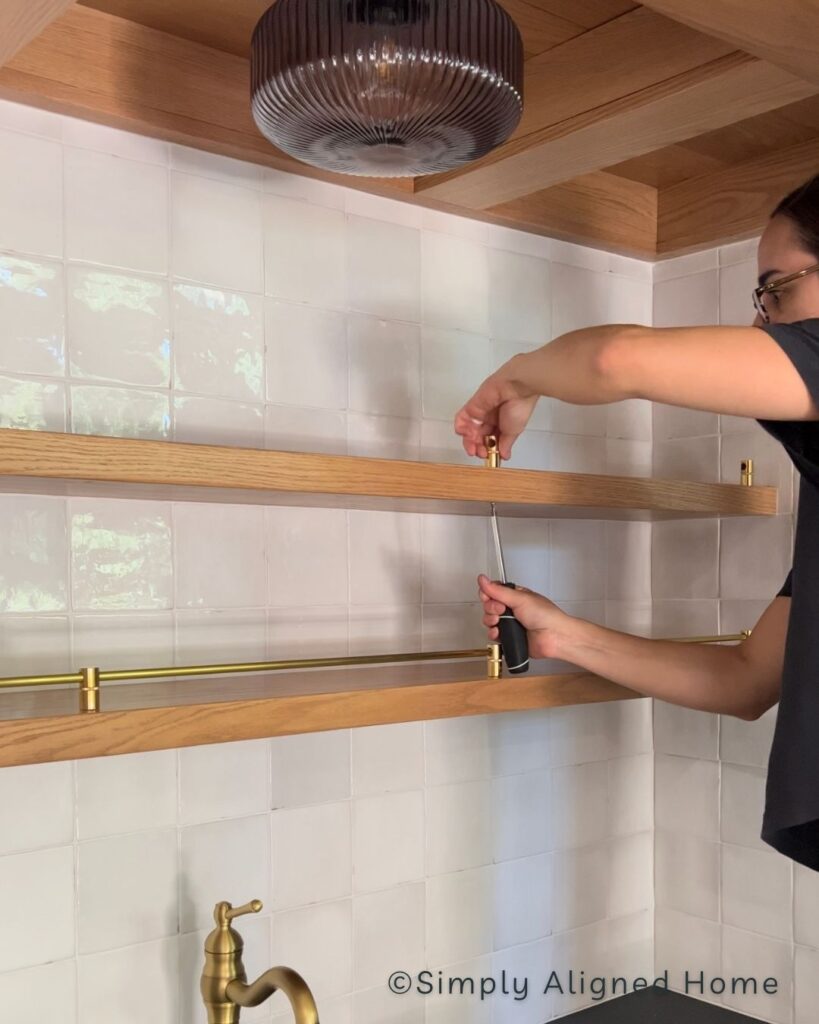
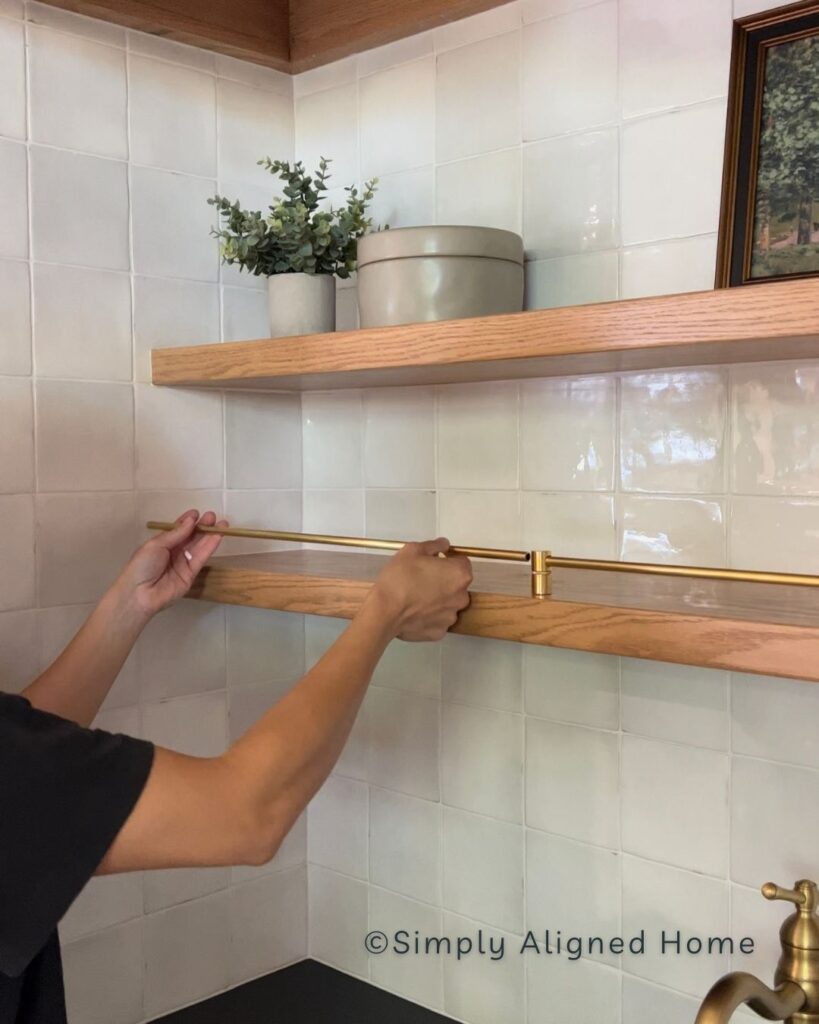
For my specific shelves, I employed two rods for each shelf, ensuring that all the cuts are neatly concealed inside the post.
I’m completely thrilled with the outcome of our slender floating shelves. Our wet bar space has undergone a remarkable transformation. It feels so warm and inviting with its beautiful blend of oak and brass accents!

**Note: I am not a professional and do not claim to be an expert. Please be sure to always read instructions for all tools and products. Safety is very important and should be your top priority. Wear necessary protection when using tools (eye wear, hearing protection, gloves, etc.) and dust masks when sanding or cutting. Simply Aligned Home is not responsible for any injury or damage. All of my designs are not professionally designed and are for private use only.**
Materials Used
- 1/4 Inch Red Oak Plywood
- Wood For Shelf Frame
- Solid Red Oak Board For The Fronts of The Shelves
- Modern Brass Gallery Shelf Railing
- Wood Filler
- Wood Glue
- Brad Nails
- Construction Screws
- Wall Anchors
- BEHR White Wash Pickling Stain
- BEHR Early American Water Based Stain
- BEHR Golden Pecan Water Based Stain
- Water Based Polyurethane
Tools Used
- Stud Finder
- Laser Level
- Level
- Miter Saw
- Table Saw
- Nail Gun
- Palm Sander
- Pipe Cutter
- Impact Driver & Drill
- Countersink Bit
- Measuring Tape