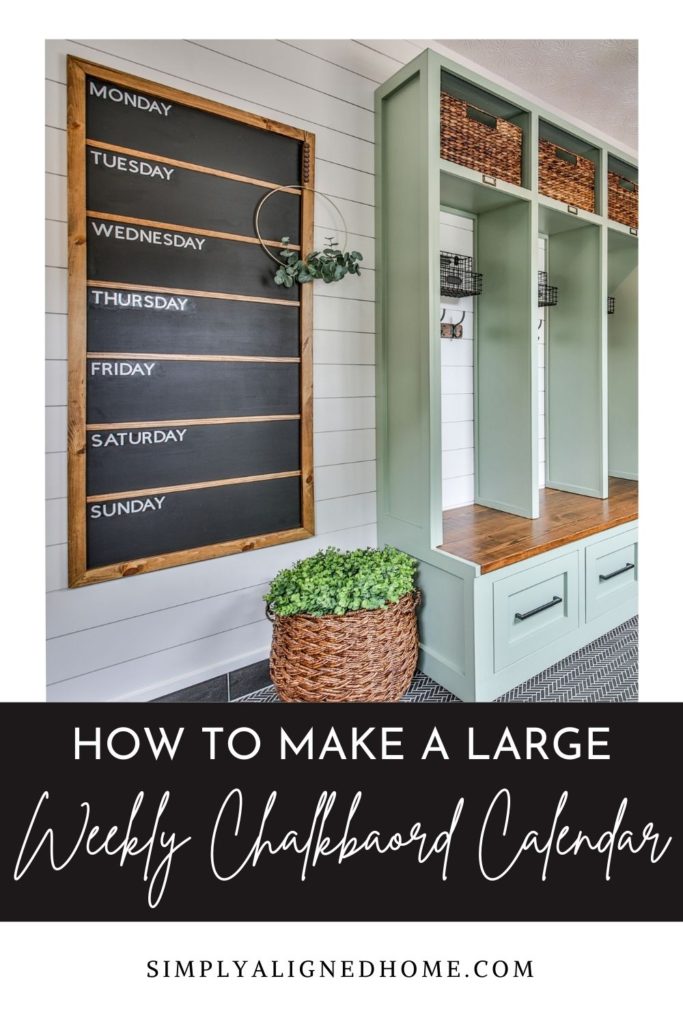
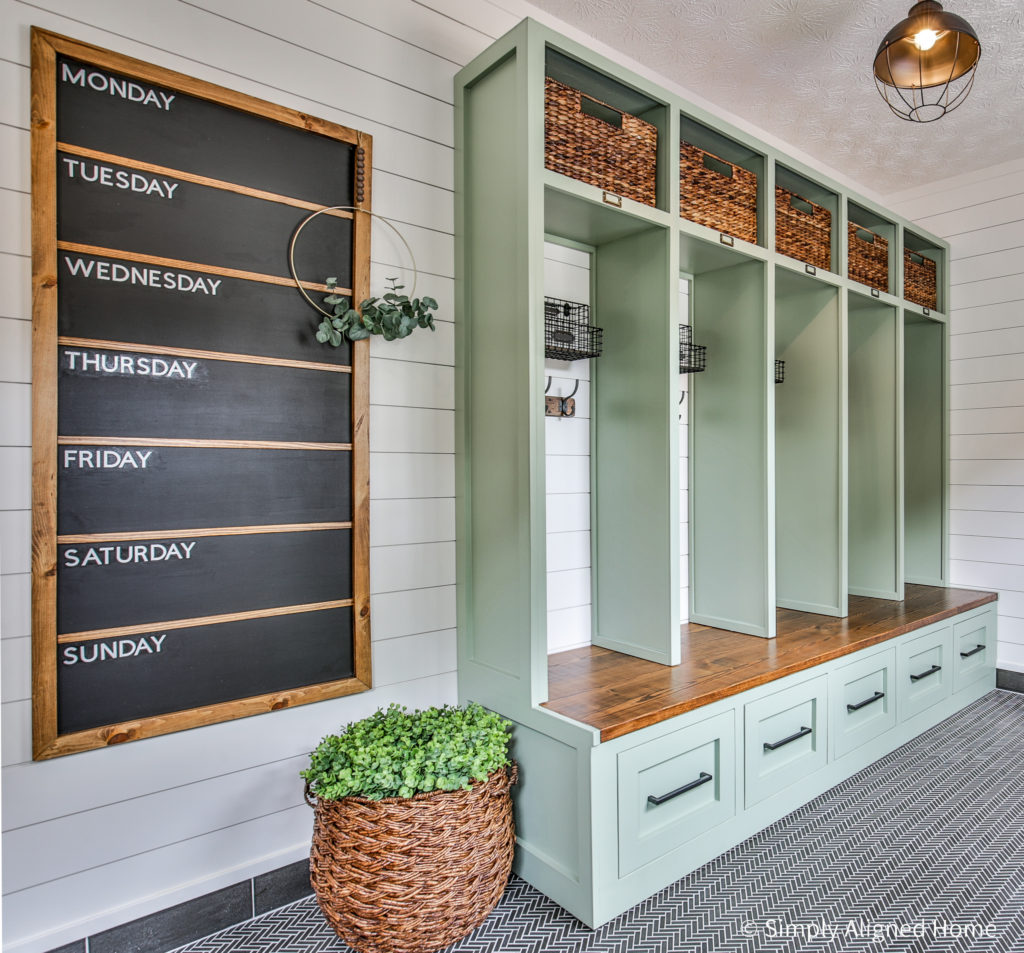
Functional home decor is the best…especially when you are a busy family! I am a huge fan of large pieces of decor that not only makes a statement, but also makes life easier. This DIY weekly chalkboard calendar was the best addition to our mudroom!
**This post contains affiliate links to products that I recommend. If you purchase something through an affiliate link, I may receive a small percentage of the sale at no extra cost to you. I really appreciate your support.**
Materials + Tools
Below are the materials and tools that I used to create the weekly chalkboard calendar:
- 2′ x 4′ x 1/4″ Plywood
- 1″ x 2″ Pine Common Board
- 1/4″ x 3/4″ Solid Pine Screen Molding
- Wood Glue
- Finish Nailer + Finishing Nails
- Primer
- Flat Black Paint
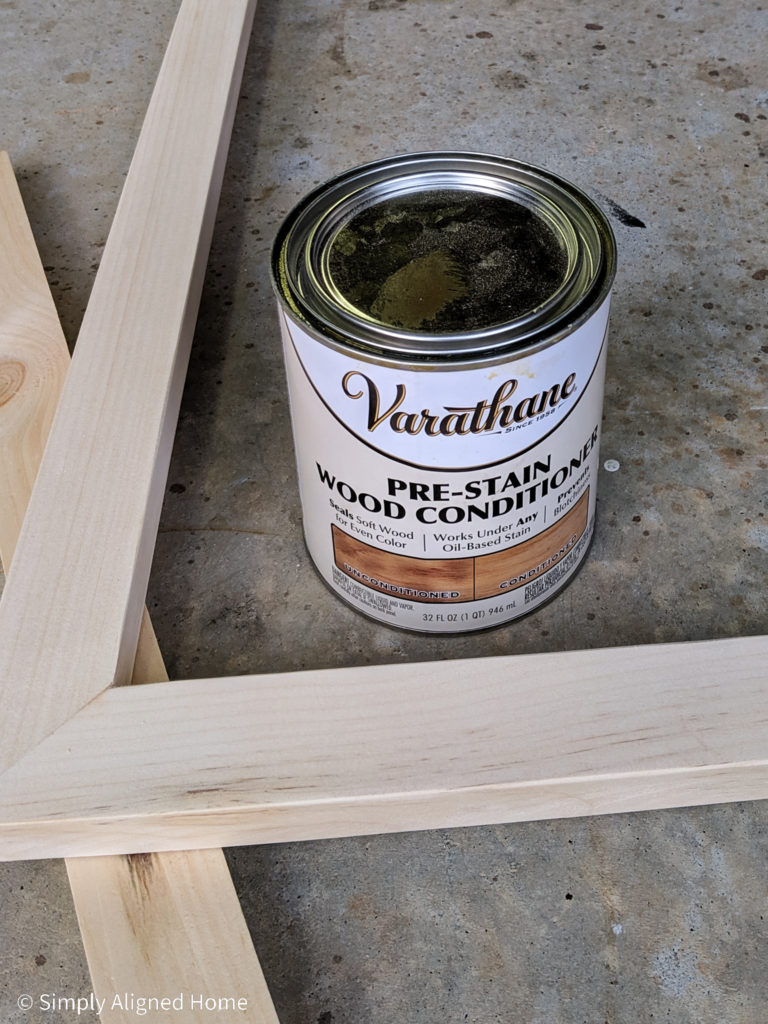
- Pre-Stain Wood Conditioner
- Special Walnut Wood Stain
- Construction Adhesive + Caulk Gun
- Cricut + Vinyl
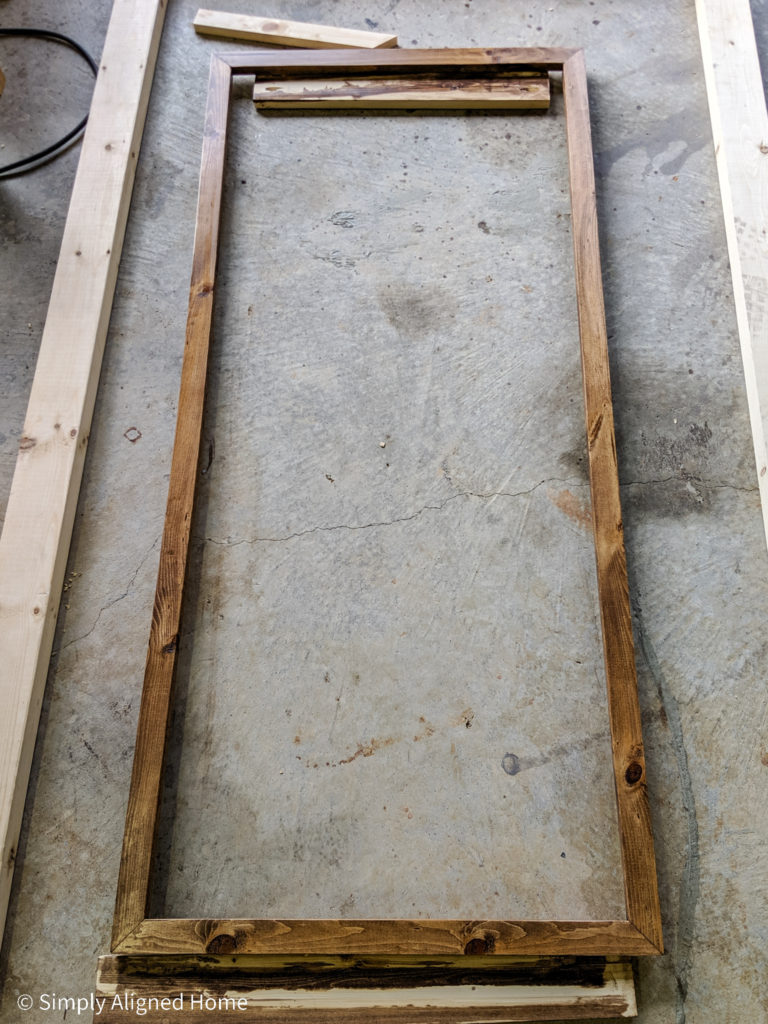
Make the Frame
I started by making the frame for the weekly chalkboard calendar. The inside of the frame should be slightly smaller than the outside of the plywood.
I used 1″ x 2″ Pine Common Board for the frame. To make it look nice and clean, I mitered the corners (cut them on a 45 degree angle). I used wood glue and finishing nails to secure the wood together at the corners.
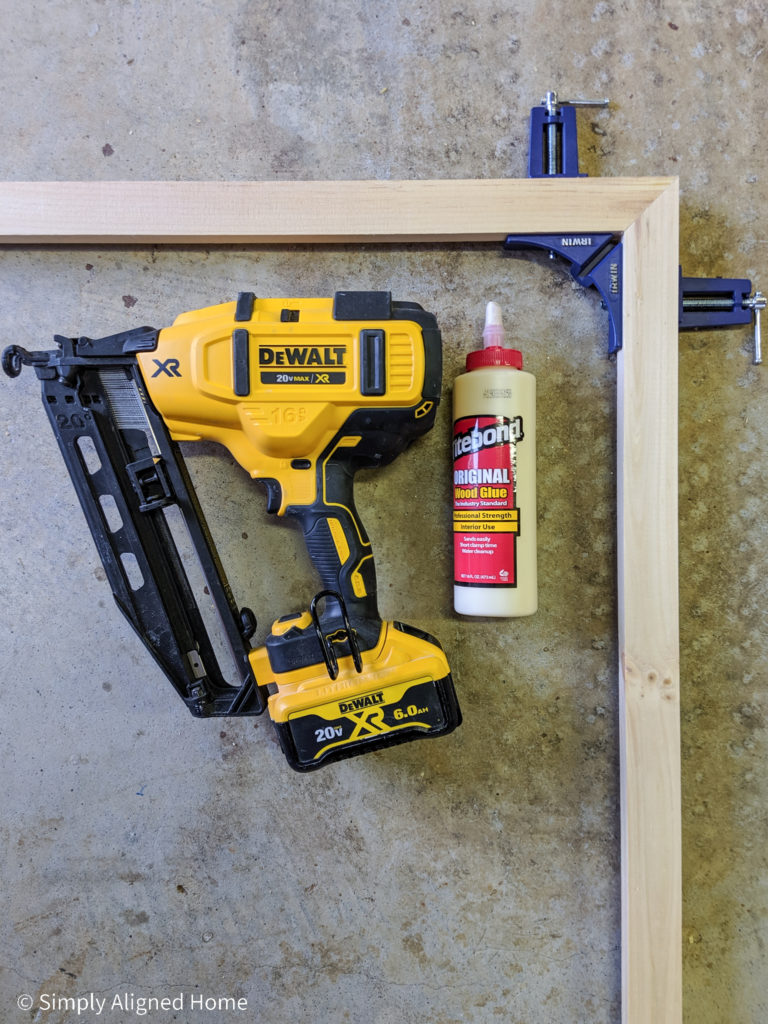
If you plan on making frames or drawers, I highly recommend that you get at least two of these corner clamps! They are a game changer!!
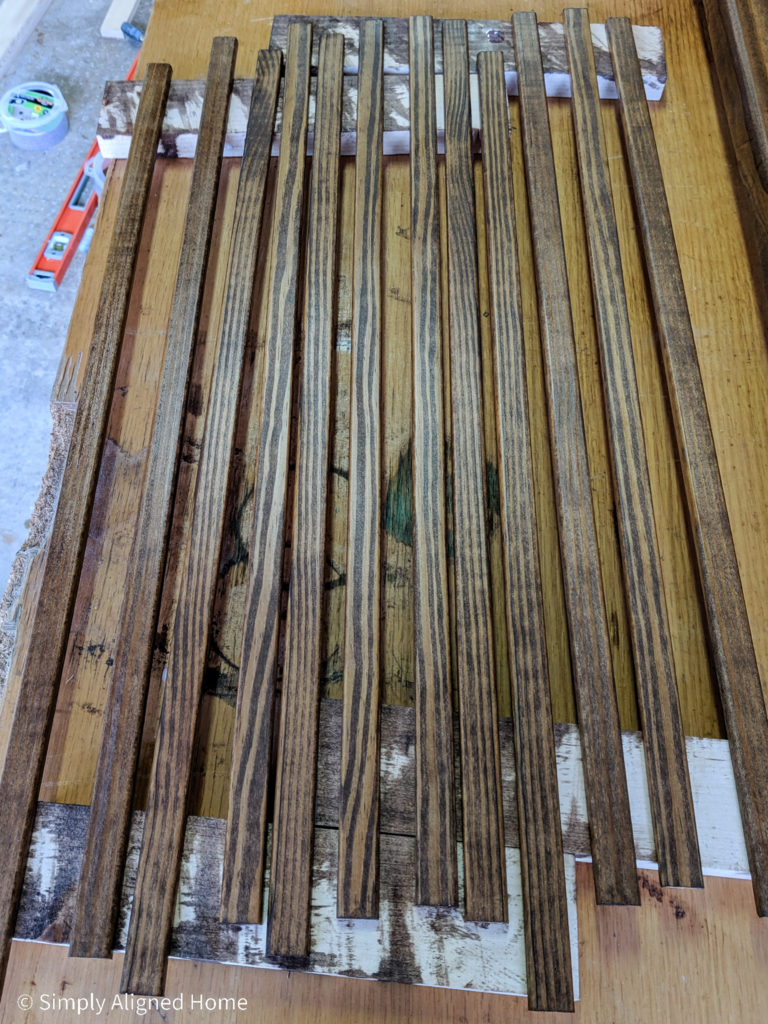
Cut the Wood Lines
For the lines to separate the days, I used 1/4″ x 3/4″ Solid Pine Screen Molding. I cut them the same length as the inside of the frame.
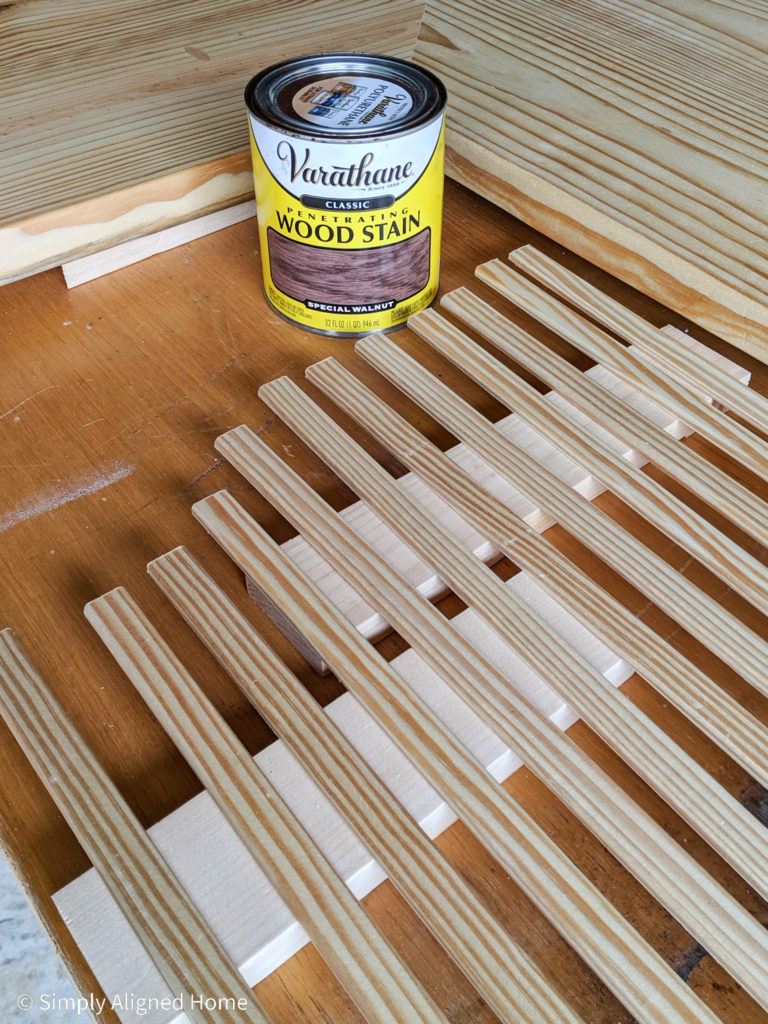
Stain the Frame + Lines
I decided to stain the frame and lines…you could easily change it up by painting them instead.
As with all of my stain projects, I started by using a pre-stain wood conditioner on the frame and lines.
Once the conditioner was dry, I stained them using special walnut color stain.
Paint the Plywood
The plywood will be used as the chalkboard. I applied one quick coat of primer to the plywood before I painted it black.
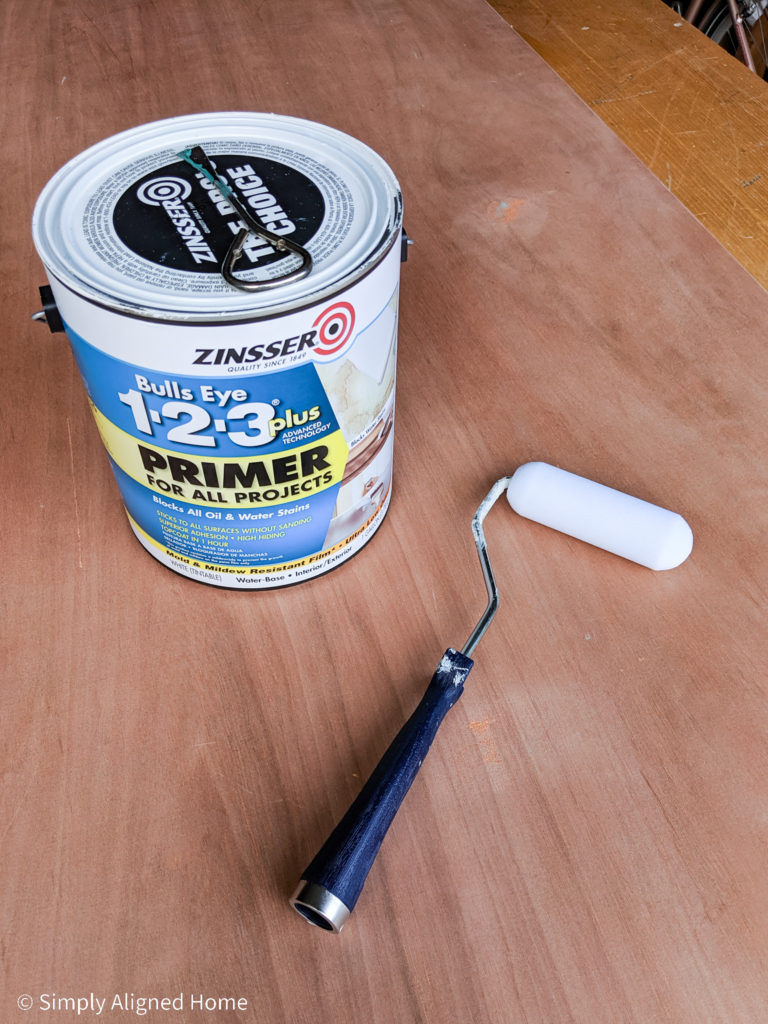
Instead of buying chalkboard paint, I chose to use flat black paint that I already had on hand! I’m all about using materials that I already own. Just two quick coats of the black paint and I had a chalkboard!
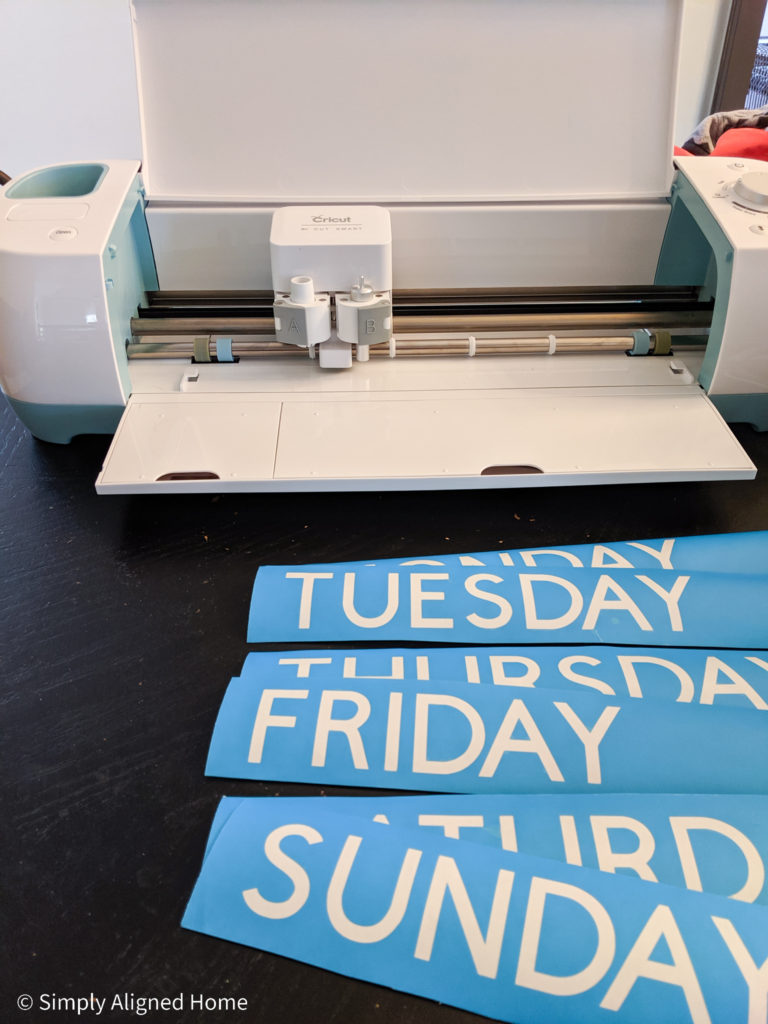
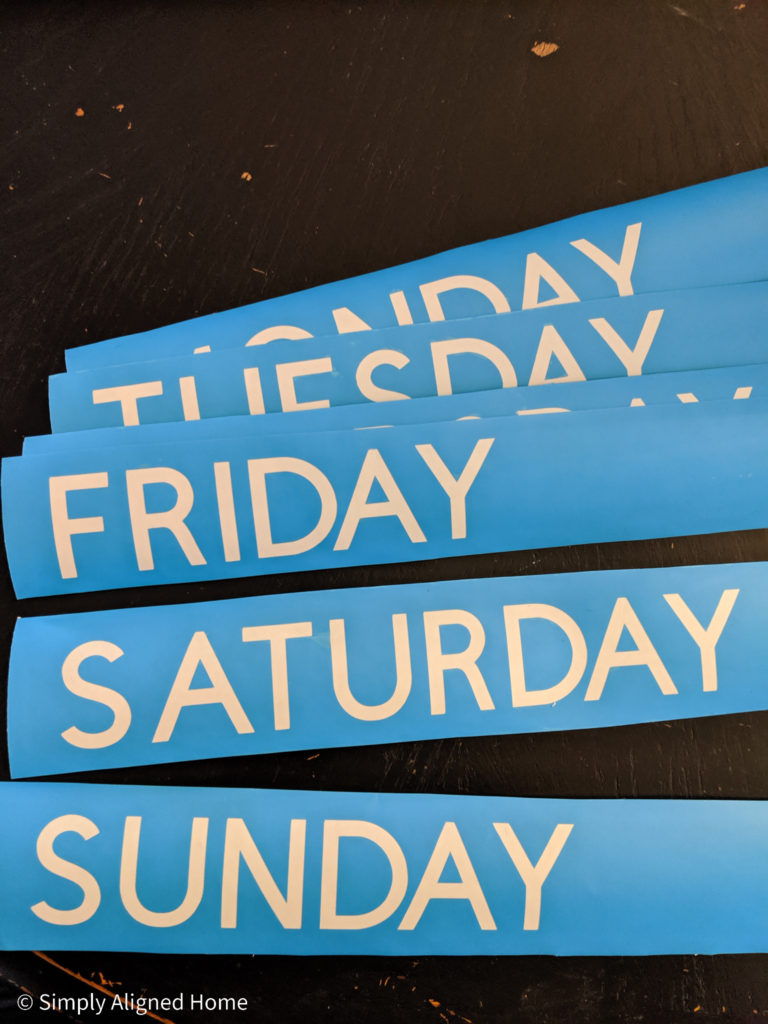
Cut Out the Days of the Week
I used my Cricut to cut out the days of the week for the weekly chalkboard calendar using a white adhesive vinyl. I considered using a white paint pen to write them instead, but this was much easier.
Assemble the Chalkboard Calendar
The first step to assembling the calendar is to attach the frame to the chalkboard. I did this by applying a small bead of construction adhesive to the back side of the frame. I then laid the chalkboard face down on the frame. I used some small nails and a hammer to secure the chalkboard to the frame.
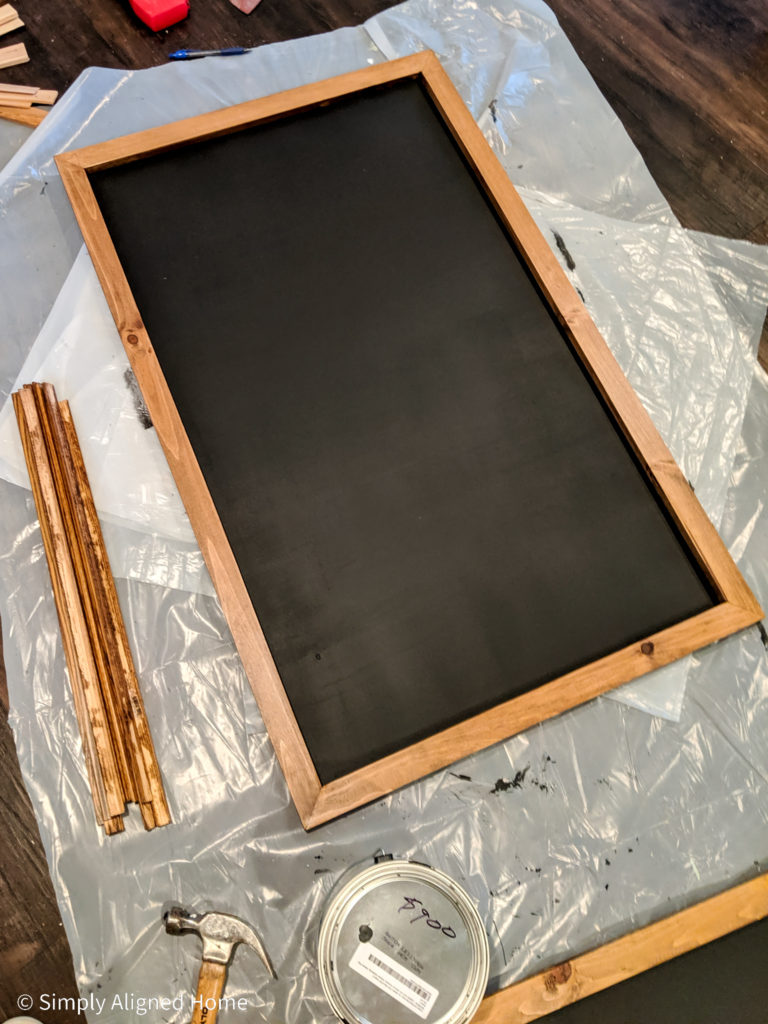
Once the frame was attached, it was time to add the lines to separate the days. I spaced them evenly on the chalkboard and secured them using construction adhesive.
Add the Days of the Week
The final piece was adding the days of the week to the chalkboard calendar. I used transfer paper to put them on the chalkboard.
I made sure to space them evenly from the left side of the frame and down from the frame above the letters.
Hang the Calendar
Since I knew we would constantly be touching the weekly chalkboard calendar, I did not want to hang it with any standard picture hanger. Instead, I decided to use four screws to secure each corner to the wall. I just screwed straight through the chalkboard (not the frame) into the shiplap. I used black screws so they would blend in with the chalkboard.
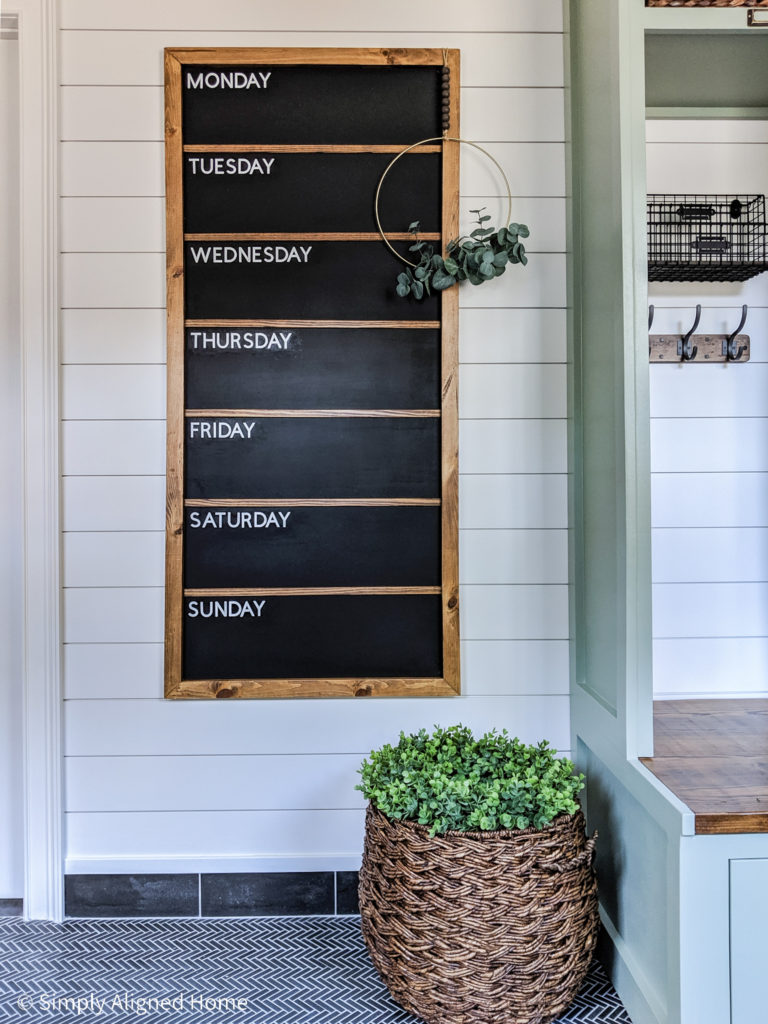
Done! We now had a massive weekly calendar to help keep our life in order!
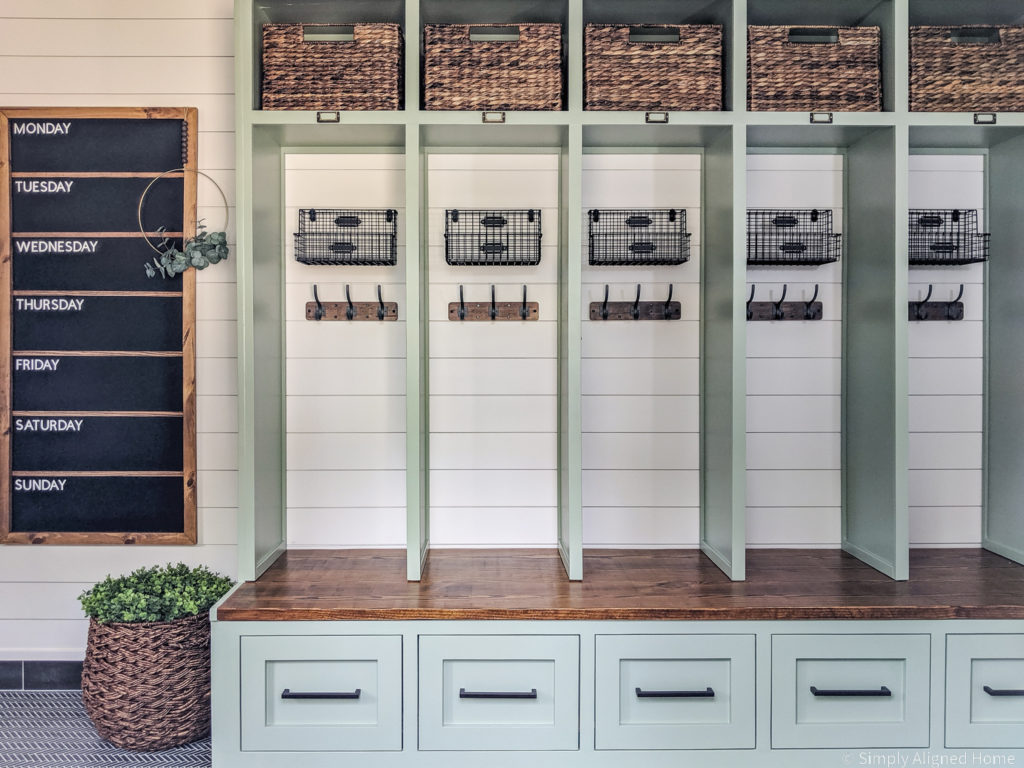
I hope you too can find just a little bit of organization with a weekly chalkboard calendar like this one! Be sure to check out how to easily make the modern wreath that I have hanging from it as well!