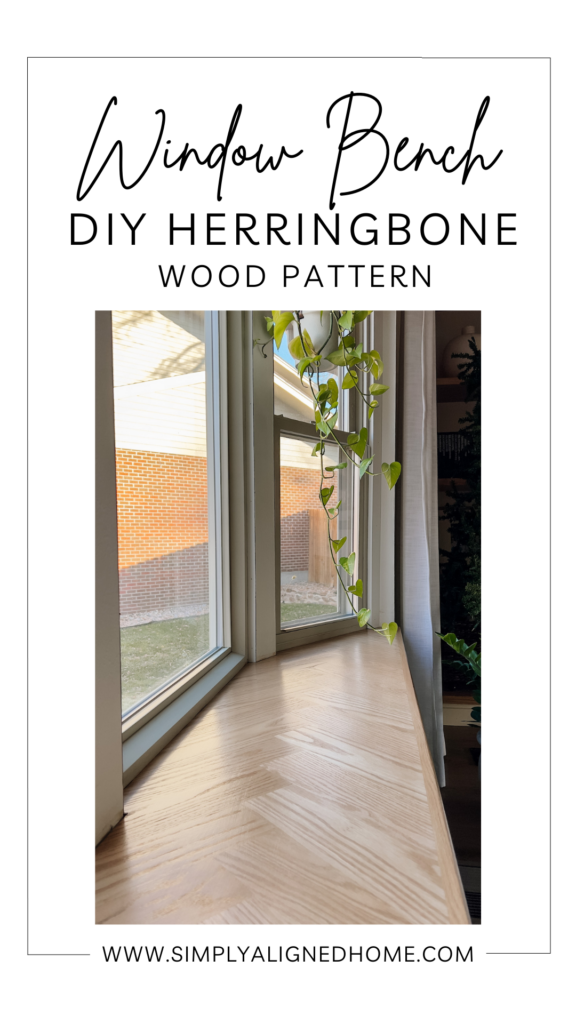
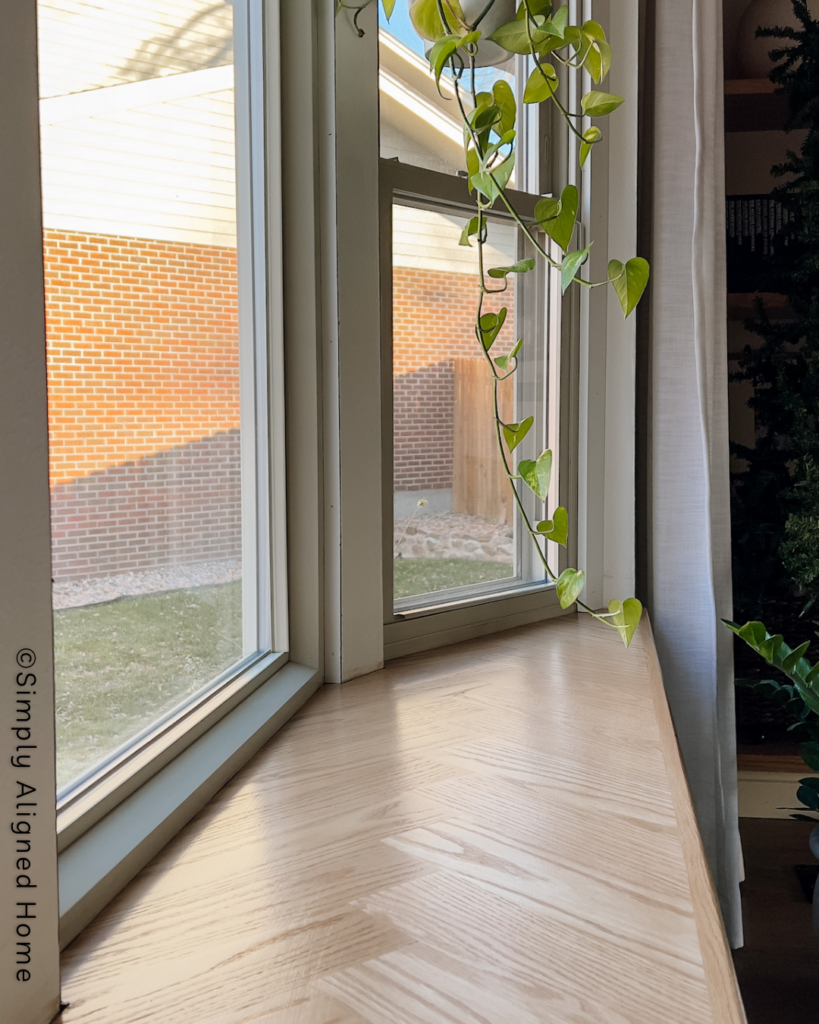
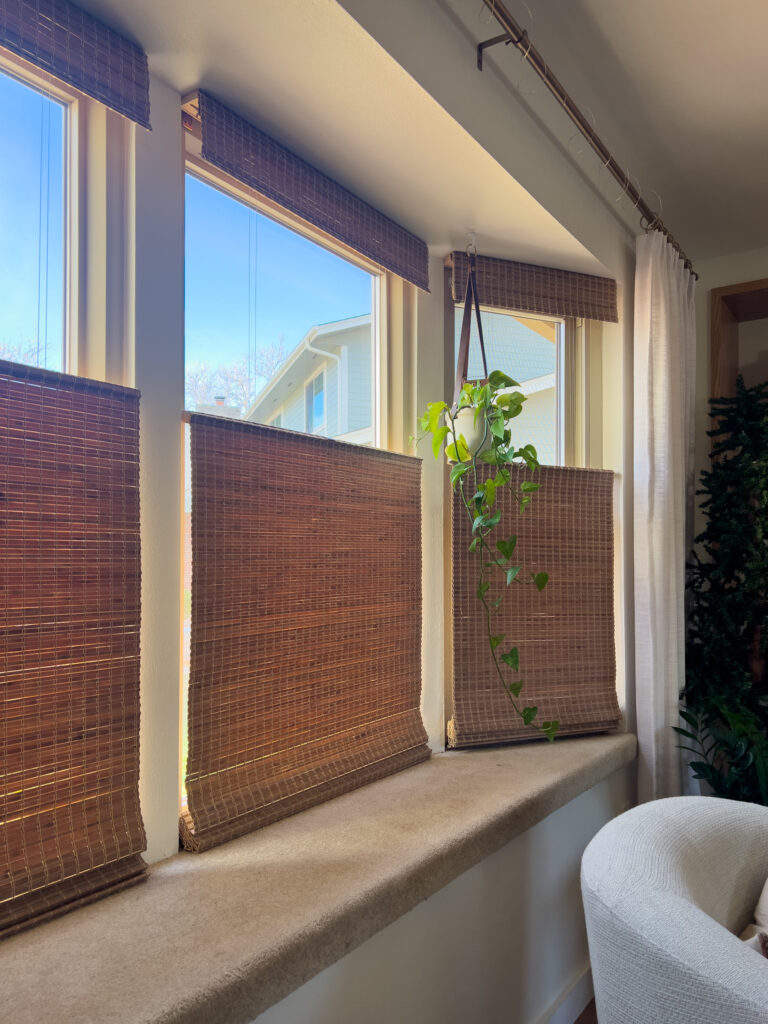
The moment I laid eyes on our window bench in the new house, I realized that the outdated carpet had to be replaced. After visiting a friend of mine and seeing how she had her bench all lined with plants, it inspired me to transform mine!
I came to the decision, it was time to remove the old carpet and introduce a herringbone pattern made of wood to the bench.
**This post contains affiliate links to products that I used or recommend. If you purchase something through an affiliate link, I may receive a small percentage of the sale at no extra cost to you. I really appreciate your support!**
How To Upgrade Your Window Bench
Remove Carpet
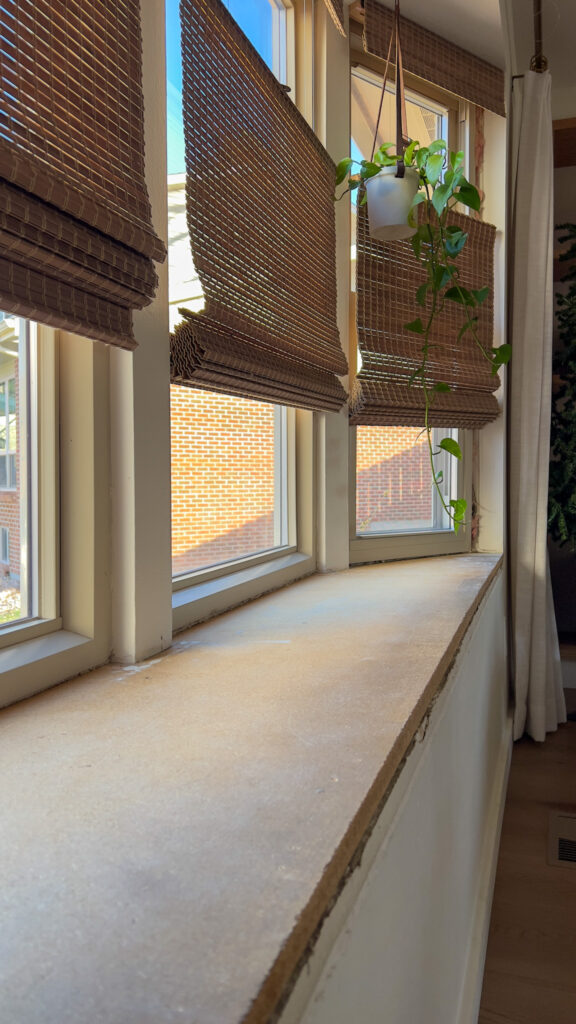
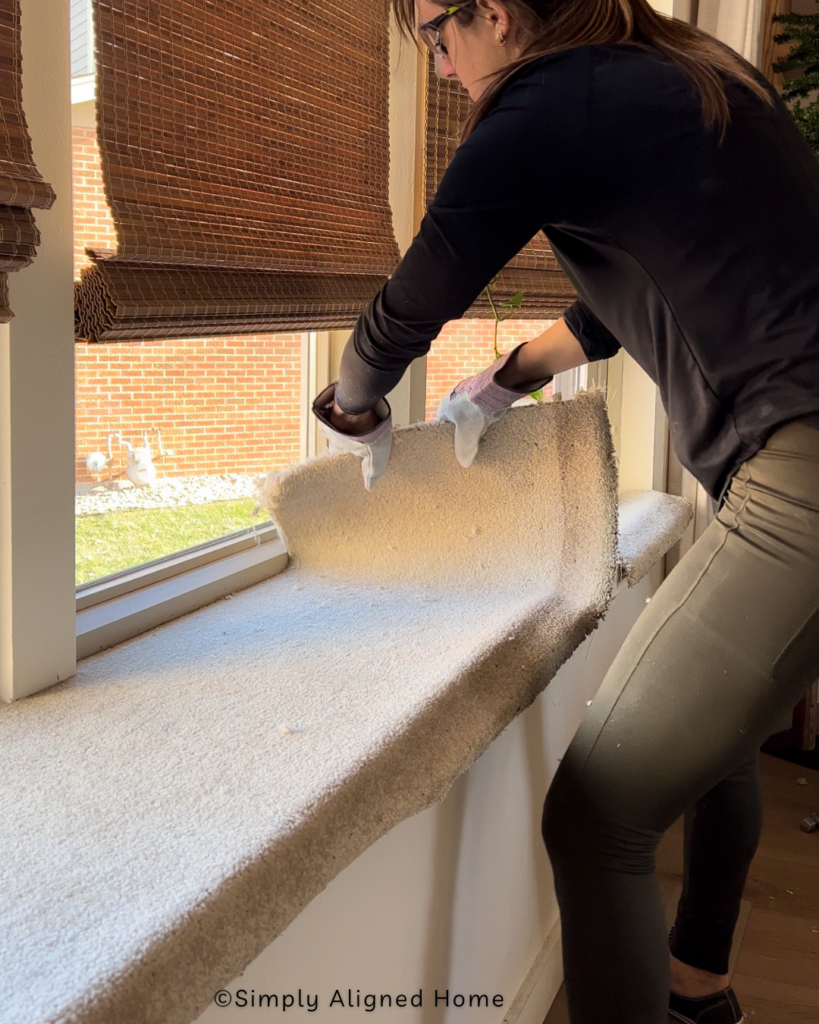
The first task involved removing the carpet, a seemingly straightforward process that turned challenging in my case. The individual who installed the windows installed them over the carpet. Armed with a utility knife and a trim puller, I diligently removed the carpet.
Cut Herringbone Pattern And Dry Fit Into Place
After all the carpet was removed and the window bench was clean I took my level and speed square to find the center of the bench. I took a scrap piece of wood and nailed it to the front edge of the bench to create a nice line to work off of.
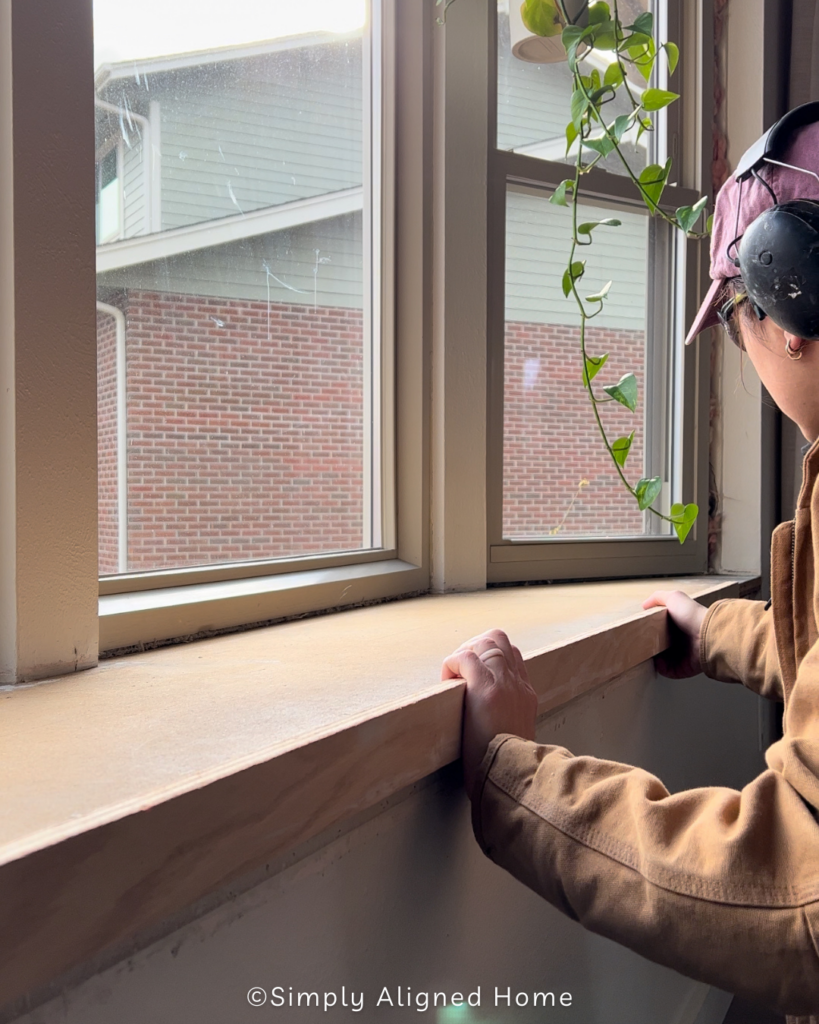

Once my guide was secured to the edge I took some pieces of wood I cut in a herringbone pattern to test fit and make sure I was cutting them at the right angle and size. Back out in the workshop, I cut enough oak pieces into a herringbone pattern to fit my 10 foot long window bench.
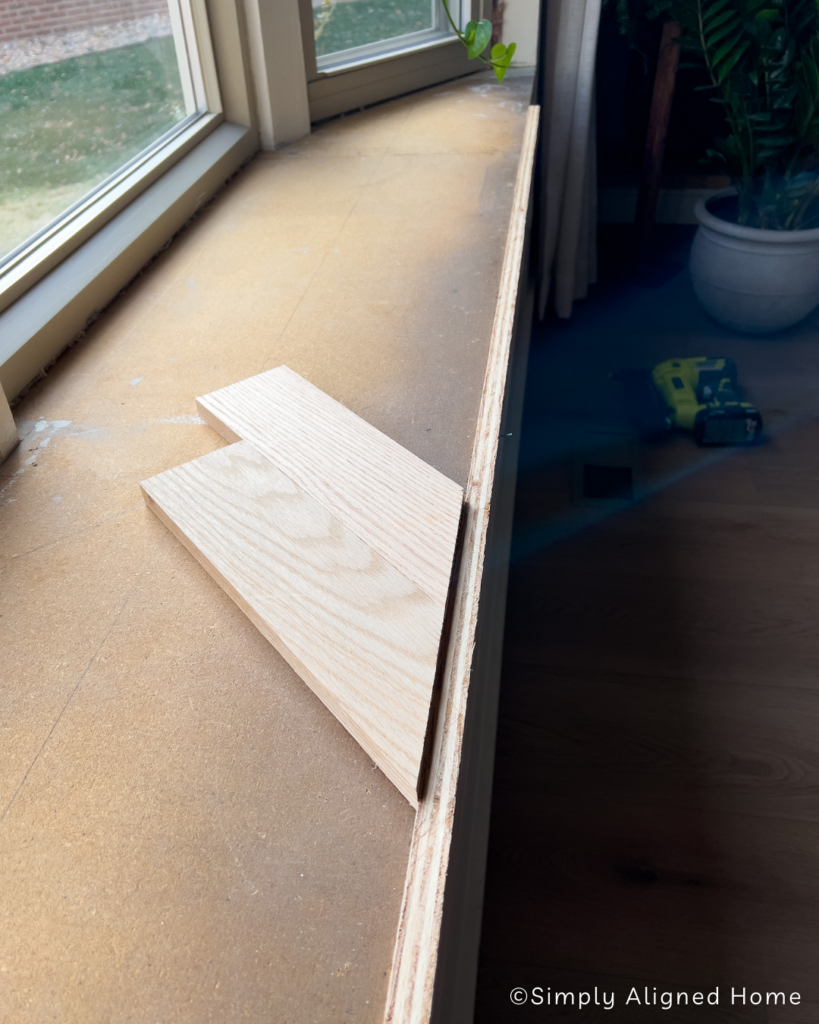
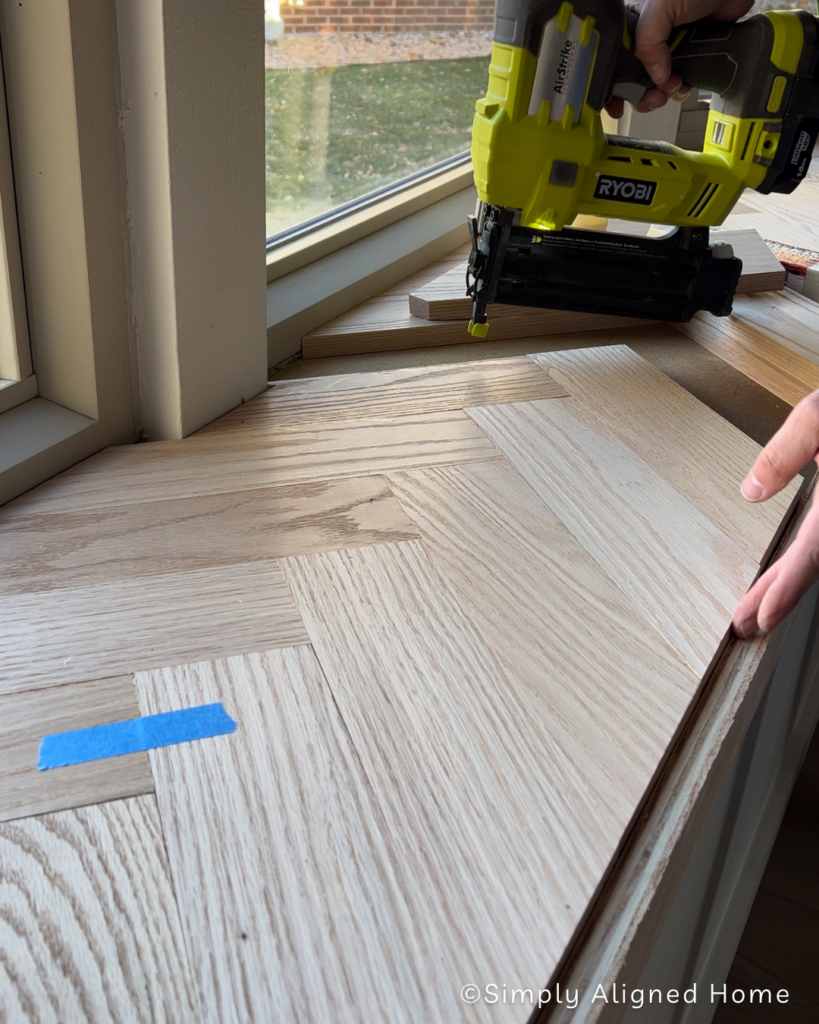
Bringing everything inside, I test fit everything before gluing any of them down. To install the pieces I secured each piece in with wood glue and brad nails. Taking it step by step, I glued one piece at a time, ensuring a flush and straight alignment to prevent any potential shifts in the pattern.
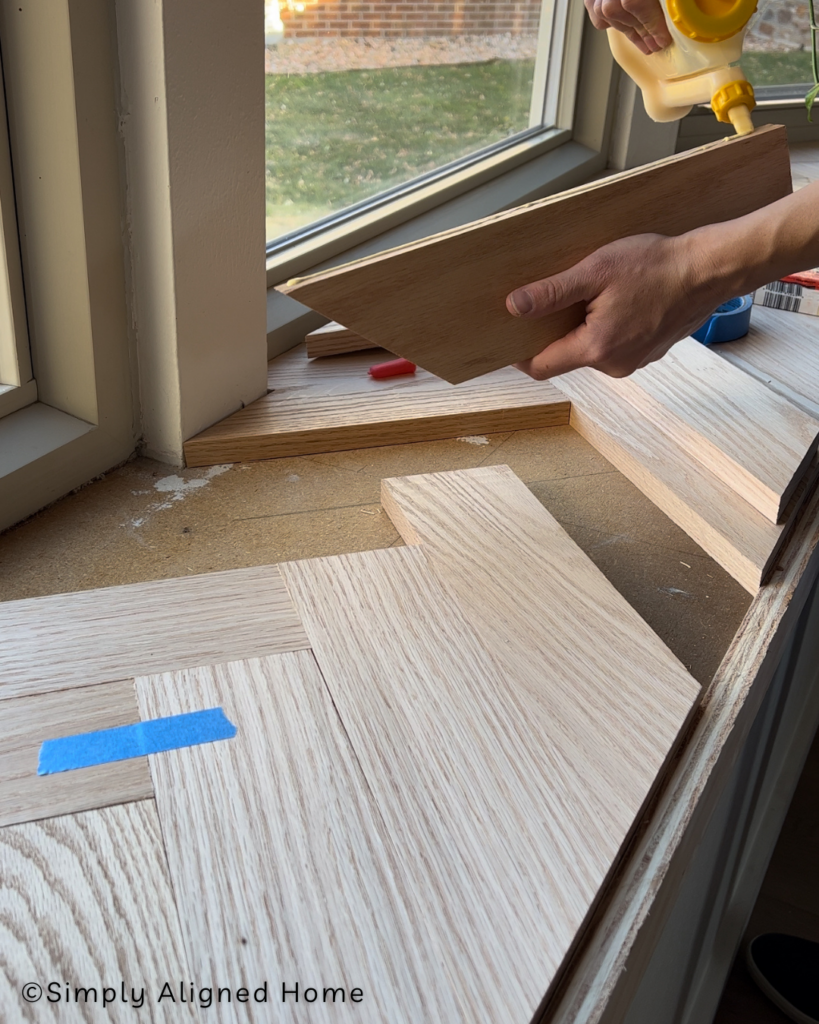
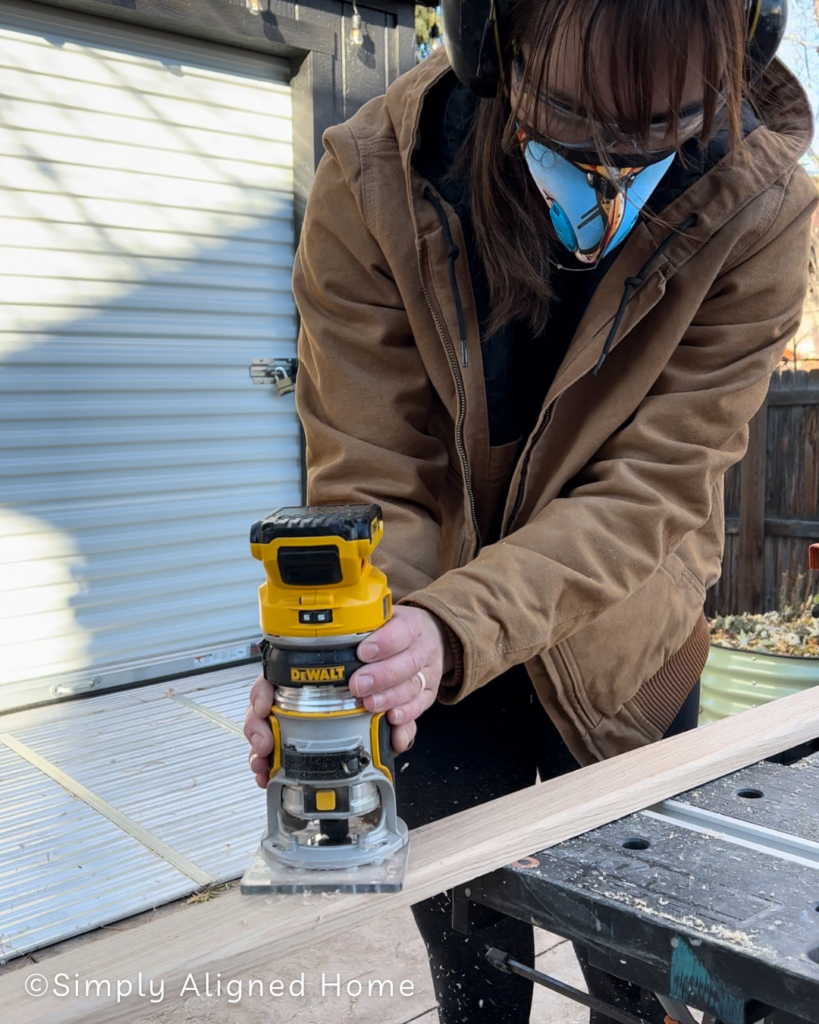
To finish the window bench off I decided to add a 1×3 oak piece to the edge of my window bench. By taking my router to the 1×3 I was able to round out the edges so we had a nice clean soft edge. I don’t like having sharp edges with children in the house!
Wood Fill, Sand, Stain And Seal Wood
Lastly, was the finishing touches. I went back in with my favorite wood filler and applied a thin layer. After applying I immediately sanded the filler. This leaves a thin layer of sawdust on the wood filler, which will stain closer to the the wood color.
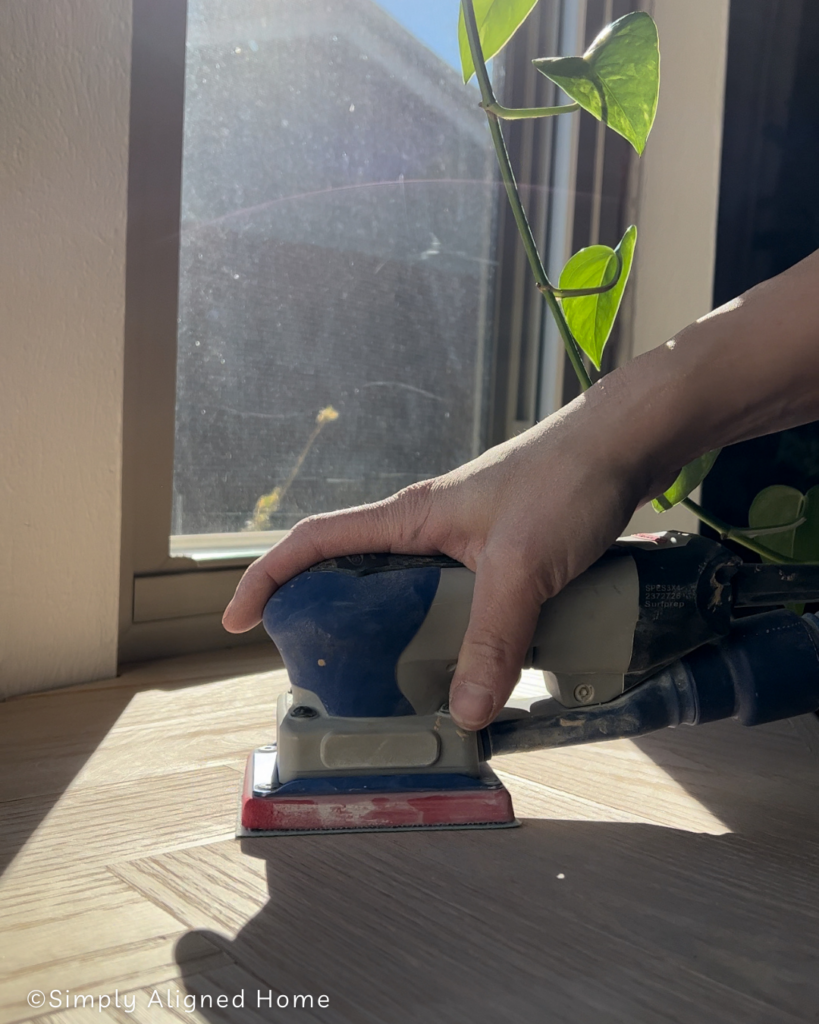
Now that everything was smooth and level, it was time to stain! I always use my go-to stain combo on red oak wood. You can read more on that whole process in my red oak stain method article!
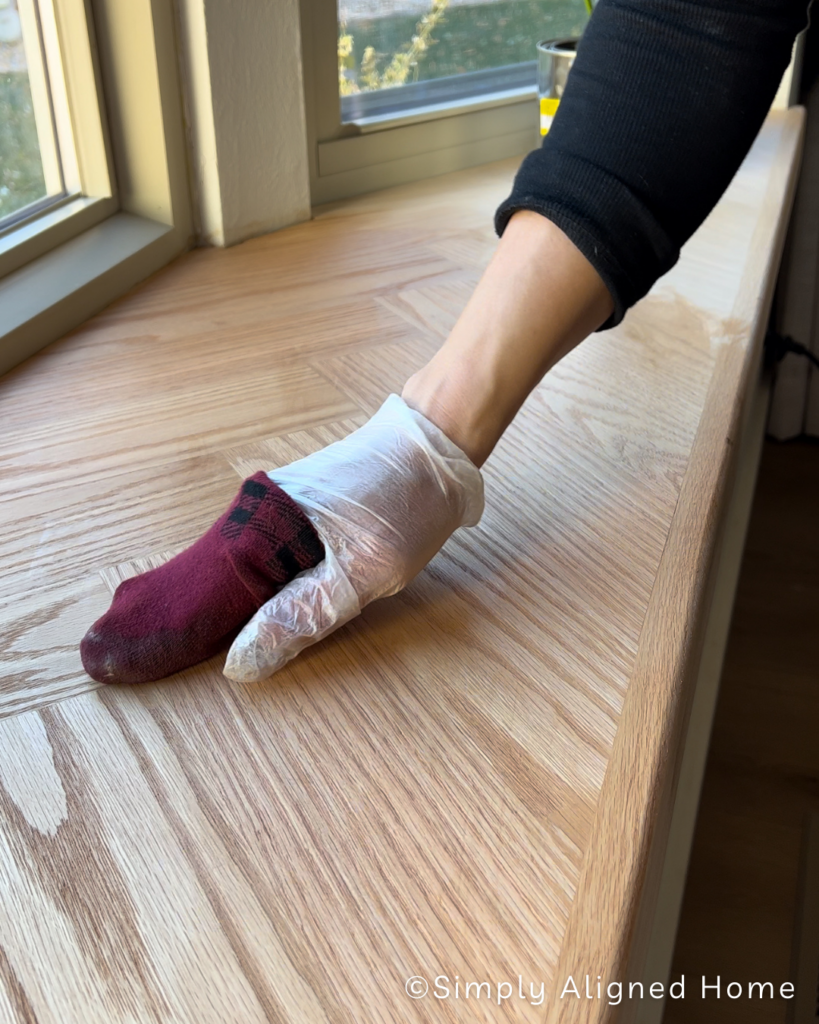
Once the stain is dry I always finish it out with 3 coats of water based poly.
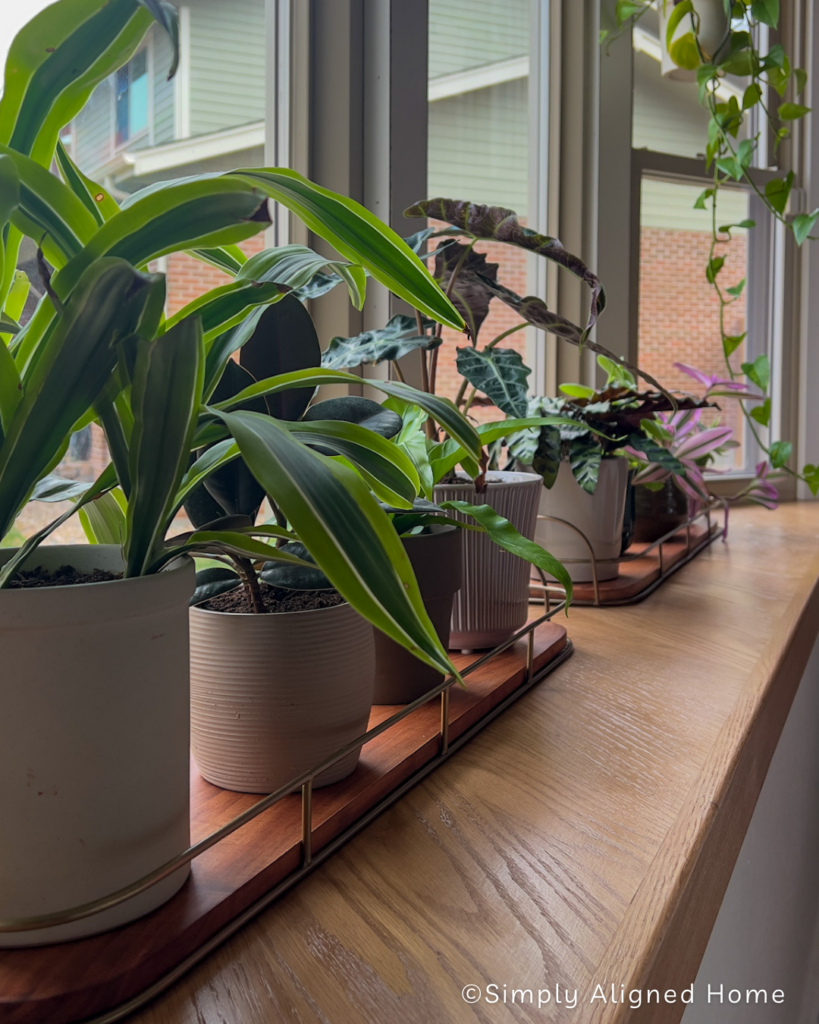
I am so happy with the end result! I can’t believe I waited so long to makeover this window bench. Now, my plants have a new spot in the house and are much happier here in the window.

**Note: I am not a professional and do not claim to be an expert. Please be sure to always read instructions for all tools and products. Safety is very important and should be your top priority. Wear necessary protection when using tools (eye wear, hearing protection, gloves, etc.) and dust masks when sanding or cutting. Simply Aligned Home is not responsible for any injury or damage. All of my designs are not professionally designed and are for private use only.**
Materials Used
- Oak Wood
- Wood Glue
- Brad Nails
- Wood Filler
- Water Based Poly
- Stain of Your Choice
- Rag or Old Baby Sock
Tools Used
- Router
- Round Over Bit
- Brad Nailer
- Sander
- Utility Knife
- Speed Square
- Level
- Trim Puller
