
Let me start by saying that I have loved my home since the first time I saw it. I began casually looking for a home…and then I fell in love… I was amazed the first time that I drove by it and love the sight of it every time that I pull into our driveway.
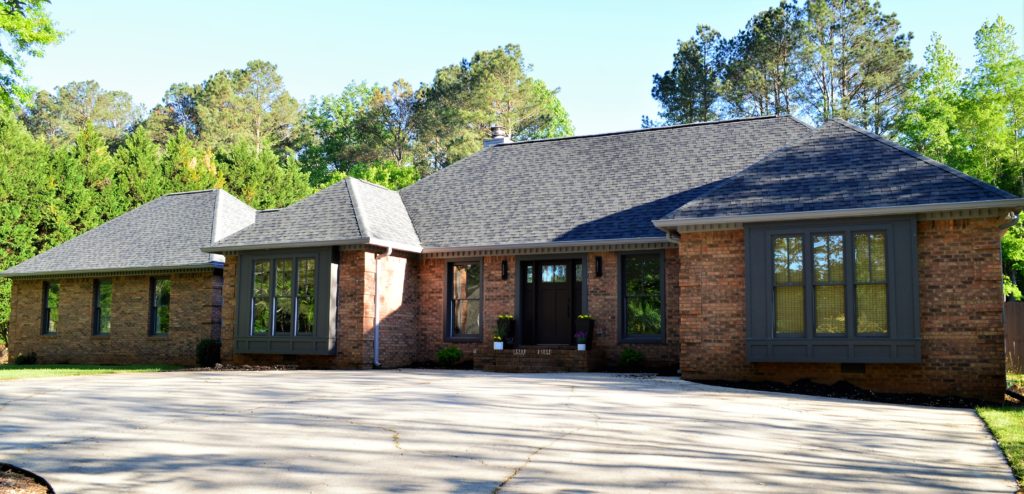
That being said, my husband and I have been dreaming about painting our home white since we bought it. We absolutely love our home and thought it would look just a little more amazing painted. After having our two previous homes painted, we were well aware that it wasn’t quite in the budget. Cue my love for DIY… Our home is a three sided brick ranch. I decided I could totally paint it myself!
Selecting the Paint
I did a fair amount of research on paint options. Most of the paints that I found were elastomeric. These paints create more of a film over the bricks and allow for expansion and contraction, but do not allow the bricks to breath. Although this was a decent option, I much preferred the Romabio products.
**This post contains affiliate links to products that I recommend. If you purchase something through an affiliate link, I may receive a small percentage of the sale at no extra cost to you. I really appreciate your support.**
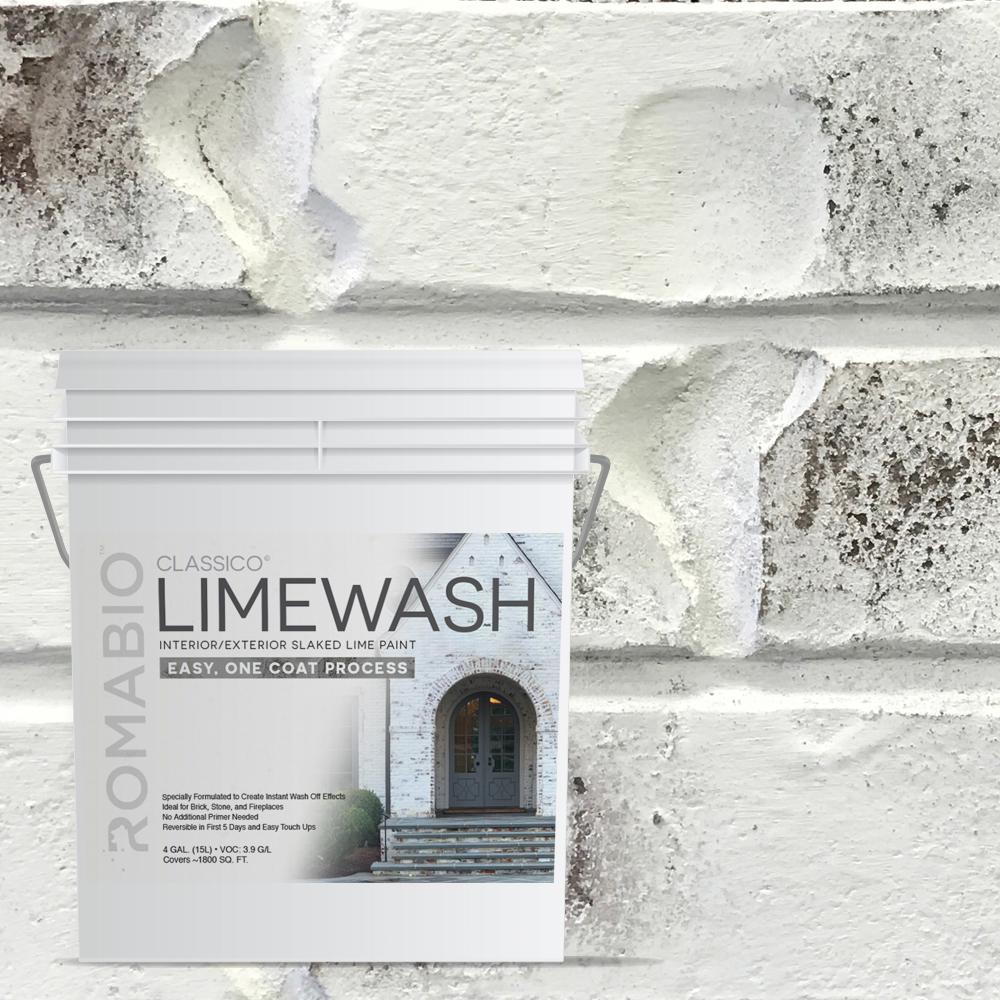
Romabio’s Classico Limewash is not a paint, it is made of lime and calcifies to the brick surface creating a rock hard surface. It also allows the brick to breath and wick away moisture. The finish is very flat white, which I think is great because it can be touched up or reapplied at any time and there isn’t a concern with the finish or sheen of the touch up.
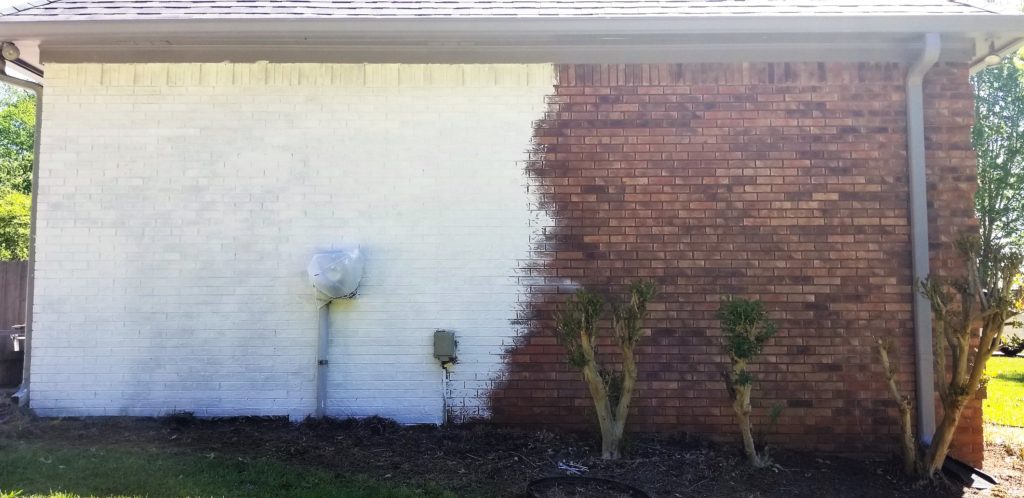
I applied a decent size test sample to ensure that I liked the color. I also messed around with the dilution to ensure I liked the coverage. Ultimately, I went with a 50% dilution (2 parts paint to 1 part water) in the Bianco White. Luckily, you can totally wash off the limewash with a pressure washer within five days if you don’t like the look.
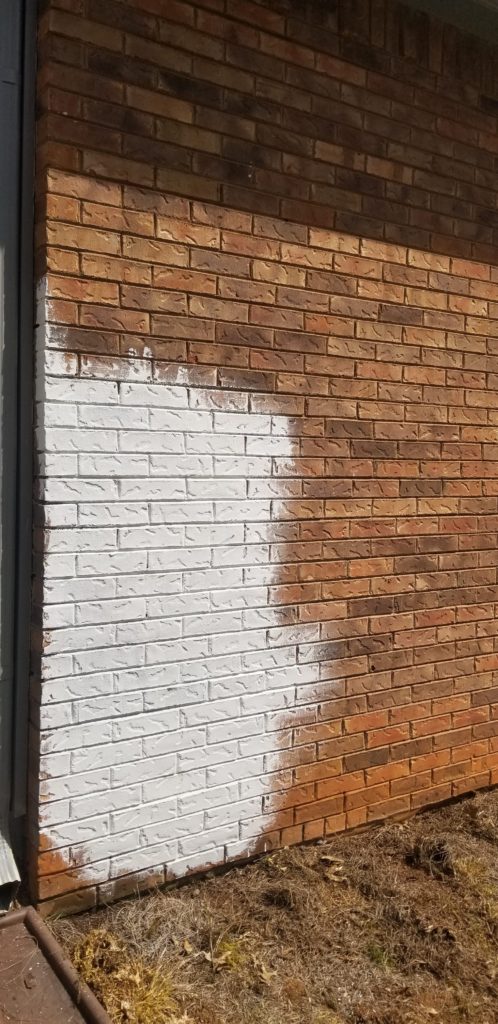
Although I do like the look of a true limewash, where you spray off parts of the limewash to expose the brick, I opted for a solid application. I figure that it will naturally patina by itself over time.
Sprayer vs. Masonry Brush
The next decision was whether to apply it with a sprayer or masonry brush. I am not a huge fan of prep work and have zero experience with a sprayer. The front of our home has several large windows. I thought that in the time spent covering the windows and surrounding trim, I could just as quickly paint everything with a masonry brush. So…masonry brush it was! I didn’t regret that decision until Day 3 of painting…
Masonry Brush Selection
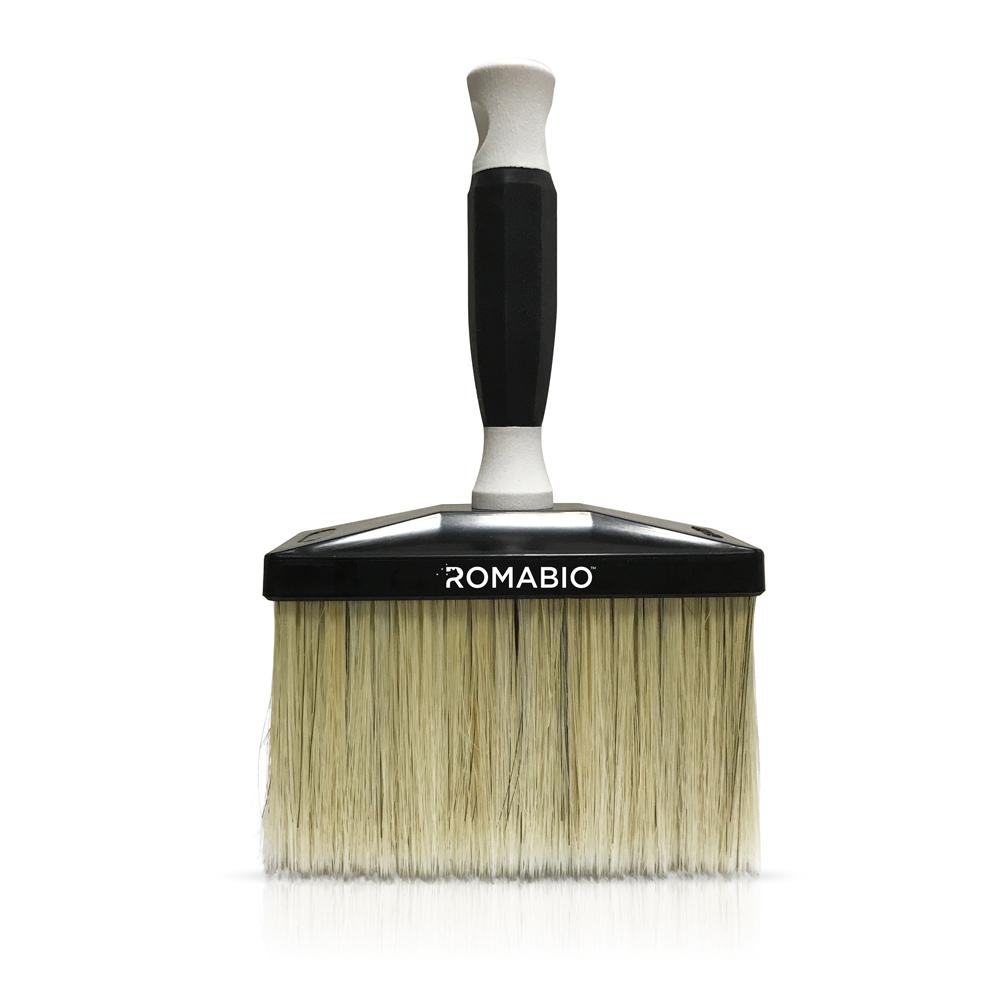
Unfortunately, when I purchased my Romabio limewash from Home Depot, none of the stores in the area had the Romabio masonry brush available. I chose to use two different generic masonry brushes instead. I learned the hard way that the brush really does matter.
The bristles on the first masonry brush that I tried were so long that it felt like I was painting with a wet noodle. It was hard to control the application and get a solid coverage. Eventually, I cut about an inch of the bristles off and it worked much better.
The second generic masonry brush that I tried worked much better than the first, but it still was not great. Hindsight is 20/20 and I should have just ordered the Romabio masonry brush to begin with…
Mixing the Limewash
I wore gloves, long sleeves, long pants, and safety glasses throughout the entire project…safety first!
It is important to fully mix the limewash prior to applying it. I used a paint drill and a clean 5 gallon bucket to mix it. I found that it was hard to get rid of all of the chunks. I did discover that the larger the batch, the easier it was to get it fully mixed with the paint drill fully submerged.

Application
First step was a full pressure wash of the brick surfaces to clean and prep for paint. Prior to painting, I sprayed the wall with our garden hose to wet the surface as per the Romabio directions. I allowed it a few minutes to dry so that the wall was not dripping wet when I applied the paint.
Do yourself a favor and figure out the sun exposure on your home before you begin. There is nothing worse than trying to paint your home with the sun beating down on you and the house. I did my best to plan my painting so that I was always in the shade. Unfortunately, it didn’t always work out that way.
As I mentioned, I hate prep work. I attempted to tape off some of the trim with painters tape, but found that the limewash could easily be removed from the trim with a wet rag. So I opted out of the prep work completely and skipped the tape. I did use a 3″ brush to apply the limewash near the trim in an attempt to minimize the mess.
The instructions for the limewash called for a bottom to top application. I attempted to do this at the begining, but found that the wall was drying to quickly. I needed to wet the wall often, but did not want to wash off the areas I had already painted. Therefore, I changed my application from top to bottom.
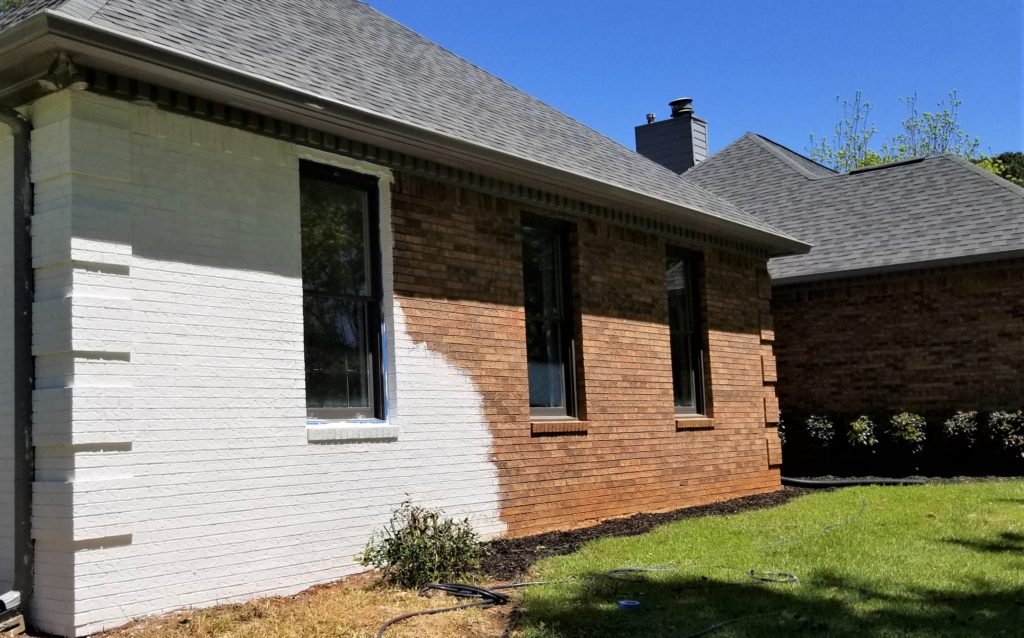
I worked in approximately 3′ x 3′ areas. My first swipe of the brush was side to side and then I went up and down to fully coat all of the mortar joints. As the limewash dries, it brightens and chalks up quite a bit, so don’t be surprised if you see some color variation between dry and newly painted areas.

I ended up using just over two of the 4 gallon buckets. This process is not difficult, it is just time consuming. I am so happy with the results! If you are questioning if you could do it yourself…just go for it. The long days of painting were totally worth it, and I love how it turned out!

VERY NICE HOUSE. I DO PRAY TO HAVE ONE IN FUTURE AS HOME IN KISUMU – CITY IN EAST AFRICA – KENYA .
Thank you so much!! I hope you do too! ♥️