
What’s better than a handmade gift?! How about a handmade gift that is quick and easy to make!
I enjoy making gifts for my boys’ teachers, but with three boys, I have to find gifts that are easy to make multiples at one time. These little wooden trays were so quick to put together!
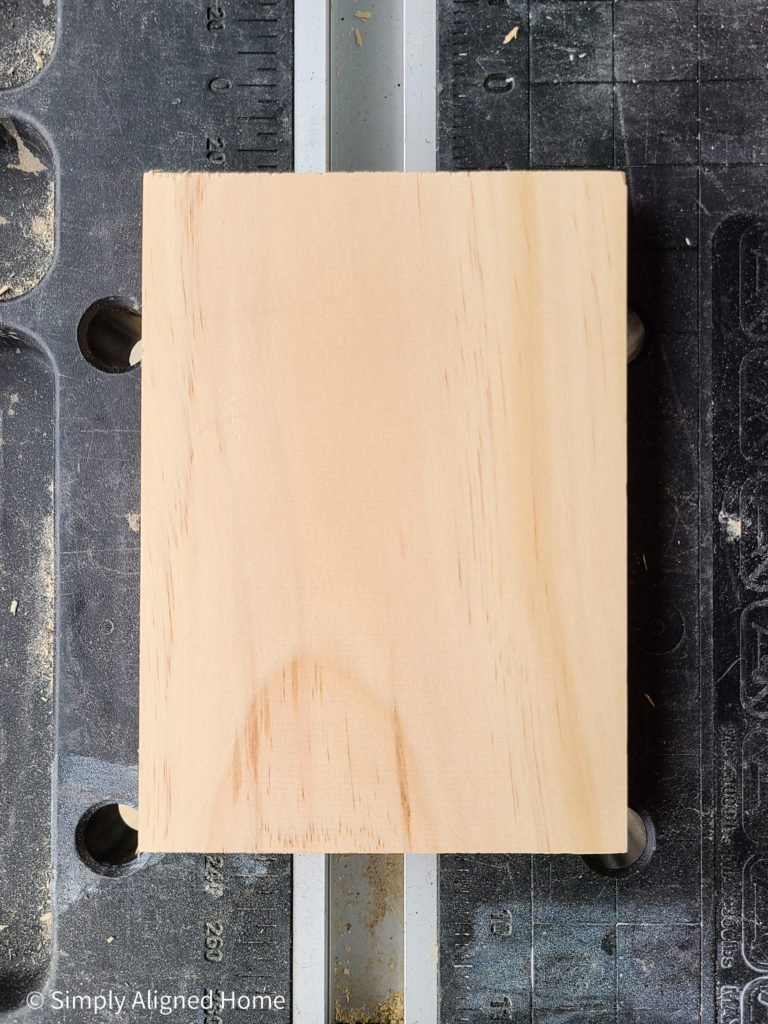
Cut and Sand the Wood
For the trays, I decided to use select pine. I wanted the trays to be small enough that they could be placed on any table or shelf and not be super invasive. I ended up cutting the wood 5-3/8″ x 7-1/2″. While these are on the smaller side, they can easily made bigger!
I did a quick sanding using 120 grit sandpaper and my orbital sander. I wanted a rougher finish, which is why I went with 120 grit. For a smoother finish, use 220 grit sandpaper.
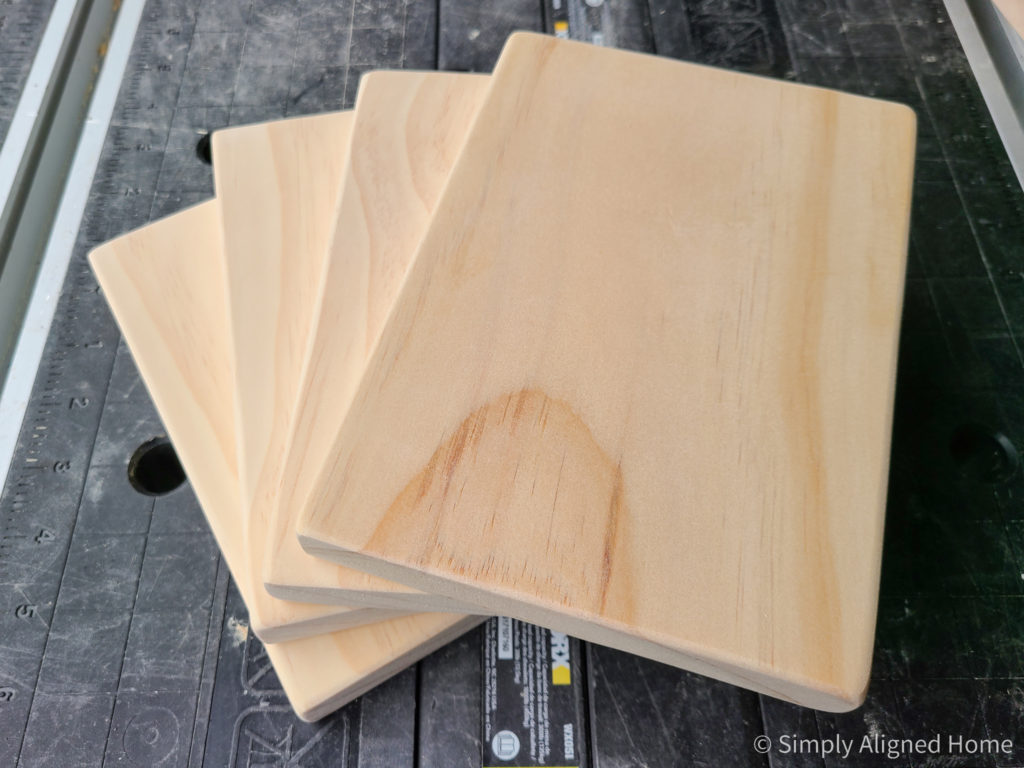
I slightly rounded the edges and corners to remove any rough edges when I sanded the wood. I then wiped the boards with tack cloth to remove the sanding dust.
Stain and Seal the Wood
Once the wood was sanded, I stained the fronts and backs of the trays using a water based stain. I used my favorite color…Early American. I chose to just do one coat of stain before sealing them with a water based polyurethane.
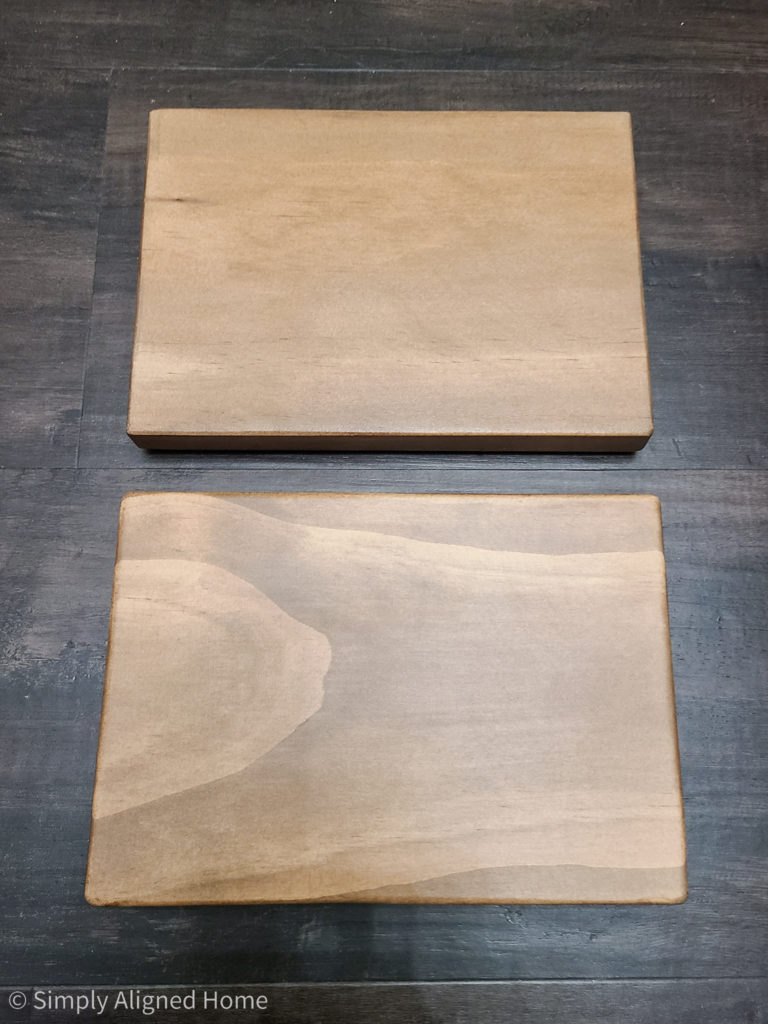
I did not bother sealing the underside of the tray. After the first coat of polyurethane was dry, I did a light sanding using 220 grit sandpaper. I wiped the sanding dust off and applied one final coat of polyurethane.
Side note about sanding between coats of poly: If you’re thinking about skipping the sanding part…don’t. It may not seem necessary, but sanding between coats of poly will give you a much smoother finish than if you did not sand.
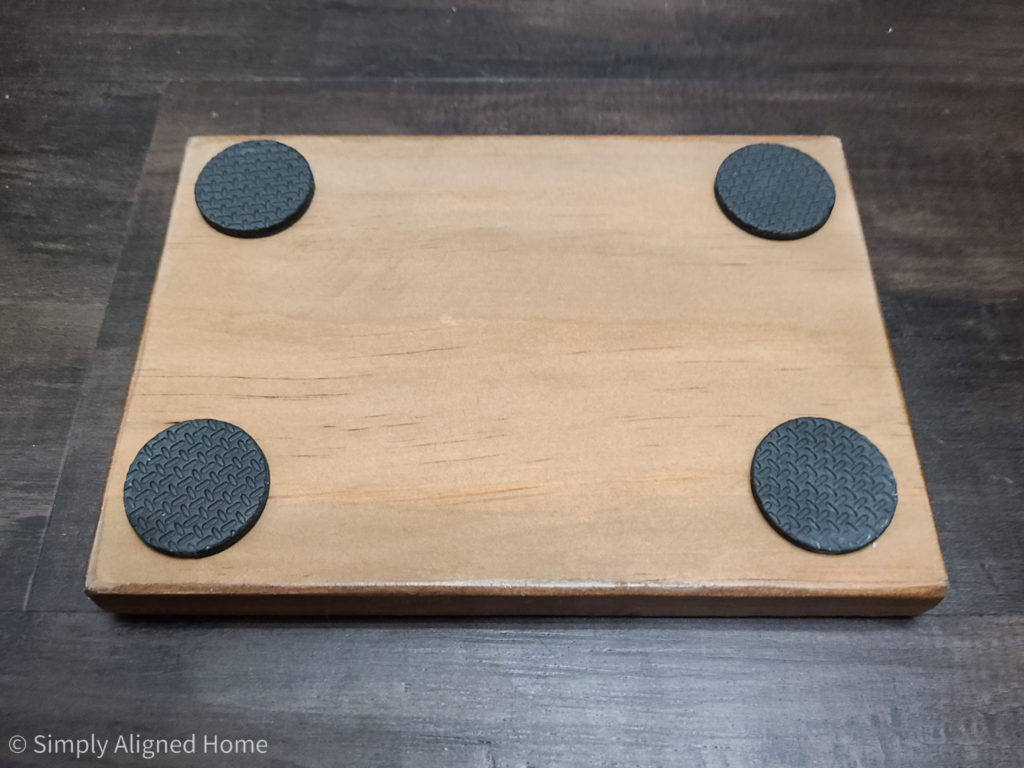
Add Anti-Slip Pads to Bottom of Tray
I have a nice little stash of furniture anti-slip pads just for projects like this! The trays can be used to hold keys or jewelry as well (I like to make presents that have many uses). The anti-slip pads will ensure the trays don’t slide around if they are used for anything other than decor.
**This post contains affiliate links to products that I recommend. If you purchase something through an affiliate link, I may receive a small percentage of the sale at no extra cost to you. I really appreciate your support.**
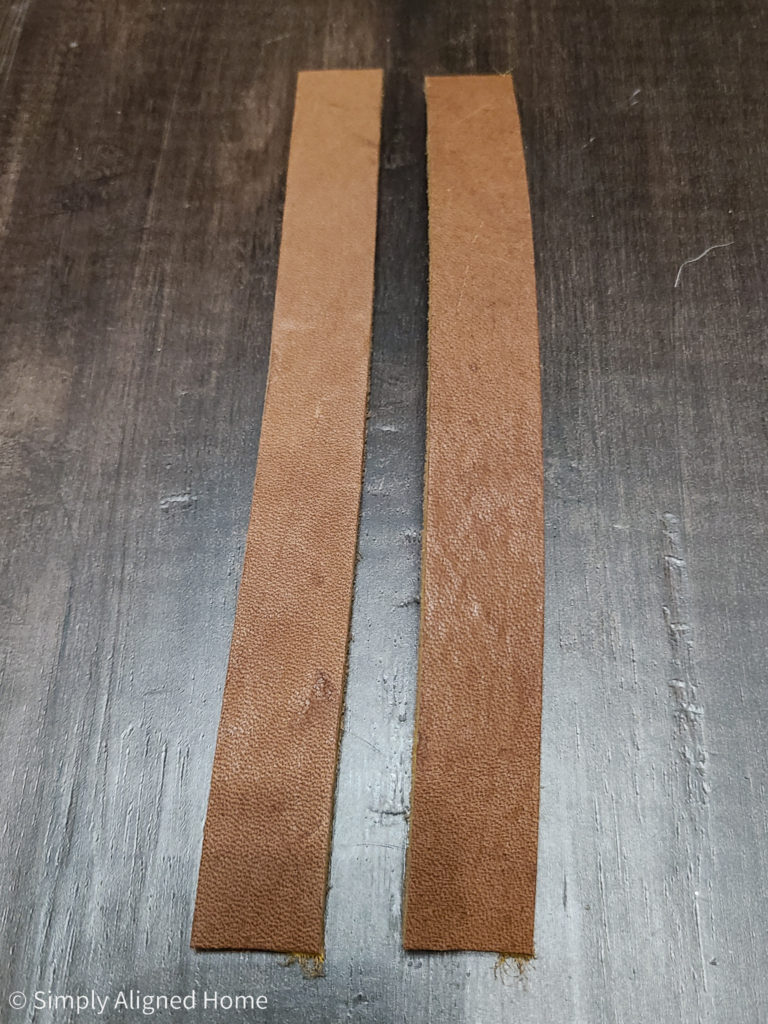
Cut the Leather Handles
I purchased a roll of leather for another project and never used it. It was absolutely perfect for these trays! I tested out different lengths for the handles and ultimately decided to make them 7″ long. I cut two strips of leather 7″ long per tray.
Attach the Leather Handles to the Wooden Tray
There is a large box full of random hardware in my garage. I thought that I would surely have screws that I could use to secure the leather handles to the wooden tray…nope! I wanted a small screw with a large head so the screw wouldn’t rip through the leather when someone picked it up. Unfortunately, I didn’t own anything that would work well..
After a quick trip to Target, of all places, I had some furniture nails. They were not only cute, but perfect to secure the leather straps!
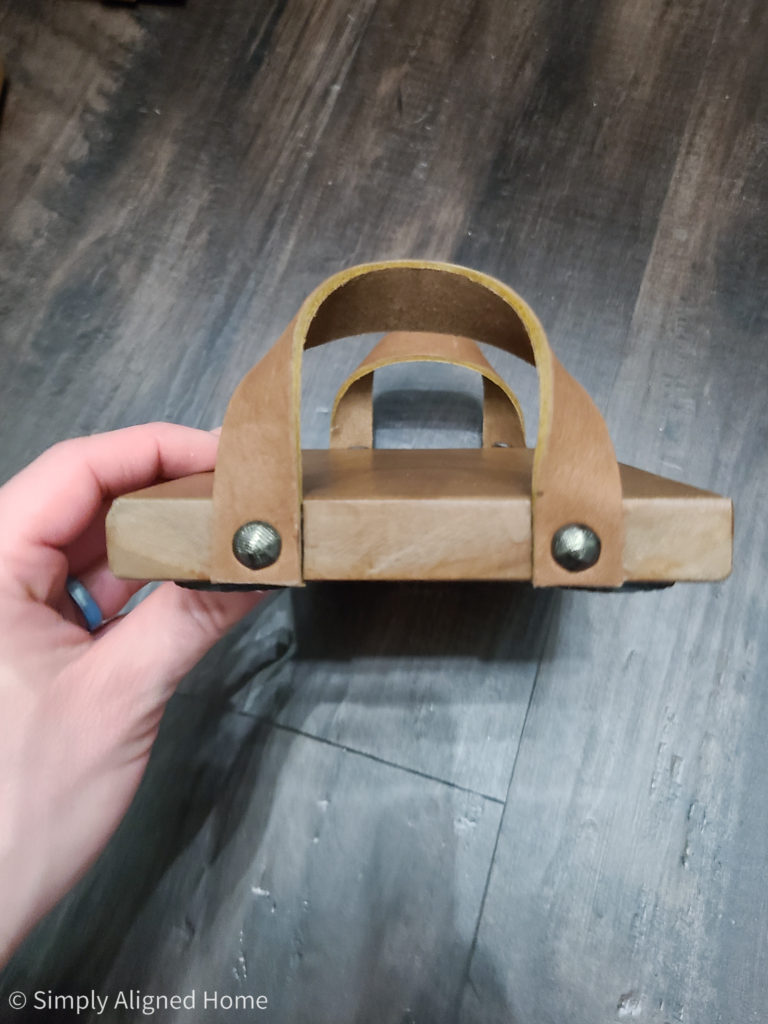
I did not want to solely rely on the furniture nails to hold the handles in place, so I also used some super glue. I applied just a dab of glue to the end of the leather strap and then hammer the furniture nails through the leather into the wood. I placed the leather strap about 1″ in from the edge of the tray.

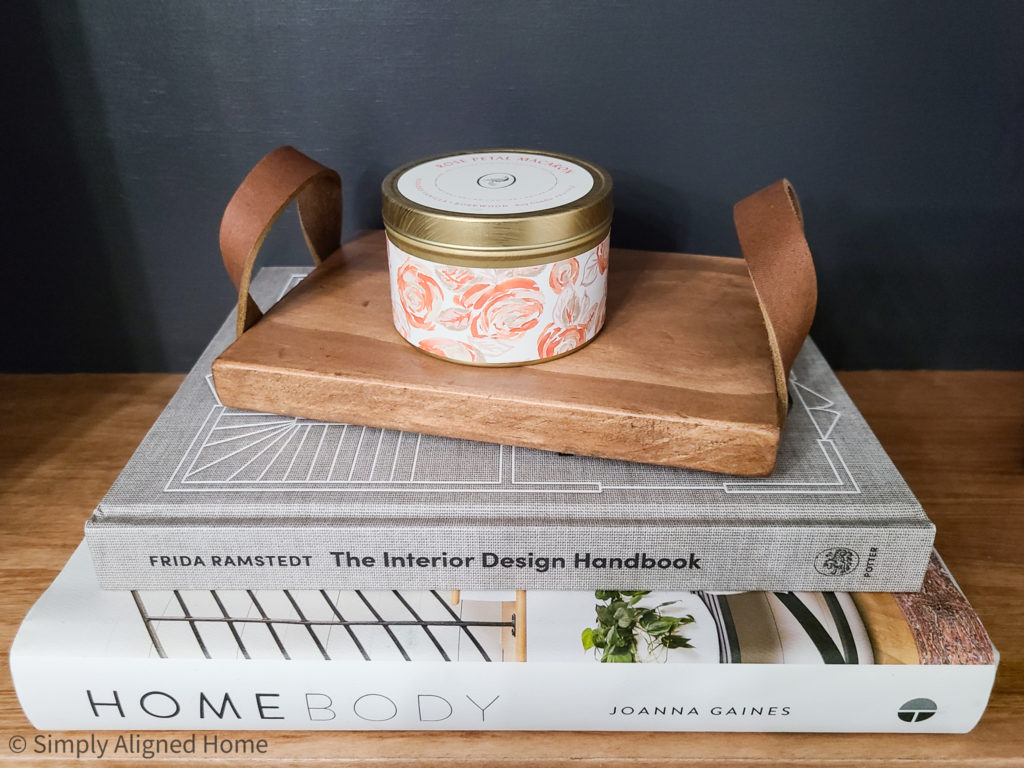
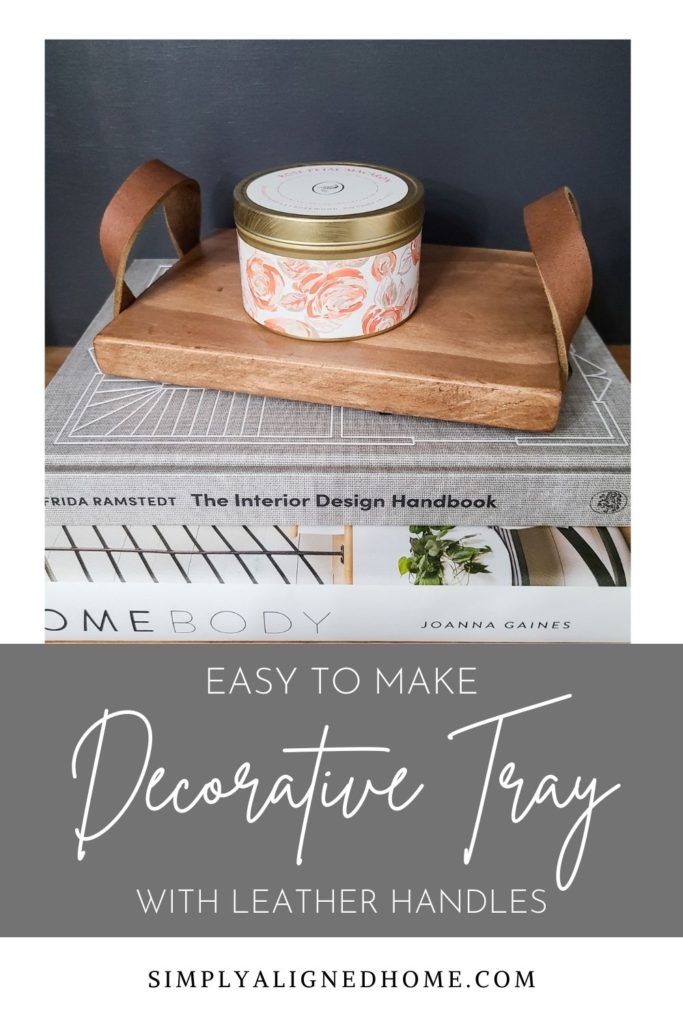
That’s it! I added a small candle and wrapped them with a bow for all of our teachers. They were super easy and are adorable!
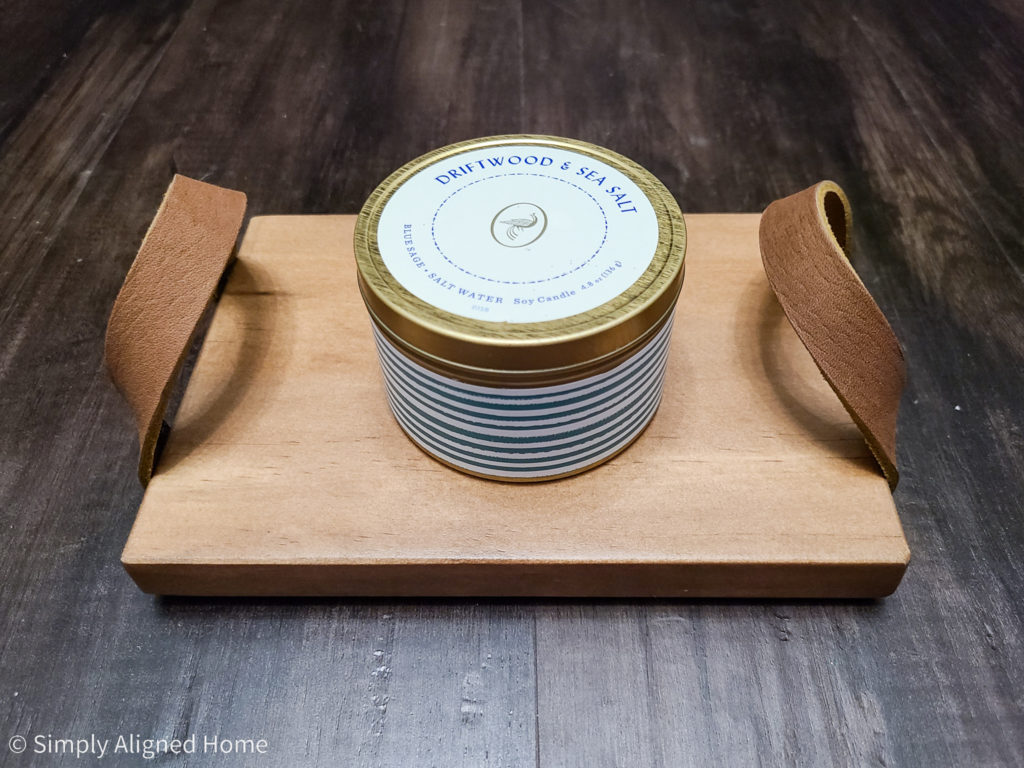
Whether you want the perfect gift or a great little decor piece, you should give these wooden trays a try!

Thank you for sharing this informative article! All the information provided by you is really very helpful for all. Tack cloth helps to keep your project dust-free and it is useful for cleaning fine dust off a surface. Everyone should follow the tips provided by you, it will make their work easier. Keep Posting! Keep Sharing!