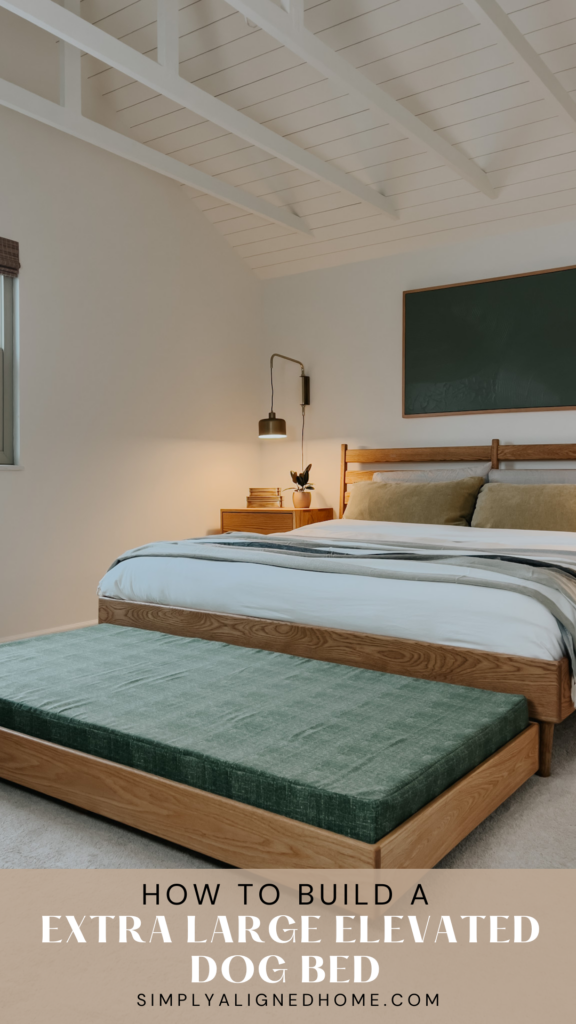
In this blog post, I’ll walk you through the step-by-step process of creating a spacious and stylish haven for your furry friends. Let’s transform that mismatched dog bed into a customized retreat that seamlessly blends with your home aesthetic!
Ever found yourself stuck with a dog bed that clashes with your decor? I certainly did, which prompted me to construct an extra-large elevated dog bed tailored to the unique preferences of my two canine companions.
We recently raised the roof in our bedroom, which has naturally lead me on a journey to making over this whole space. I already built a bed, nightstands, and made some new wall art. So, it was time that the dog bed got a makeover too!
**This post contains affiliate links to products that I used or recommend. If you purchase something through an affiliate link, I may receive a small percentage of the sale at no extra cost to you. I really appreciate your support!**
How To Build Your Dog A Extra Large Dog Bed
Step One: Build Dog Bed Frame
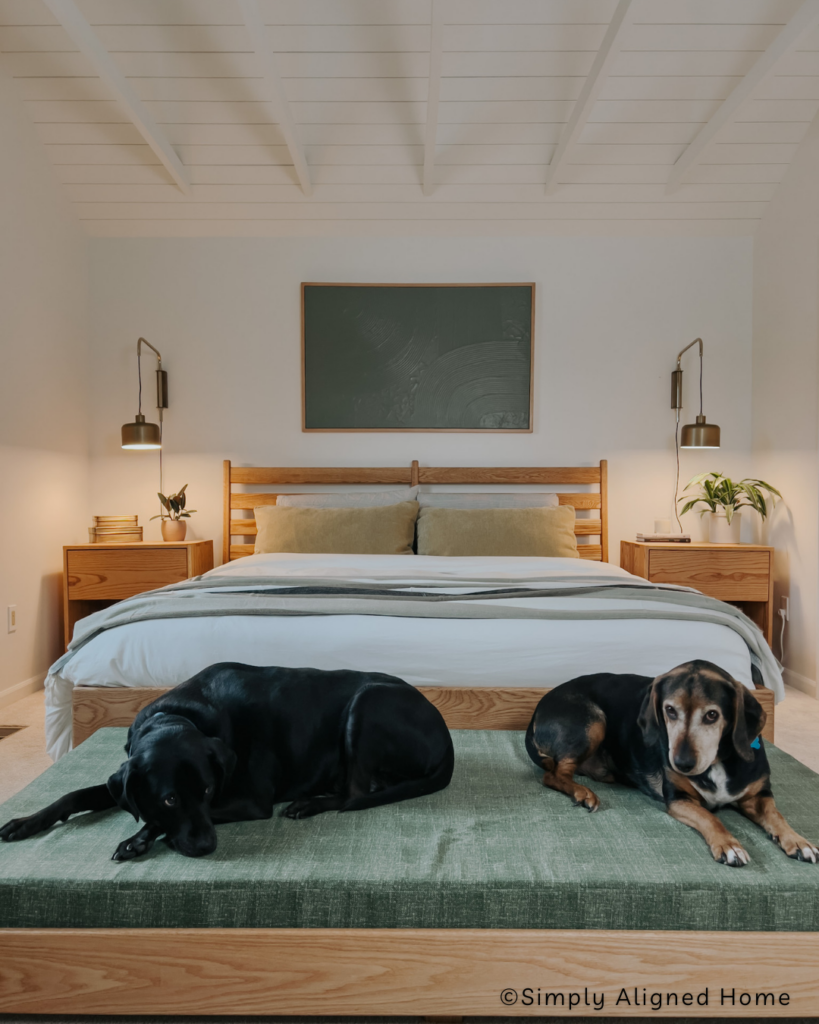
To start constructing a dog bed, determine the desired size first. In our case, we needed a spacious bed because my dogs prefer not to lie close to each other; they’re quite particular about avoiding any physical contact while resting.
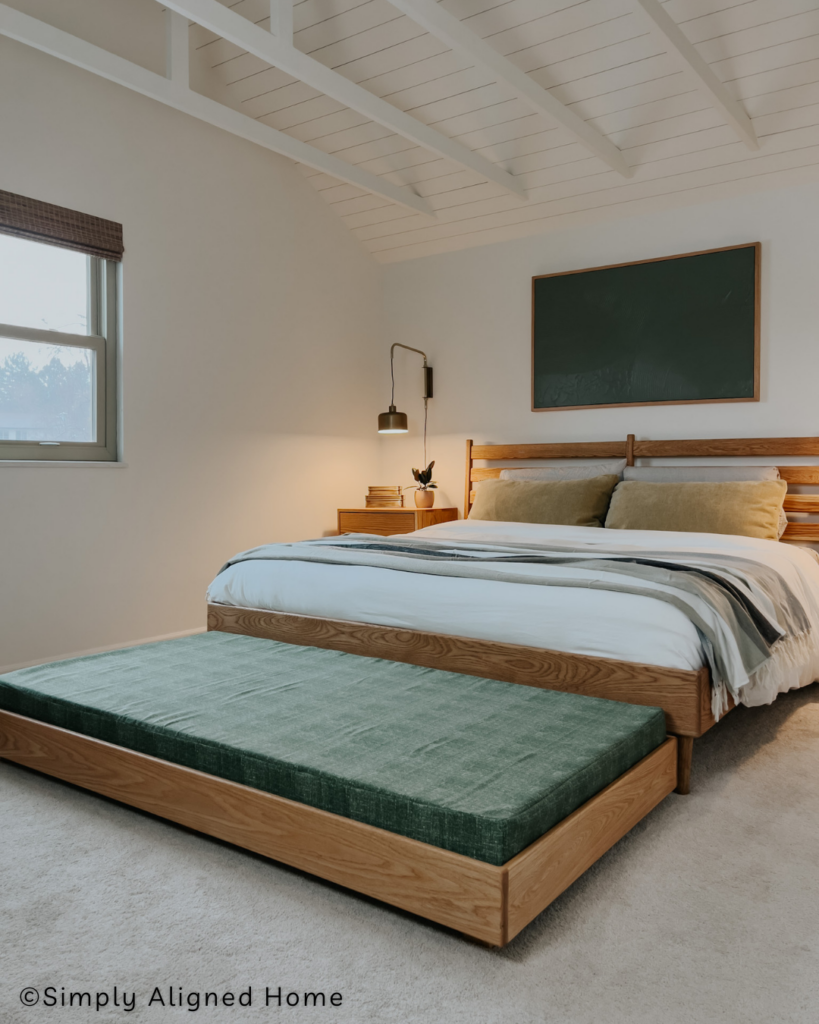
I decided to make it about as wide as our bed. The frame itself is probably over engineered but I rather it be sound and sturdy because my kids do tend to crawl and jump all over the dogs bed. It’s just how I like to do things, better safe than sorry!
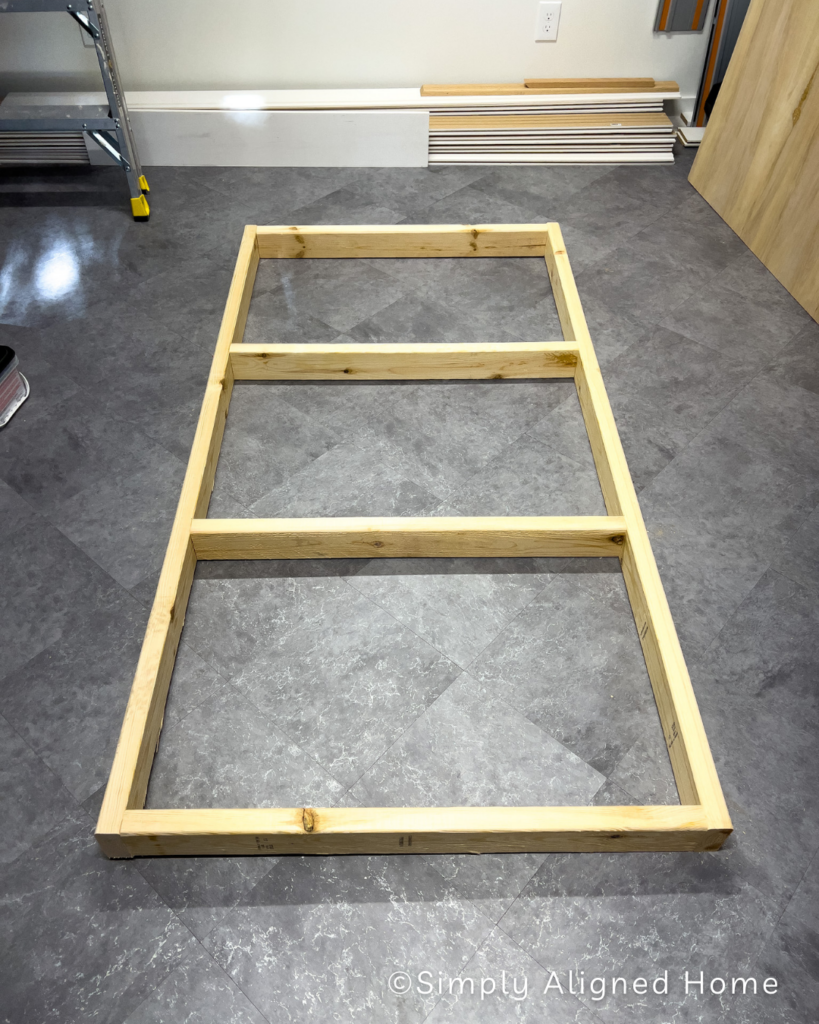
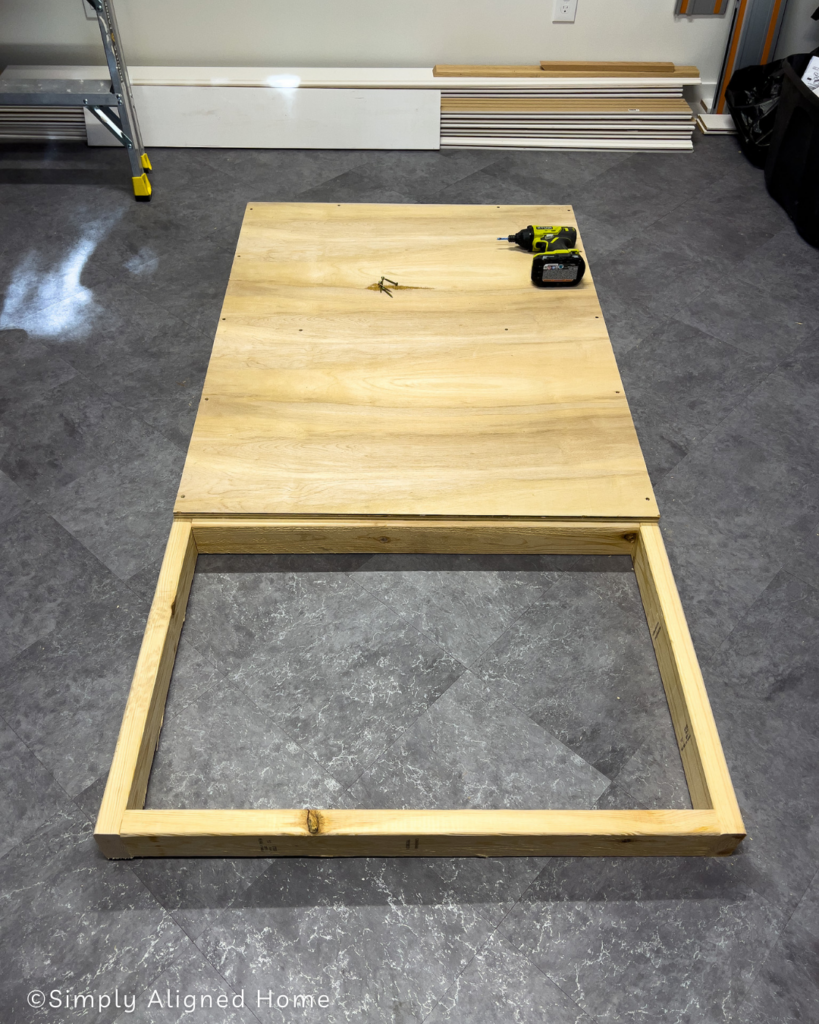
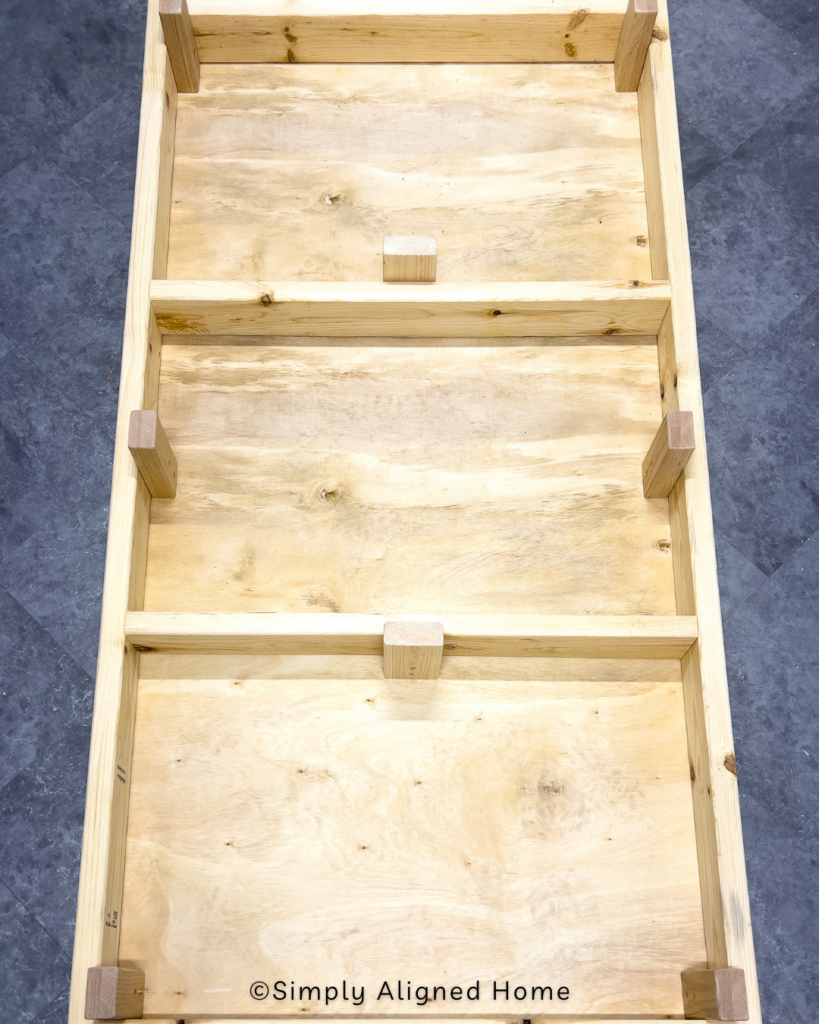
To start off I took some 2x4s and made a rectangle to the size of my dog bed. Then I cut 2 additional support 2x4s for the center braces. To attach the frame together I used construction screws.
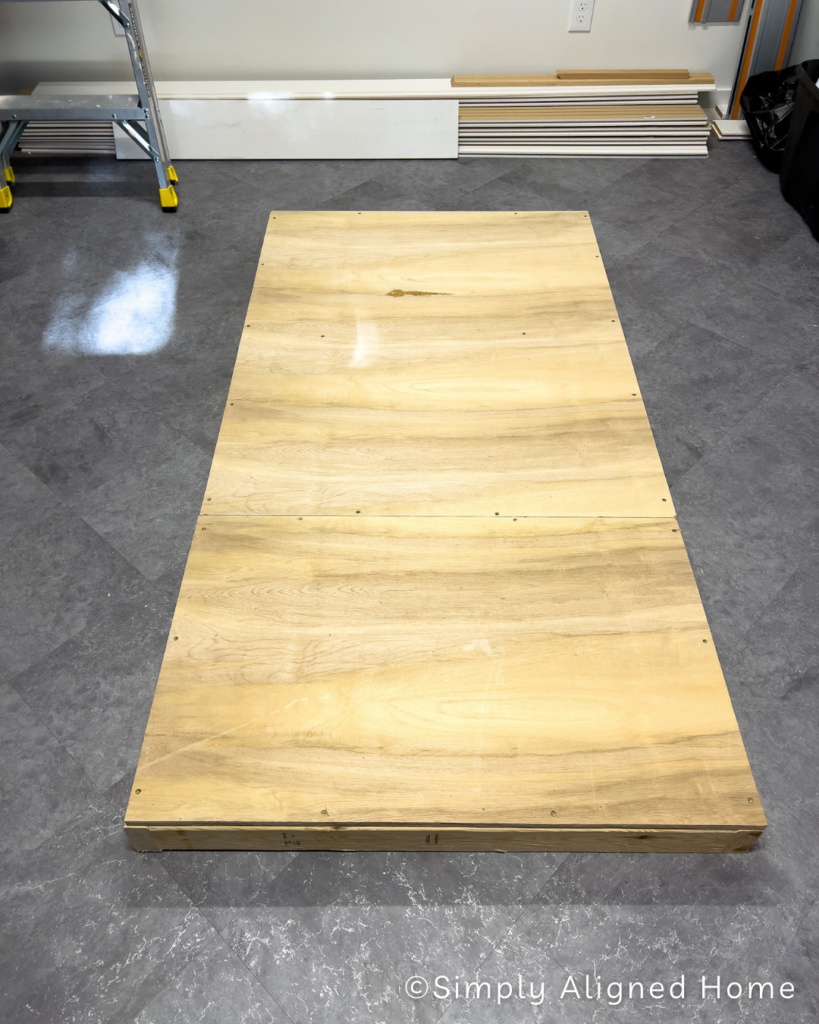
To complete the top of the frame, I affixed 3/4″ plywood and secured it in place with screws. I tried to use materials that I had on hand for this project, hence the 3/4″ plywood…it might be overkill.
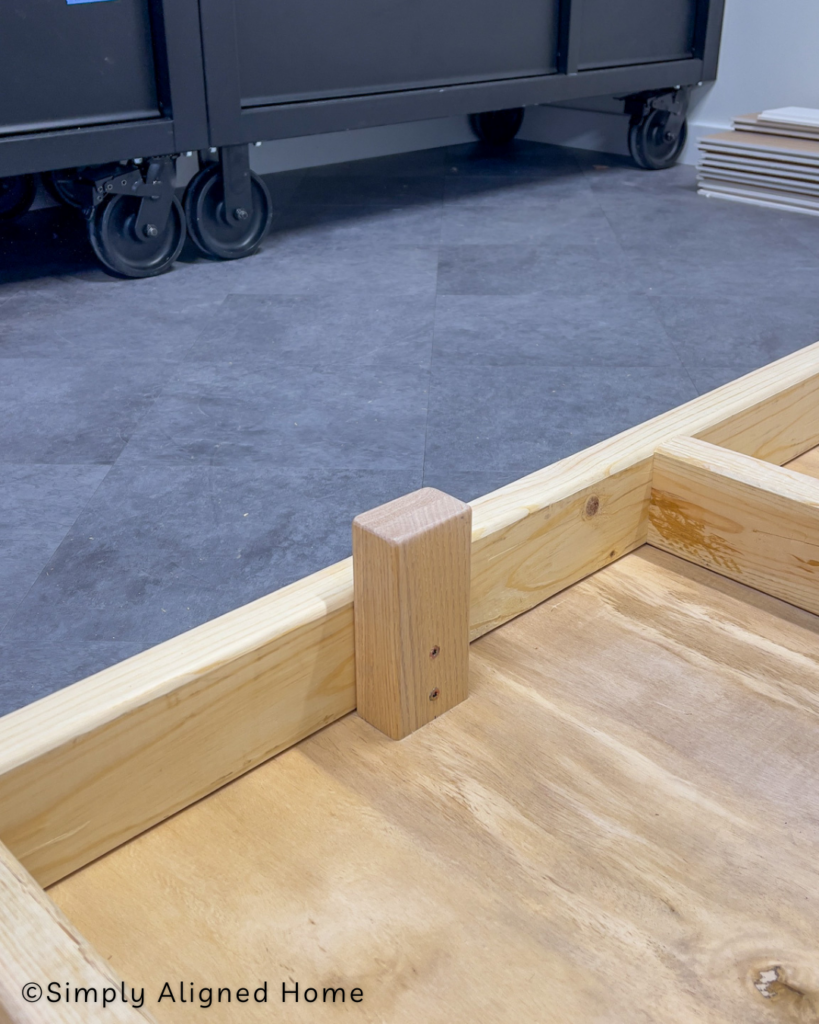
Step Two: Attach Legs To The Dog Bed
For the dog bed legs, I opted to utilize extra oak wood from our handrails. I was aiming for a polished appearance incase they were visible. After cutting the legs to the preferred length, I predrilled holes on the sides for secure attachment to the frame.
I don’t always pre-drill holes but in this case it was necessary. My first attempt I didn’t and it split my wood pretty badly. When pre-drilling holes it helps prevent the wood from splitting when you drive screws or nails into it.
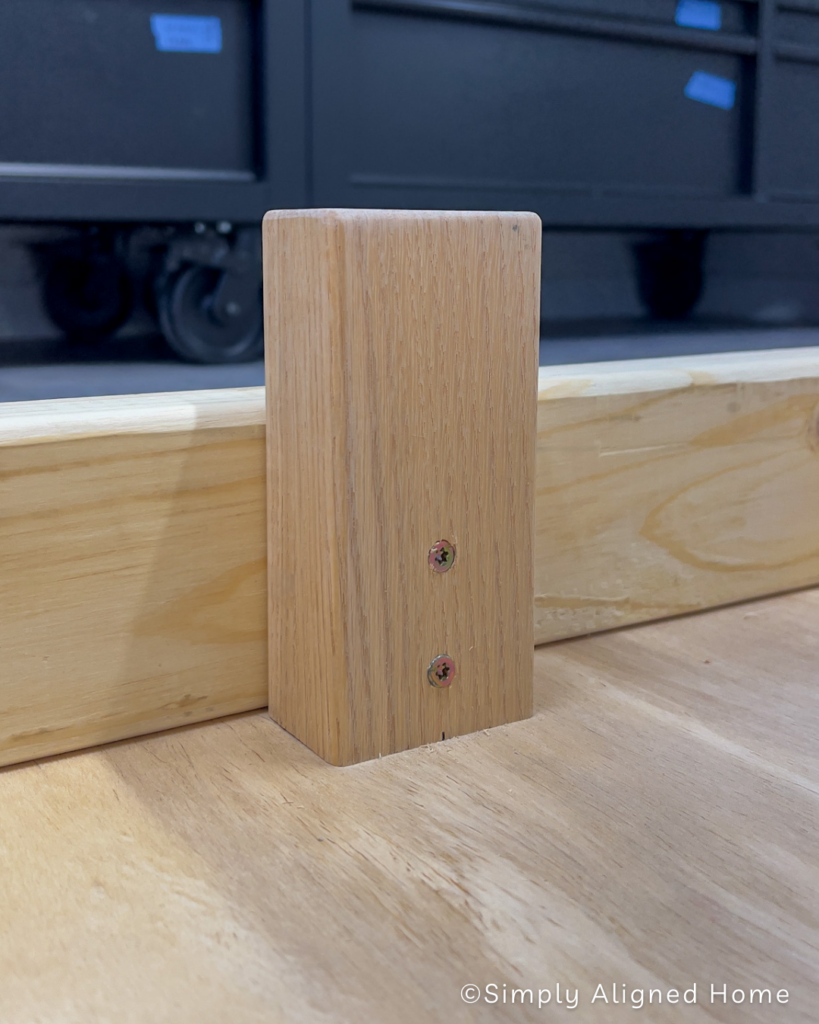
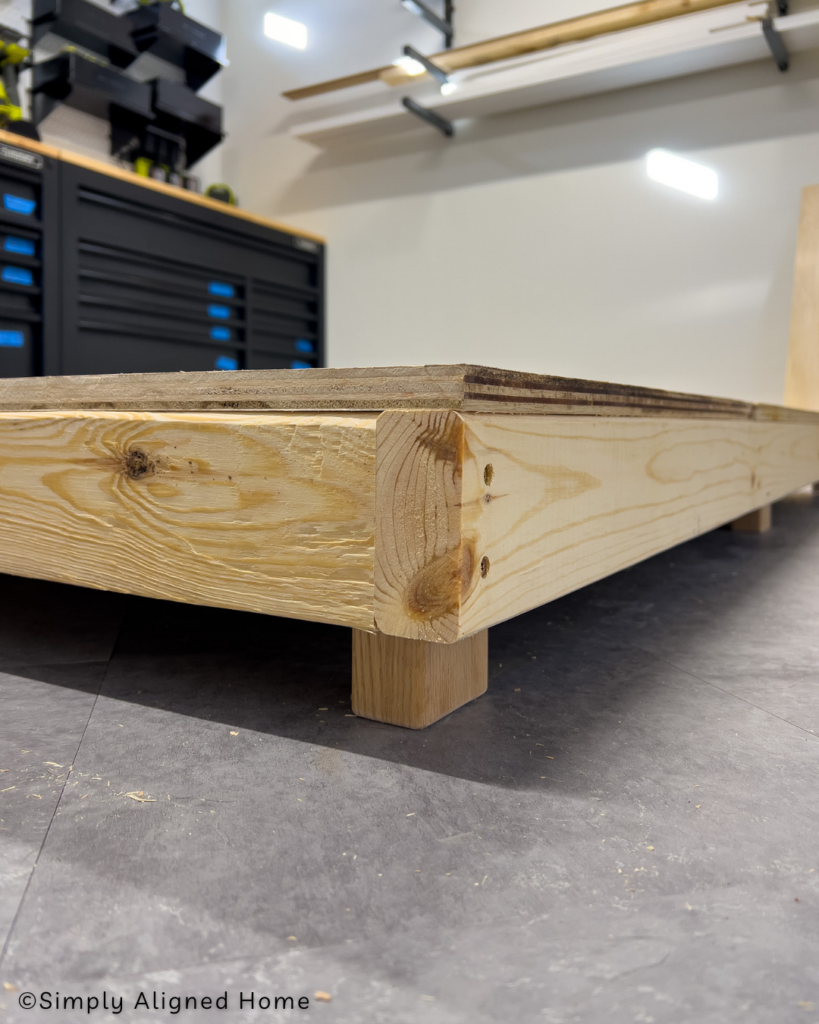
For the size of dog bed that I was building, I made sure to attach 8 legs, one in each corner and two in the center of the outside edges and two in the very center of the bed.
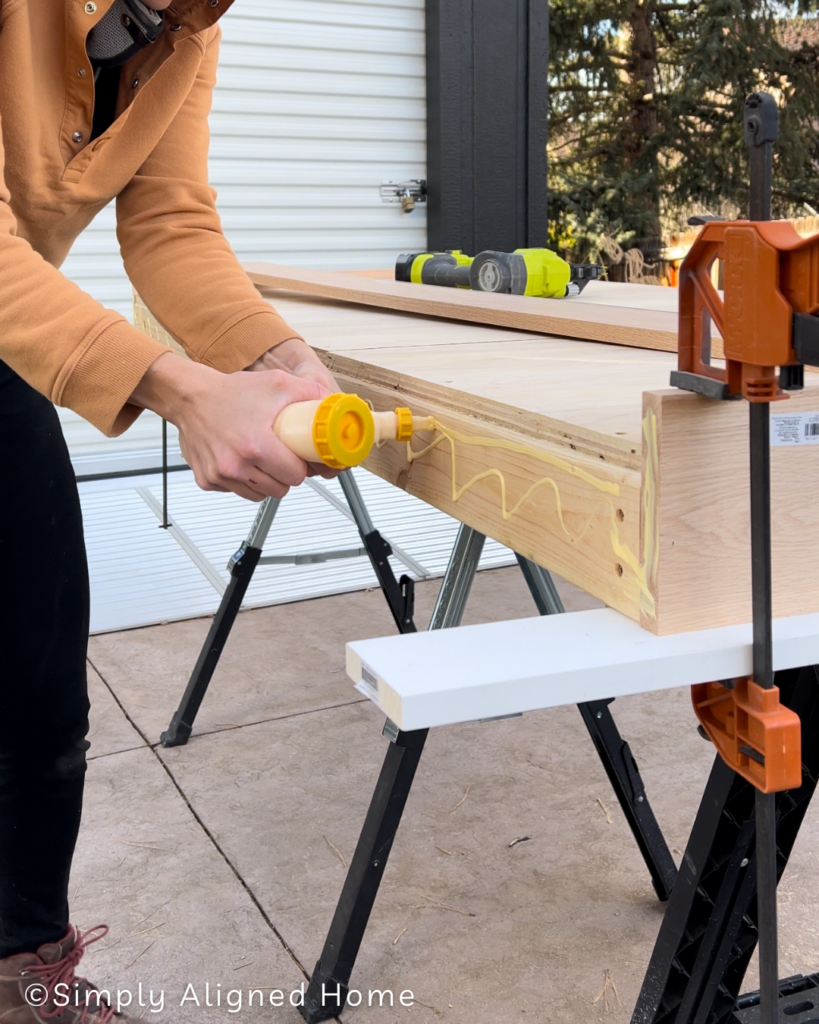
Step Three: Wrap The Bed In Oak
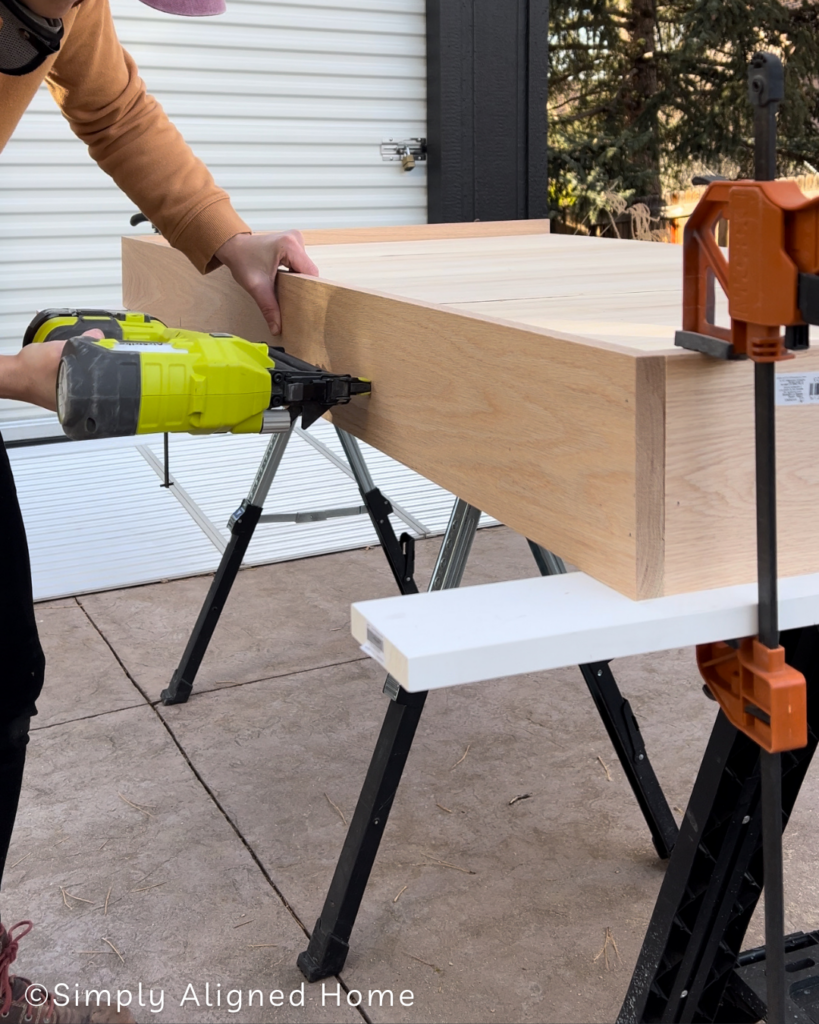
For a more finished look I chose to wrap the outer part of the bed in red oak wood. I used wood glue and brad nails to secure the wood to the frame.
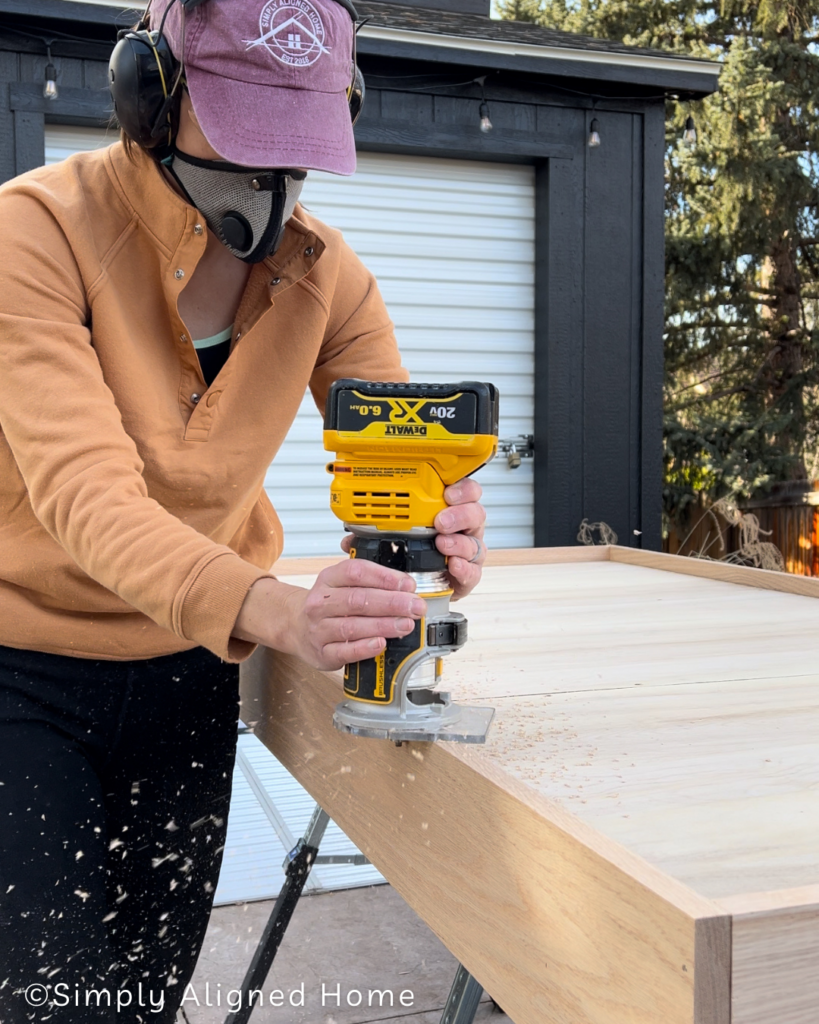
Seeking a more polished appearance with rounded corners, I used a router equipped with a roundover bit after assembling the bed. This process resulted in a sleek and smooth rounded edge.
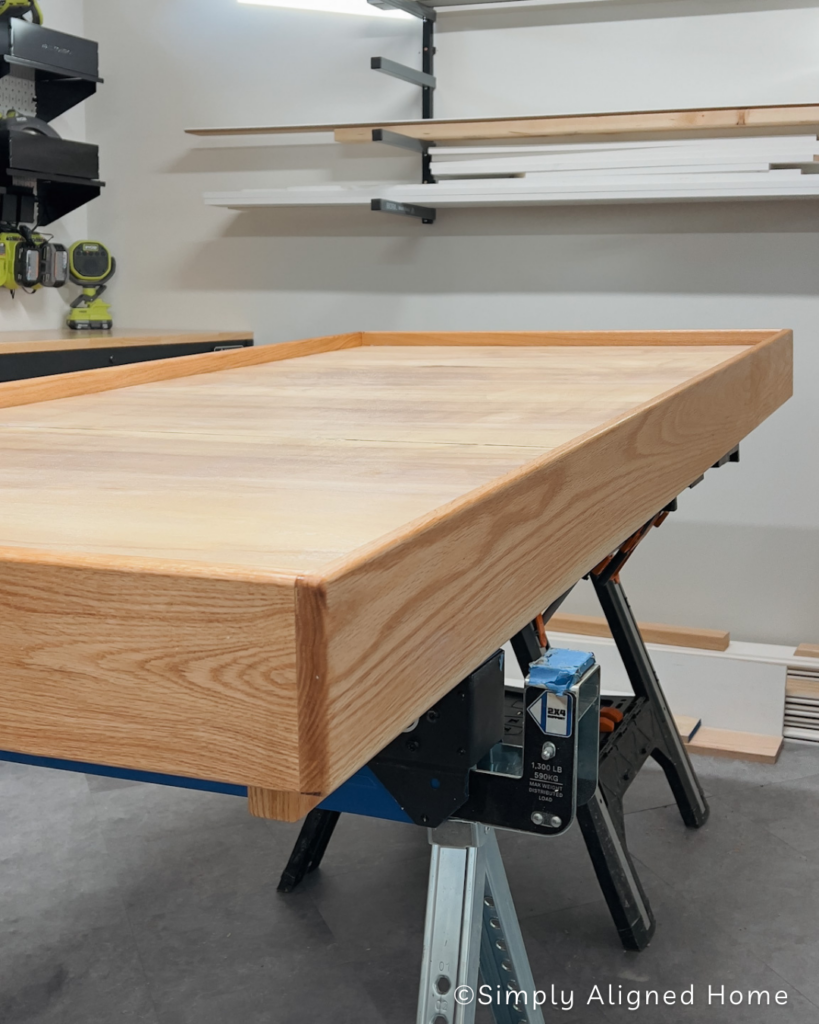
Lastly, I decided to seal the bed with pure Tung Oil. This enhanced the natural color and grain of the wood, giving it a warm and rich appearance.
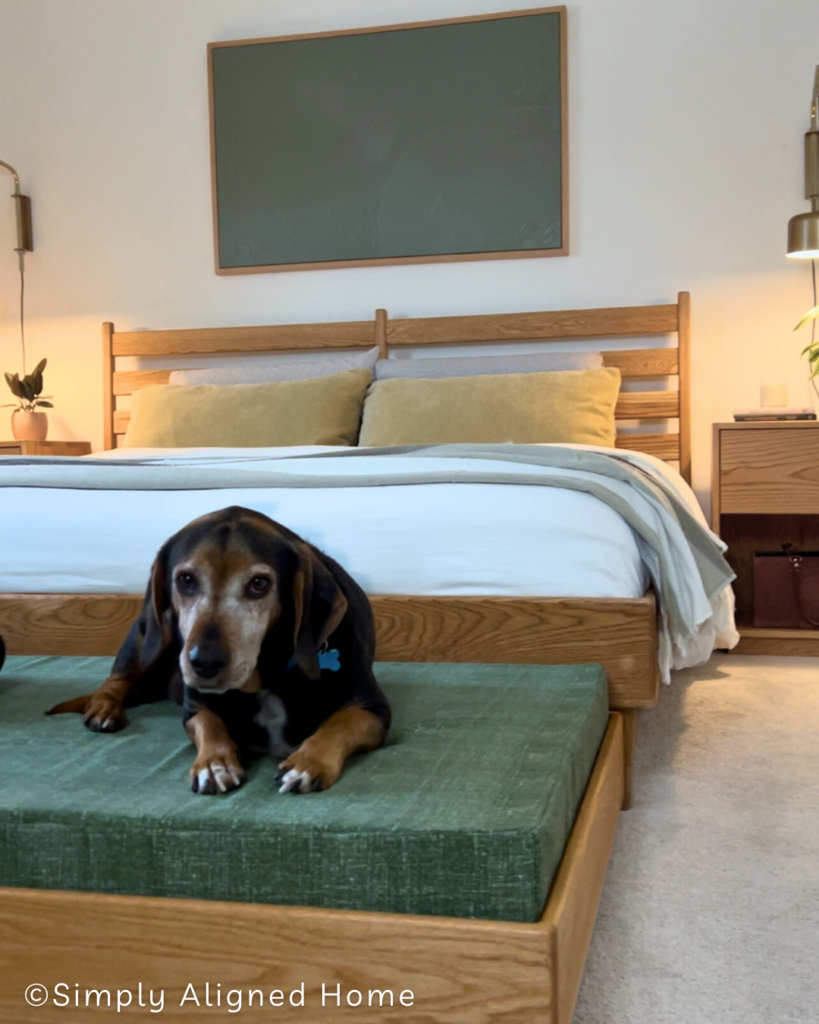
Step Four: Add Foam Dog Bed
With the dog bed finished, I proceeded to purchase a foam pad in the required size and enlisted my mom to make a slipcover for it. The bed really looks nice in this space, it plays well with my new joint compound wall art and with my oak nightstands and bed that I built!
I would say my dogs were pleasantly surprised by their new bed and are loving it!

**Note: I am not a professional and do not claim to be an expert. Please be sure to always read instructions for all tools and products. Safety is very important and should be your top priority. Wear necessary protection when using tools (eye wear, hearing protection, gloves, etc.) and dust masks when sanding or cutting. Simply Aligned Home is not responsible for any injury or damage. All of my designs are not professionally designed and are for private use only.**
Materials Used
- 2×4’s
- 3/4″ plywood
- Construction screws
- Oak Wood For Legs & Sides
- Wood Glue
- Clamps
- Brad Nails
- Rag
- Walrus Oil-Tung Oil
- Foam Pad
- Fabric For Cover
Tools Used