
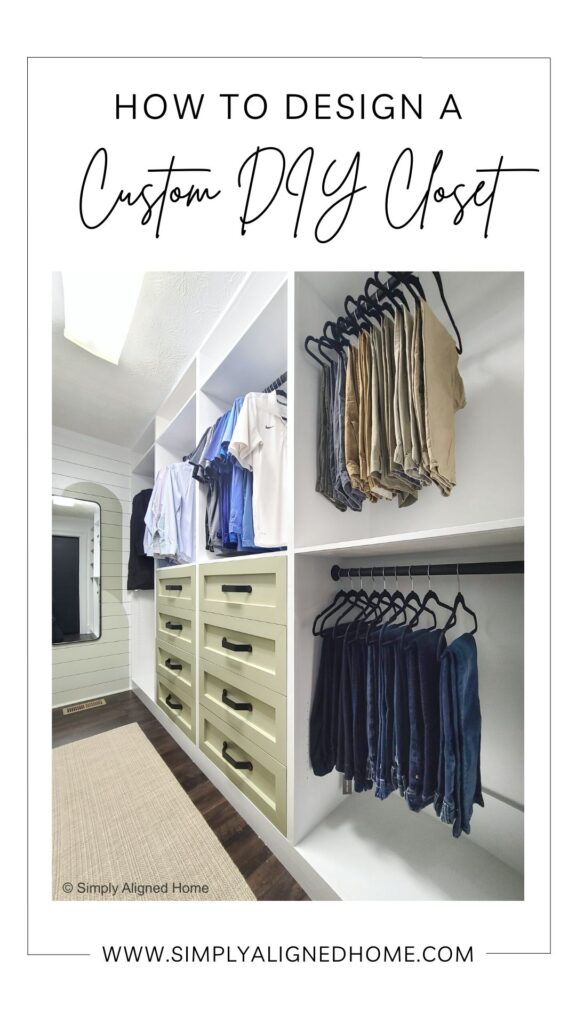
Is a primary closet complete with wire shelving?! While wire shelving does add flexibility to be able to adjust the shelving height, but it can also be very frustrating! I had enough of the wire shelving in our closet and decided it was time to build a custom closet! Here is how I designed my custom DIY closet.

It’s not often that I fully design my projects before I begin working on them. Some of my favorite projects I designed as I went. I would build a section of the project before determining the next steps. When you are dealing with a space like a closet, it is best to determine the layout before beginning the work. This will ensure that you are optimizing the space.
My design started with a search for several standard closet dimensions. I used these dimensions as a starting point and modified as I saw fit.
Determine Depth of Closet Units
The depth of my closet units largely depended on the depth of my closet on each side of the door. However, I did want to know the standard depth of closet systems. I found that closet systems tend to be roughly 19″ deep.
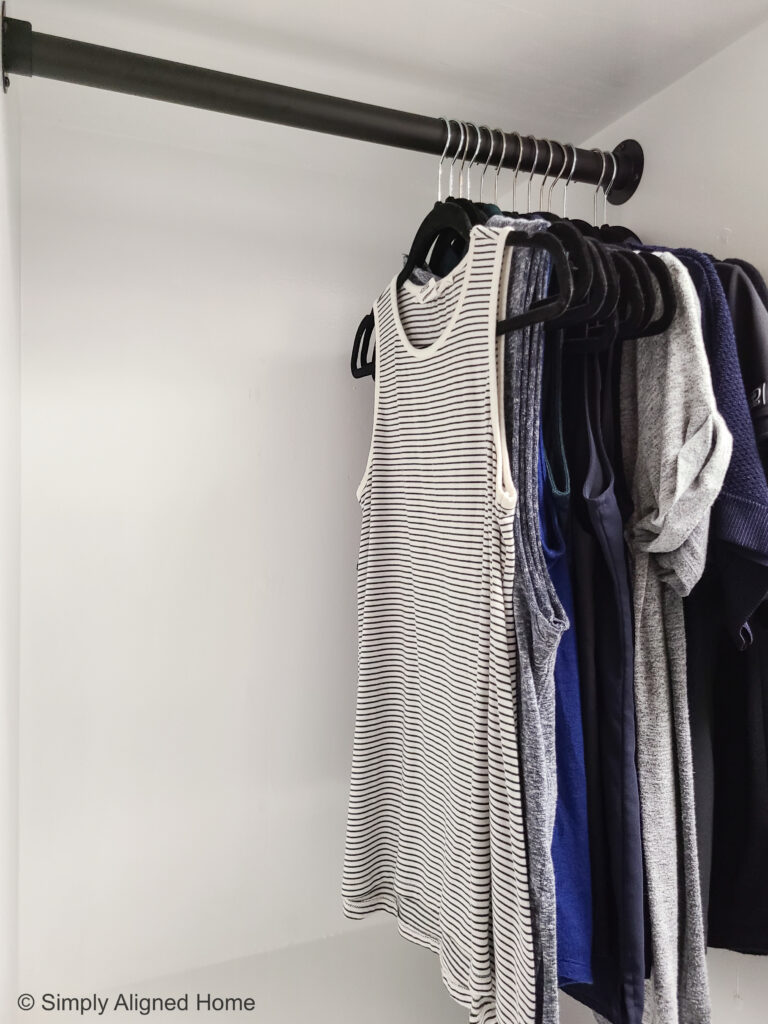
I had a little more space than that on each side of my closet door. I wanted the closet units to be deeper than a standard hanger so that the hangers would fully sit inside of the closet unit. I thought that having the hangers outside of the closet units would make the closet look messier.

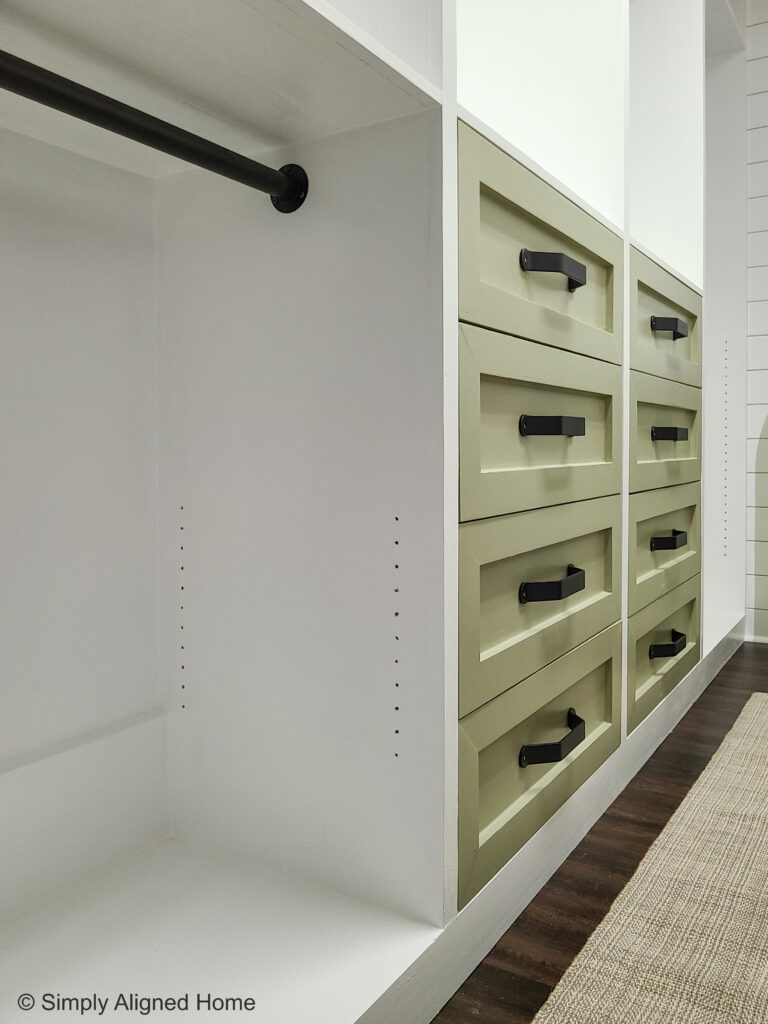
When determining the depth of the closet units, I did take into consideration the fact that I would be adding 1×2 trim to the front faces. I just needed to be sure that I had room for the additional 3/4″ that I would be adding to the overall depth.
My hangers are approximately 17-1/2″ wide and I wanted an inch or two on either side of the hanger. Therefore, I decided to make the depth of my closet units 20″ before I added the face trim.
Draw Out Your Closet
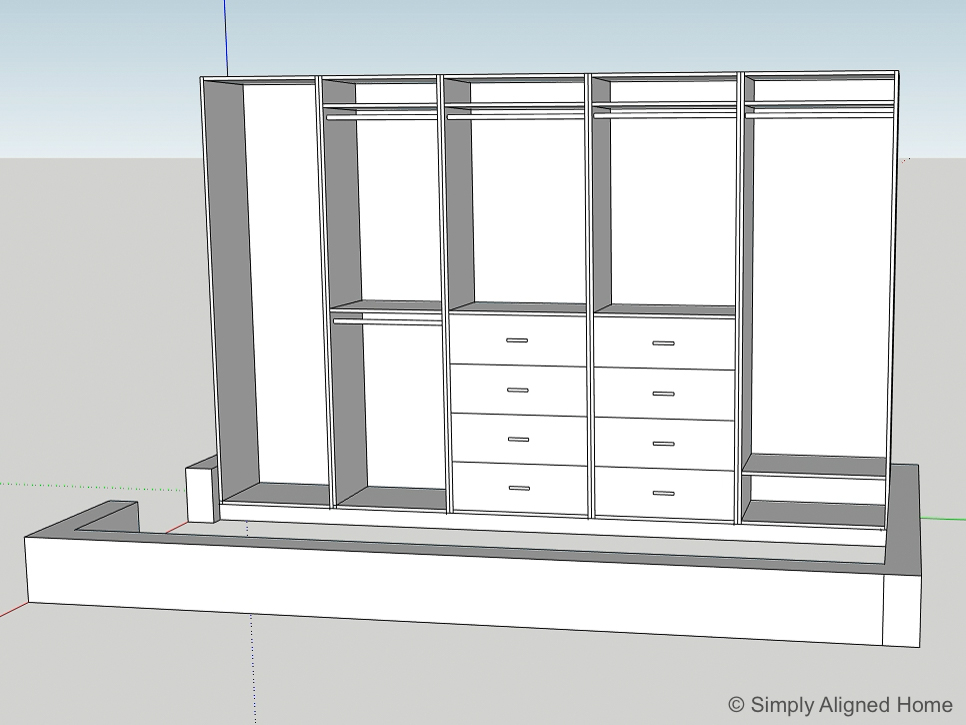
I find it helpful, with projects like this, to draw everything out. This will allow you to see the scale of your space and design. I personally used Sketchup to draw my closet design.
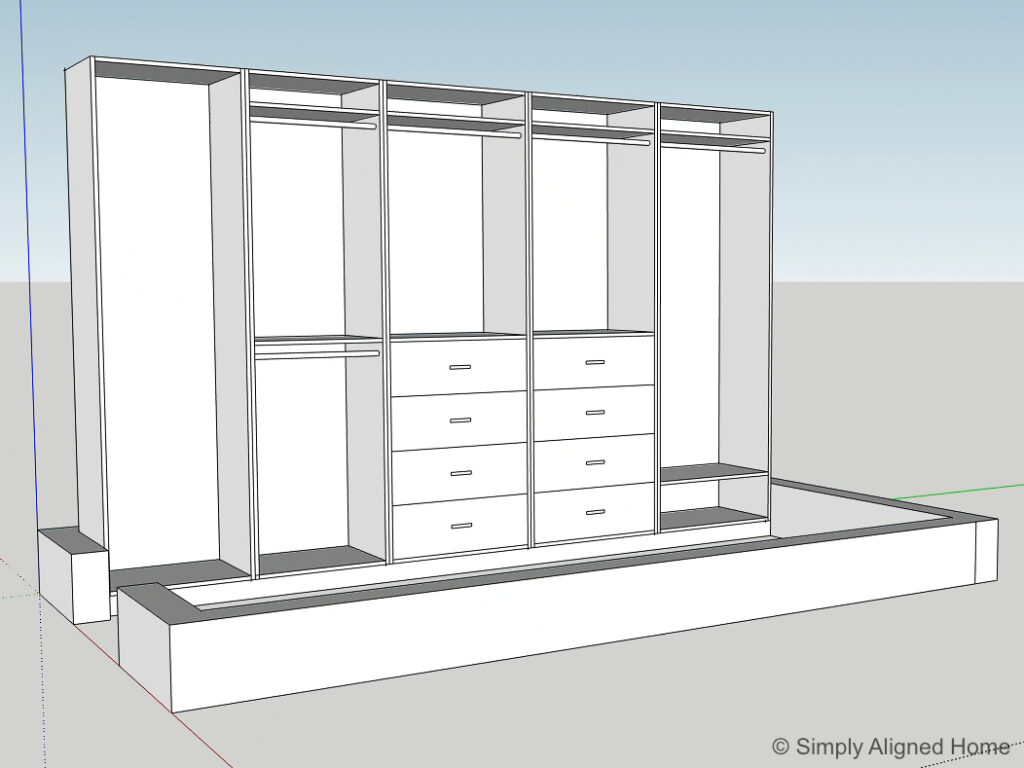
You do not have to invest in expensive design software to be able to draw your projects. Sketchup has a free version online and there are also free 2D CAD softwares that you can use as well. Don’t want to try to learn a new program to design a closet?! That’s fine…grab some paper and a pen! I just think it’s sometimes best to put your design on paper before you begin.
Drawing my closet allowed me to see the different size of the units in the space. I was able to adjust the widths until I was satisfied with the layout. This saved me from making a lot of changes to the design once I began cutting the wood.
Determine the Width of the Units
I started my design by dividing the overall length of my closet by five (5). I thought I would be able to easily add five units per side. This gave me a rough idea of the width of the units.
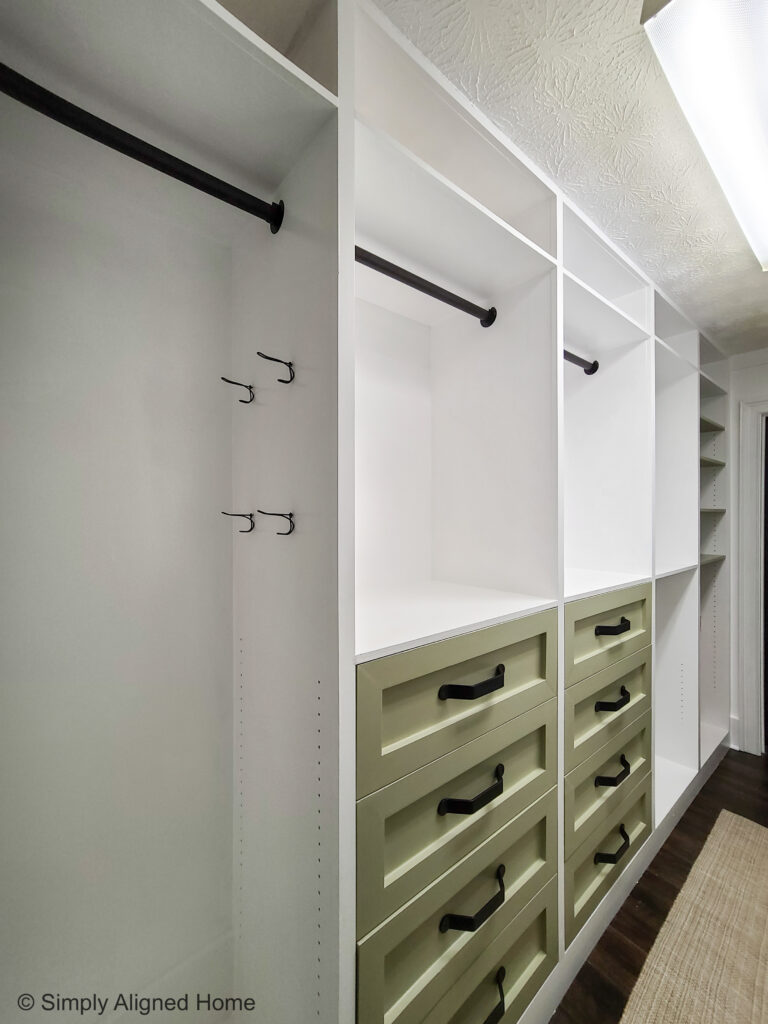
I decided that I wanted one unit with shelves, two units for hanging and two units with drawers. I wanted the drawer units to be slightly wider than the rest of the units. In order to keep things easier, I decided to also make the long hanging units the same width as the drawers. I made them 29-1/2″ wide.

With the width of the larger units determined, I dividing the remaining length by two for the remaining two units. This left me with two units that were 24″ wide.

There is no right or wrong way to determine the width of the closet units…it’s all personal preference. I just wanted to make my job of actually making the units easier. By having a few of the units the same width, I was able to cut several shelves at once.
Closet Rod Heights and Shelf Spacing
While I did do some research on the standard height of a closet rod, I ultimately based the height of the rod on our height. My husband and I are tall, so I decided to hang the rods a little higher than standard height. The height of the hanging rods would ultimately determine the height of my fixed shelves.
I decided I wanted fixed shelves to add to the rigidity of the closet units. Having fixed shelves would not only make the units more stable, but would also keep them square. I settled on added fixed shelves 2-1/2″ above the center of the hanging rod.
Layout Drawing
In order to keep things straight and minimize errors, I generated an overall layout drawing for the closet. Unfortunately, I deleted the drawing once I was done assembling the closet, so I don’t have it to share with you.
The layout drawing had all of the major dimensions shown. I kept a printed copy on hand while building the closet in order to make notes and ensure I didn’t install the closet boxes in the wrong place. In order to keep it simple, I decided to mirror the design of the closet when installing the other side.
With the overall design the closet complete, I was able to begin building my custom closet! I could not wait to say goodbye to that awful wire shelving once and for all!

Hi.. what software did you use to design your closet?
I use SketchUp.