Making a DIY large serving tray can be a fun beginner project. You can customize its shape, size and color. Here’s a basic guide on how to make a wooden serving tray!
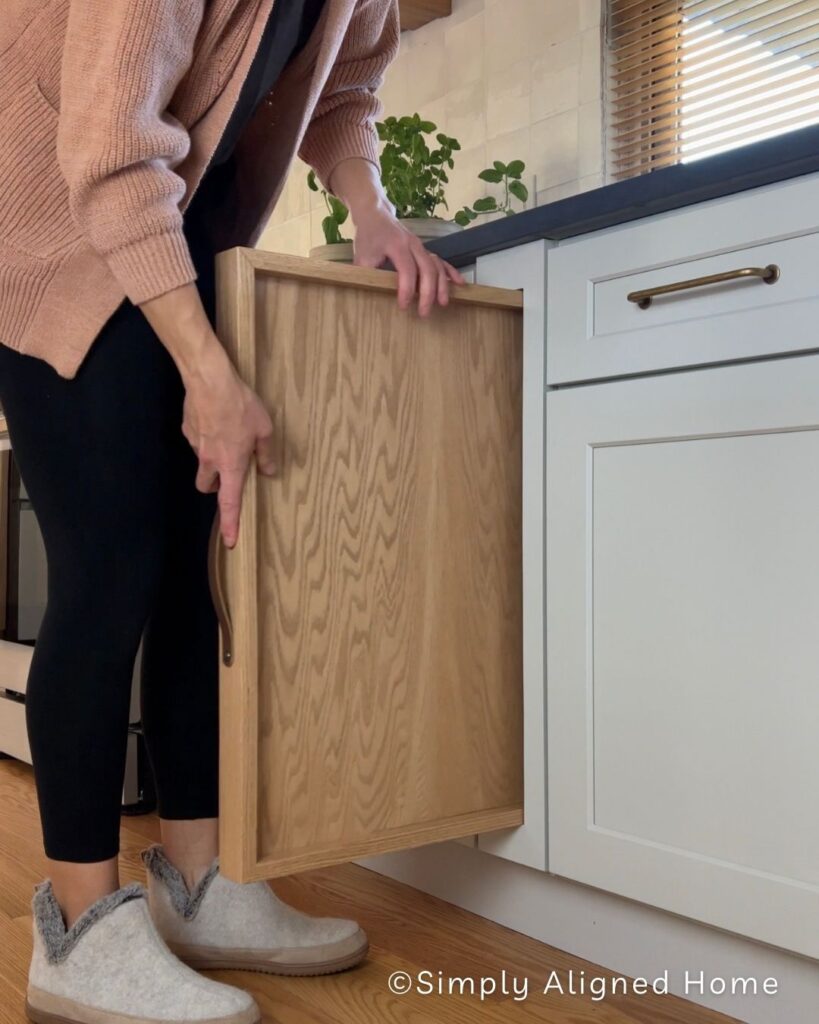
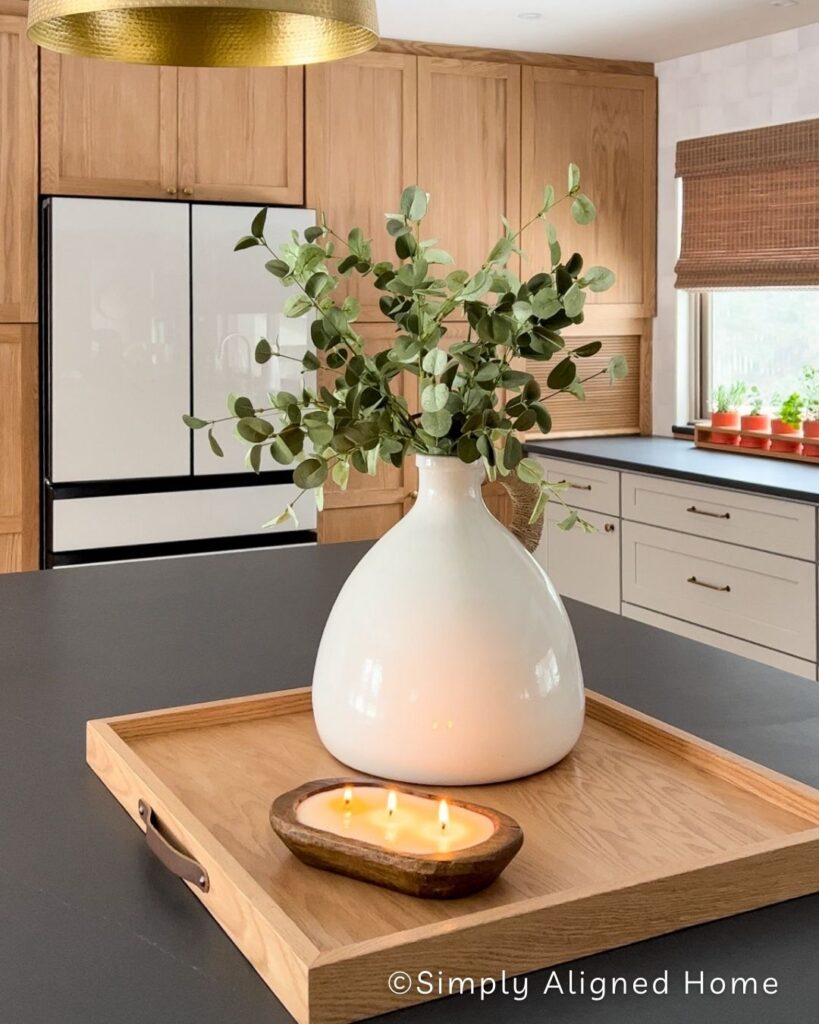
Just recently I finished doing a complete overhaul on our kitchen. From a new layout, to custom cabinets, range hood and tile backsplash, I knew I wanted to add a little bit more character. I had a small gap in the bottom cabinets that I could have just closed it up with trim but decided to add a custom slot with a pull out DIY large serving tray.
This serving tray was a great addition to our kitchen. Follow the step-by-step tutorial down below to make your own!

**This post contains affiliate links to products that I used or recommend. If you purchase something through an affiliate link, I may receive a small percentage of the sale at no extra cost to you. I really appreciate your support!**
How To Make A Wooden Serving Tray
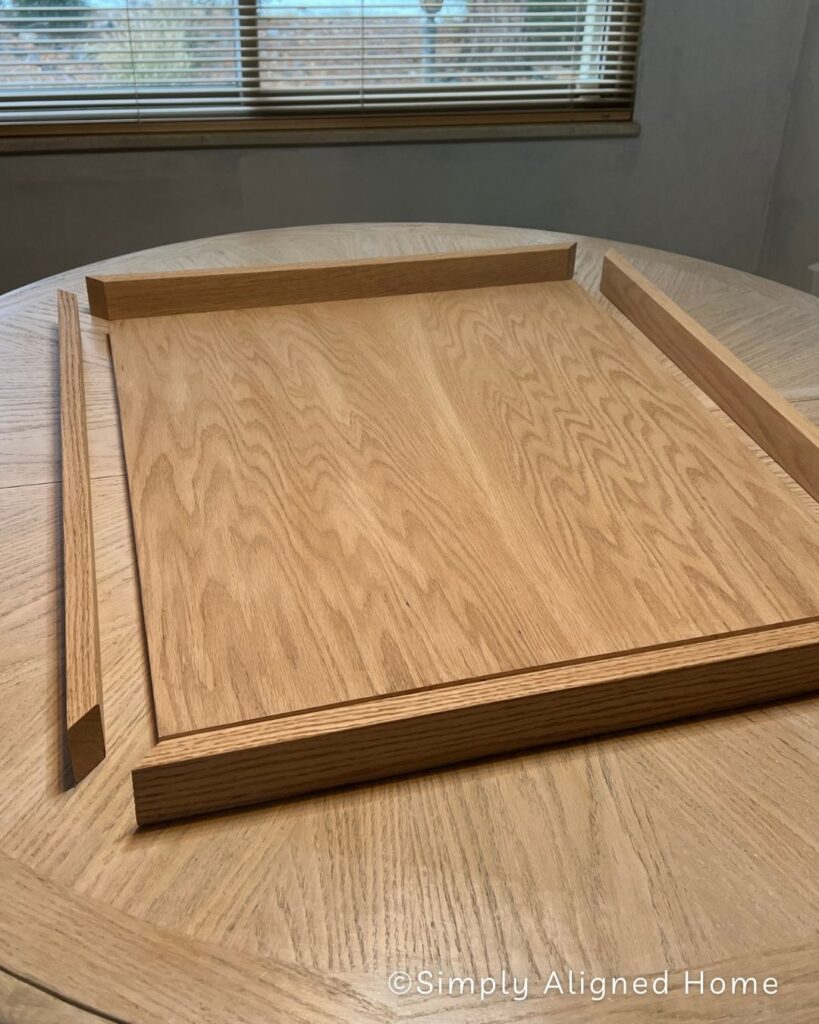
Step One: Cut Your Wood
Determine the desired size of your tray. It could be square, rectangular, or any shape you prefer. I started off by cutting the center out of 3/4 inch red oak plywood with my circular saw. After you have the main piece of your serving tray cut out you will need to cut out the frame using 1×2 oak boards.
When you’re in the process of cutting your frame pieces, it’s important to pay attention to the details. To achieve a more professional appearance, consider cutting the ends of the frame pieces at a precise 45-degree bevel angle.
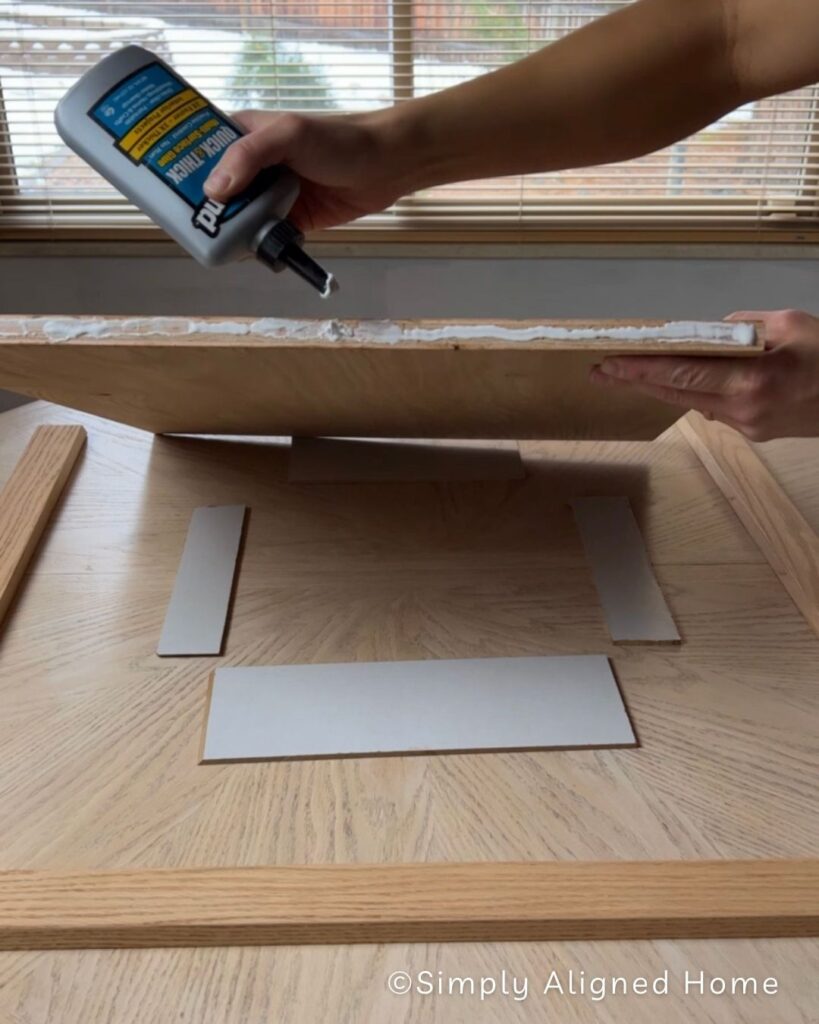
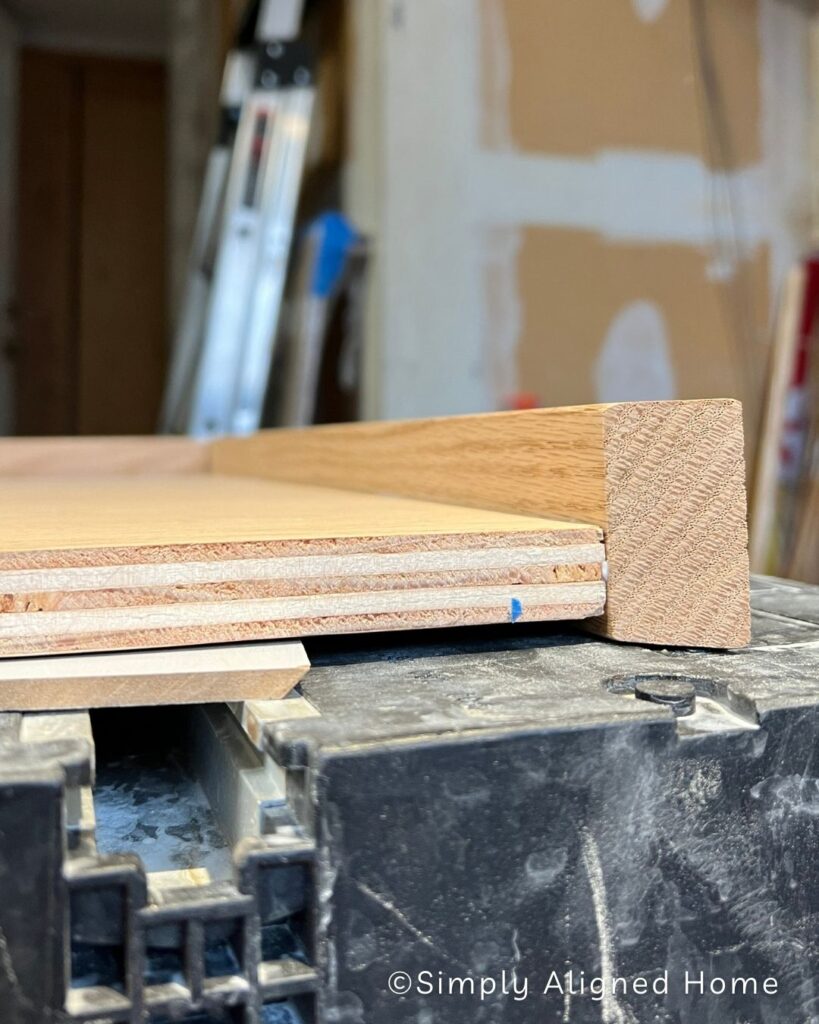
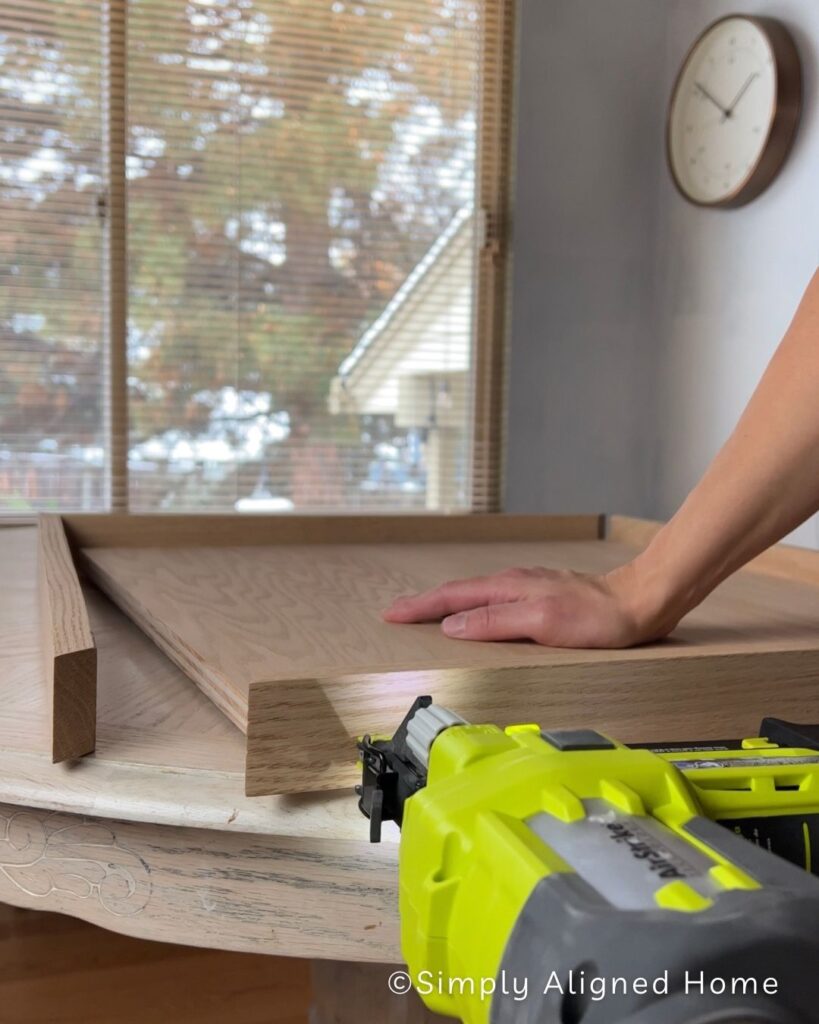
Step Two: Assemble Serving Tray
During the assembly of the serving tray, I found a clever use for the leftover 1/4-inch plywood I had laying around. I used the plywood to create a gap, allowing the center board to sit flush within the frame. I then secured the frame to the center board by using a combination of glue and brad nails for a secure hold.
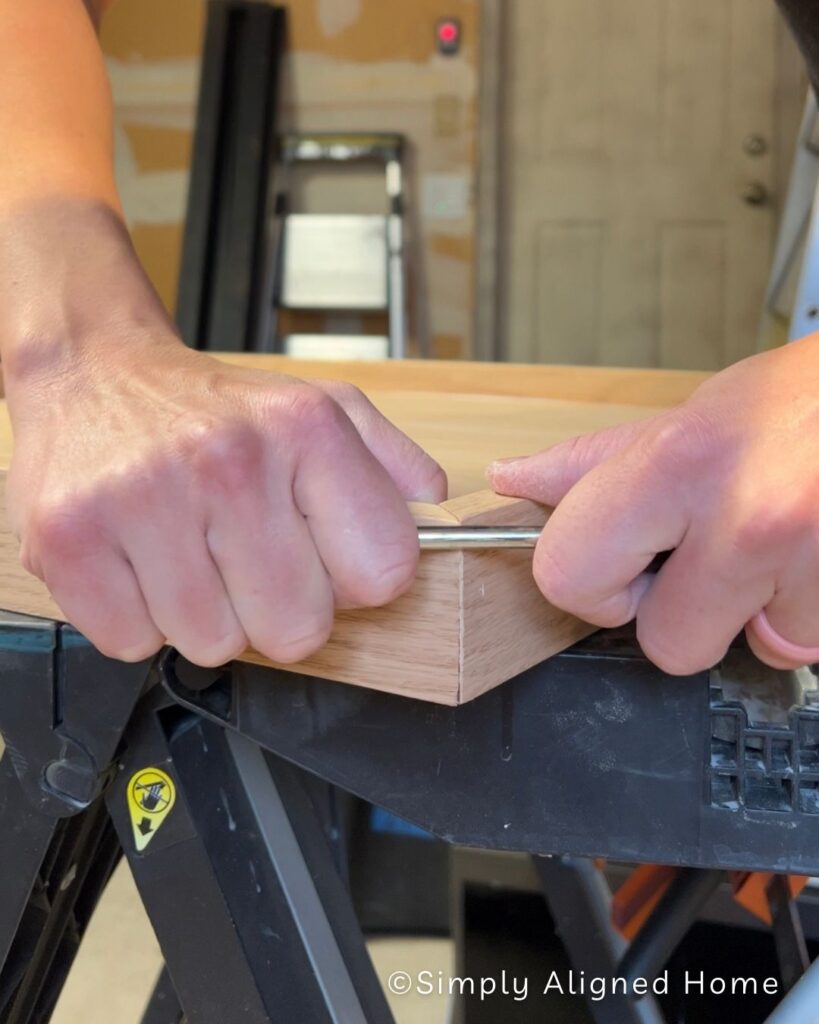
Step Three: Fill Nail Holes, Sand, Stain And Seal
Don’t forget to fill all your nail holes and sand them smooth. In the event of minor gaps at the corners, use a screwdriver as a handy tool to close any seams. By gently running the screwdriver along the mitered edges, you can ensure that any minor gaps are minimized, resulting in a tight and professional-looking joint.
Finish up with a light sanding to remove any unevenness.
Before you move on to staining make sure you use a pre-stain conditioner to help ensure a even stain color, if you chose to make the serving tray out of a soft wood. Pre-stain will get rid of any blotchiness, making your wood absorb the stain evenlying. Stain all your boards. Then, seal with your choice of sealer.
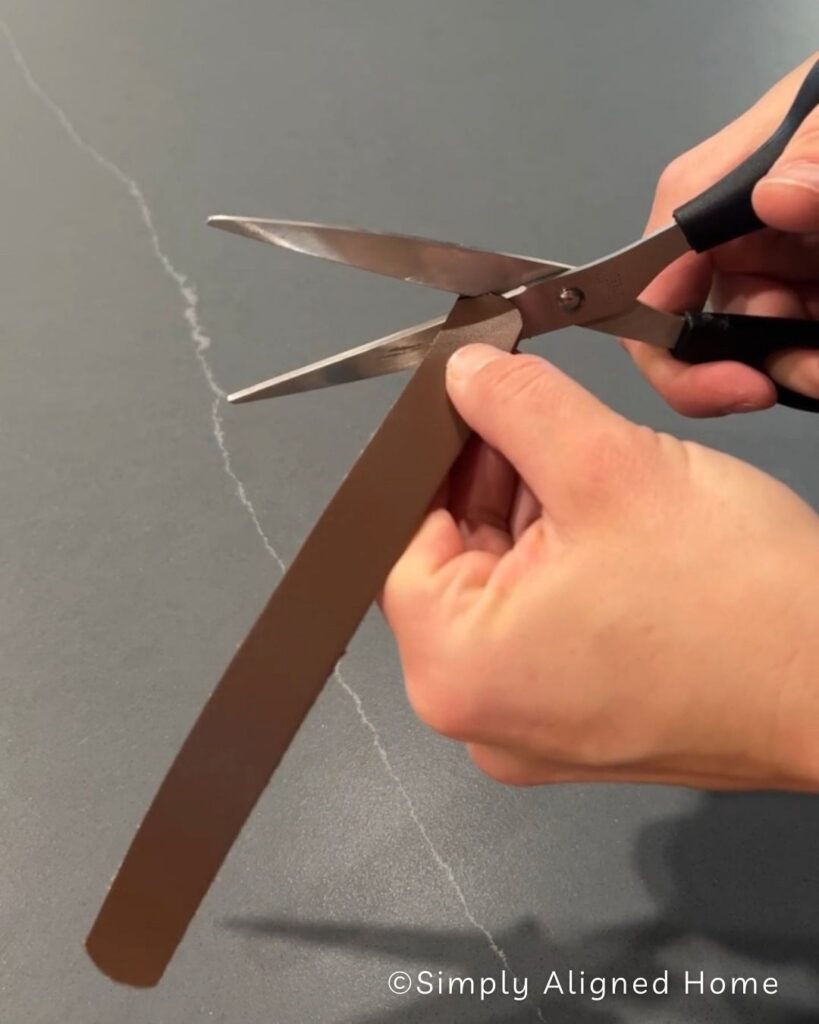
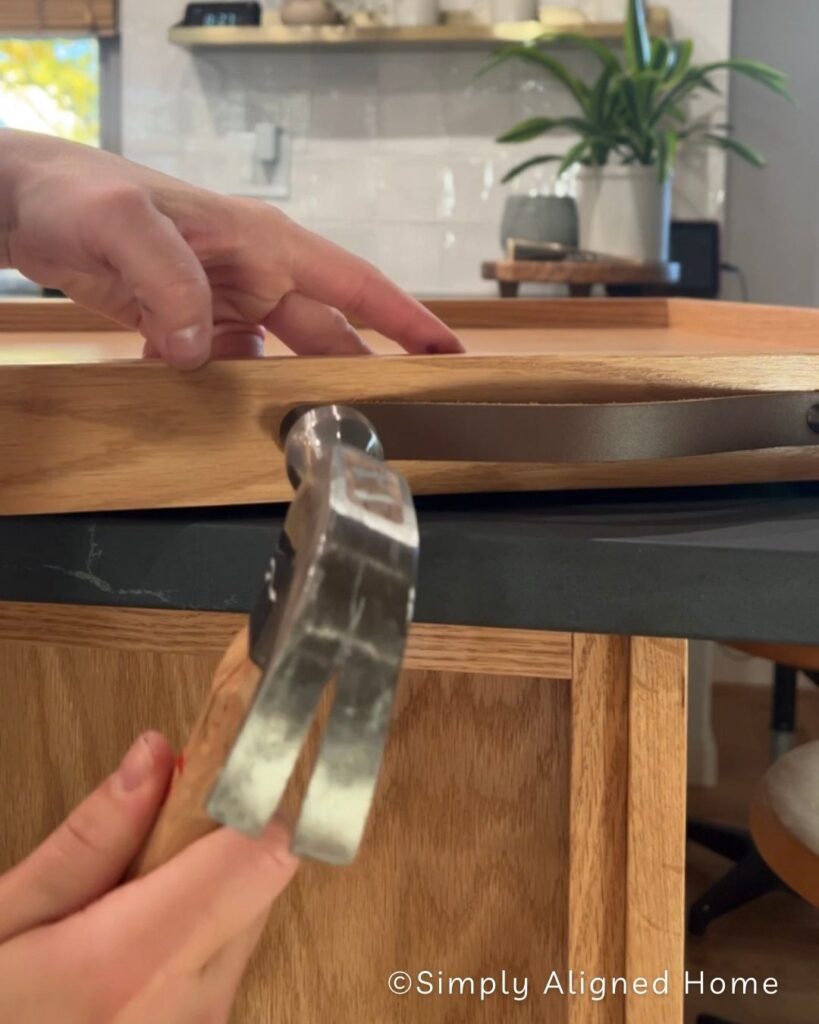
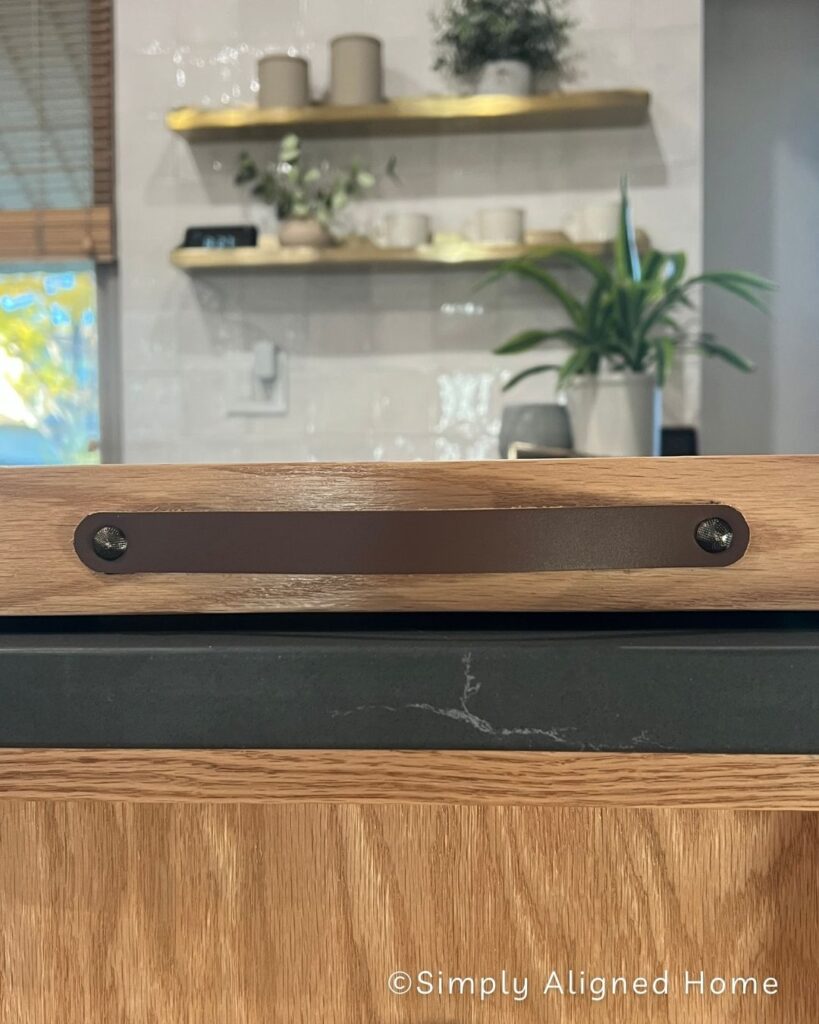
Step Four: Add Handles
Lastly, for handles I chose to add leather straps to the ends of my tray. I took the leather material and trimmed them to the desired length with scissors and rounded the edges for a cleaner look. To make sure the handles were secure I used super glue to attach them. Once the super glue was dry I used upholstery tacks to finish the look.
I’m so happy with how this DIY large serving tray turned out! DM on Instagram if you too decide to make a serving tray, I would love to see.

**Note: I am not a professional and do not claim to be an expert. Please be sure to always read instructions for all tools and products. Safety is very important and should be your top priority. Wear necessary protection when using tools (eye wear, hearing protection, gloves, etc.) and dust masks when sanding or cutting. Simply Aligned Home is not responsible for any injury or damage. All of my designs are not professionally designed and are for private use only.**
Materials Used
- Upholstery Tacks
- Wood Filler
- Wood Glue
- 3/4 Inch Red Oak Plywood
- 1×2 Red Oak Boards
- Super Glue
- Leather Straps
- Brad Nails
- Sealer Of Your Choice
- Stain
- Pre-Stain Conditioner
Tools Used