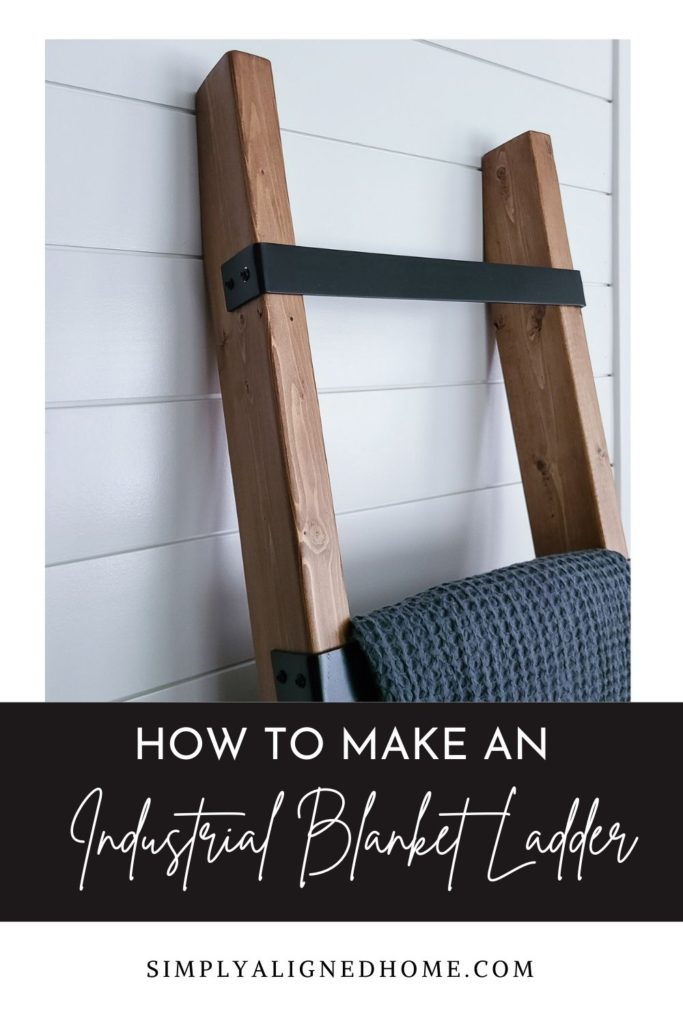
Have you ever seen a trend that you like, but it doesn’t quite fit your style? That’s how I felt about blanket ladders! I love the idea and would like an attractive way to store our blankets…instead of just leaving them bundled up on the sofa. The only problem is that I never really loved any of the ladders…until I saw one with steel rungs!
I loved the mix of wood and metal and really wanted to make one myself. The black of the steel matched my decor perfectly…doesn’t it look great next to my custom coffee bar?! I have never worked with steel and was not prepared to start. Instead, I decided to use aluminum! It was much easier than I expected! Here’s how I made it.
**This post contains affiliate links to products that I recommend. If you purchase something through an affiliate link, I may receive a small percentage of the sale at no extra cost to you. I really appreciate your support.**
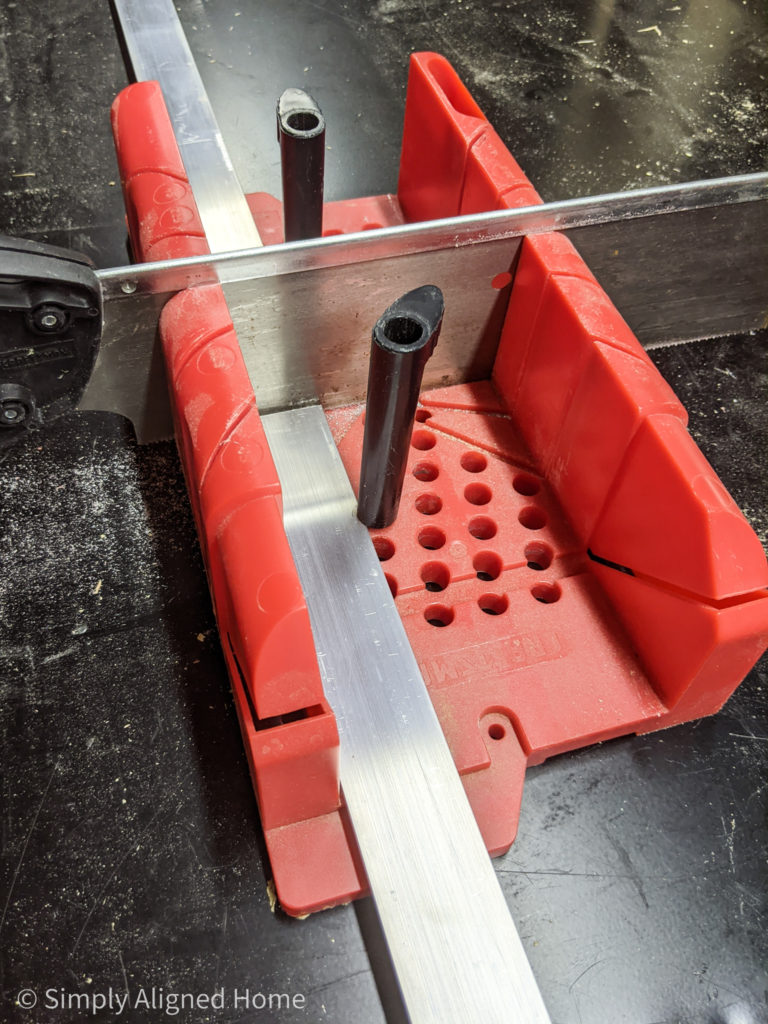
Cut the Aluminum
I started out with an 8′ long piece of 1-1/2″ aluminum flat bar. The first thing I did was cut the flat bar into five equal pieces. This gave me five rungs for the ladder.
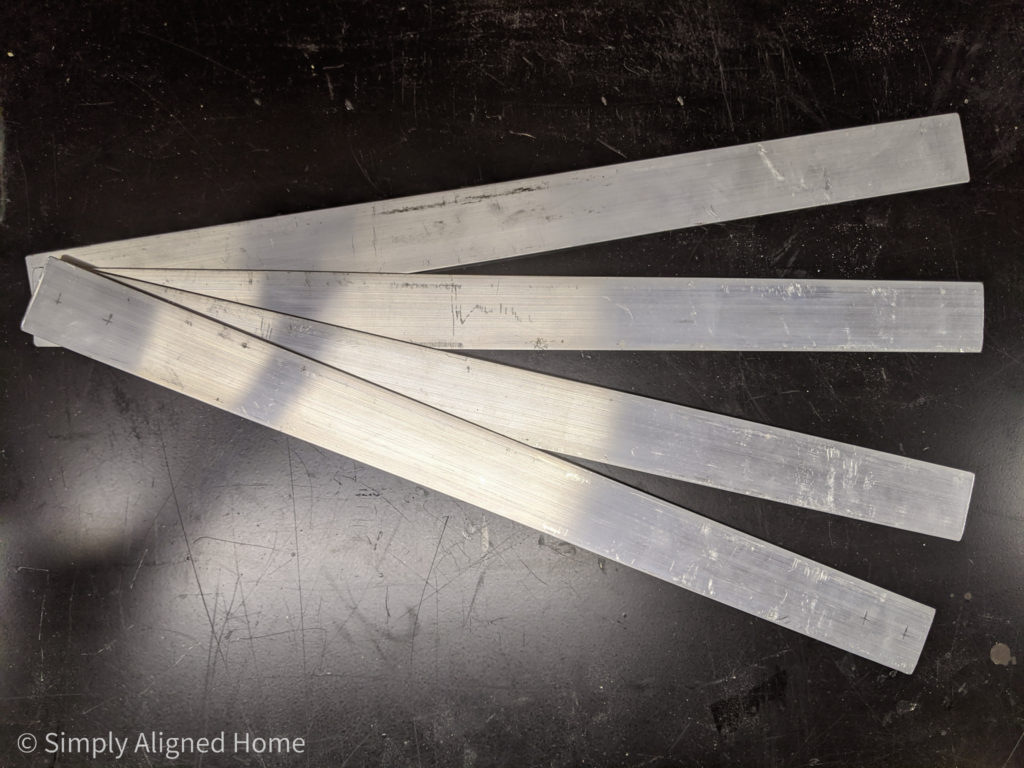
In order to cut the flat bar, I used my hand saw and miter box. It was a little bit of an arm workout, but it worked like a charm!
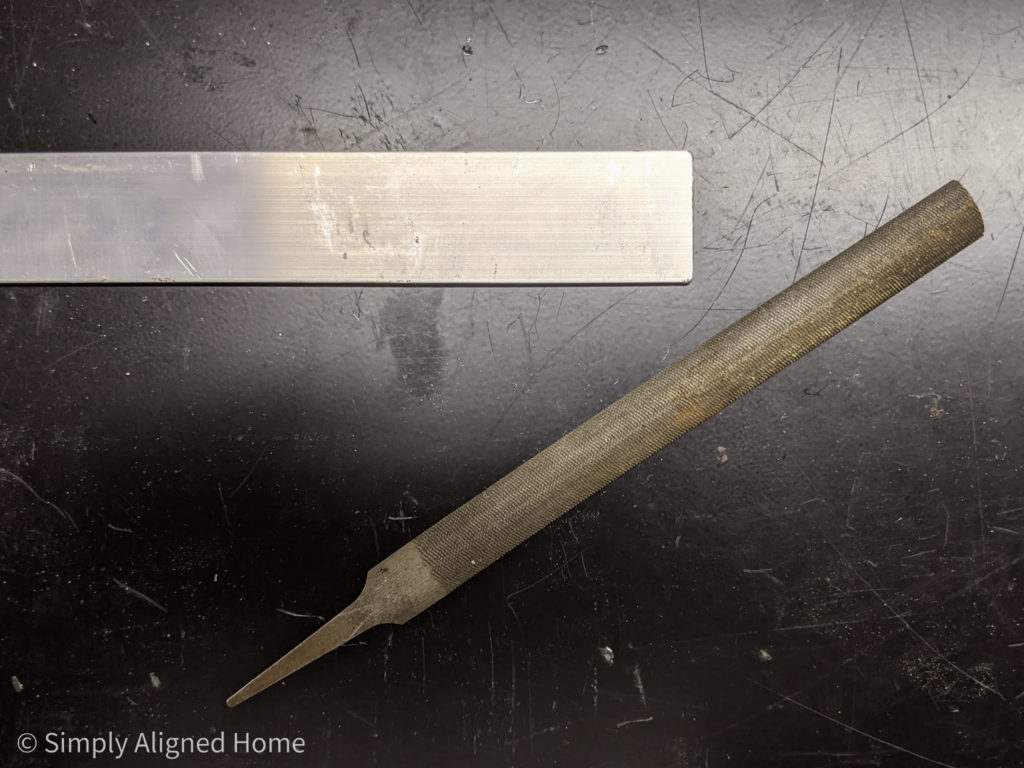
I smoothed out the cut ends and removed any sharp edges with a metal file.
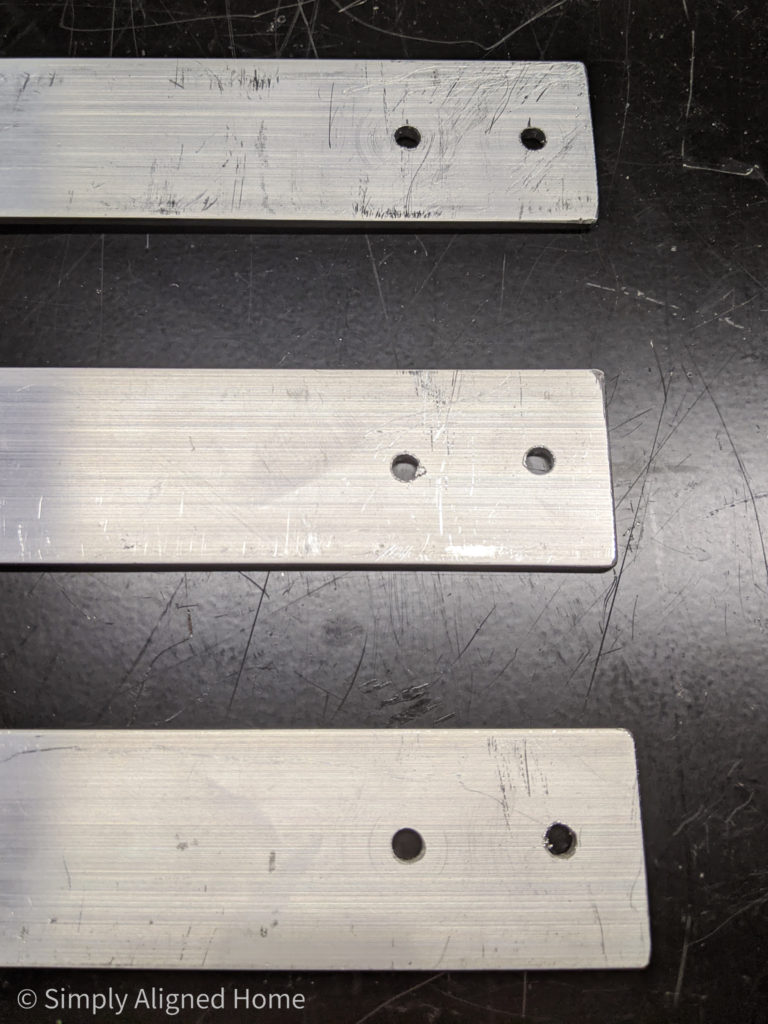
Drill Holes in the Aluminum
I decided to use screws to secure the aluminum to the ladder rails. I pre-drilled two holes in each end of the aluminum strips. The holes were slightly larger than the screws that I selected.
Bend the Aluminum
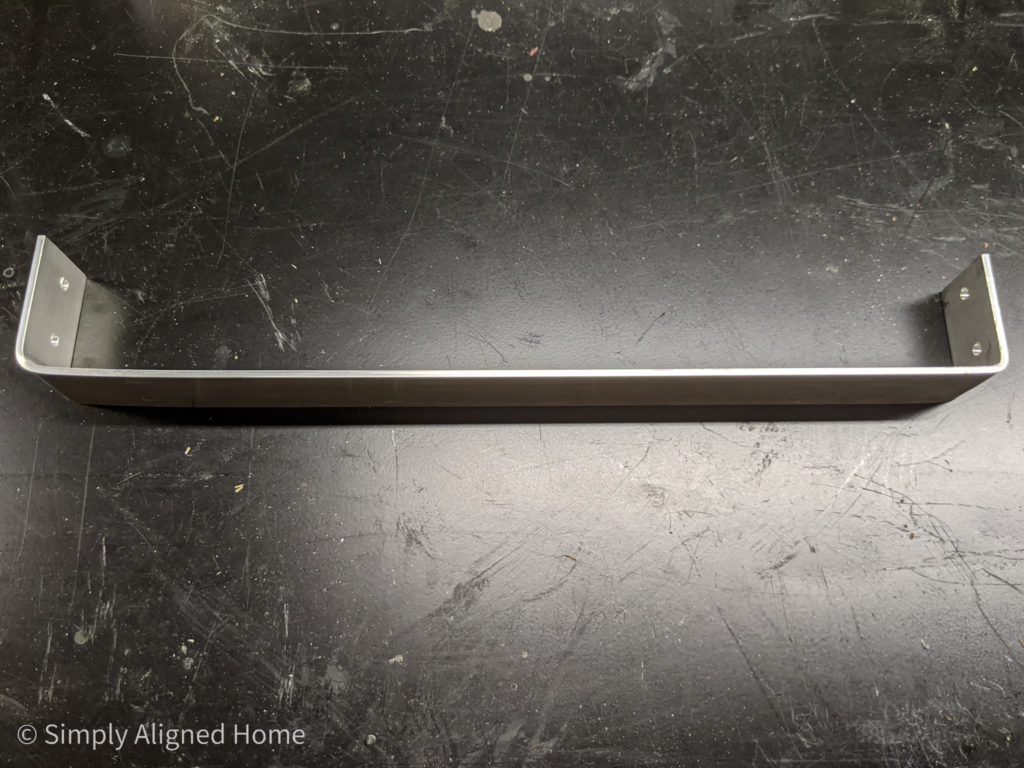
The steel rungs from the original ladder were bent to go around the ladder rails. Luckily, aluminum is much easier to bend than steel! I placed the aluminum strip in a vise and used a hammer to bend each end at a 90 degree angle.
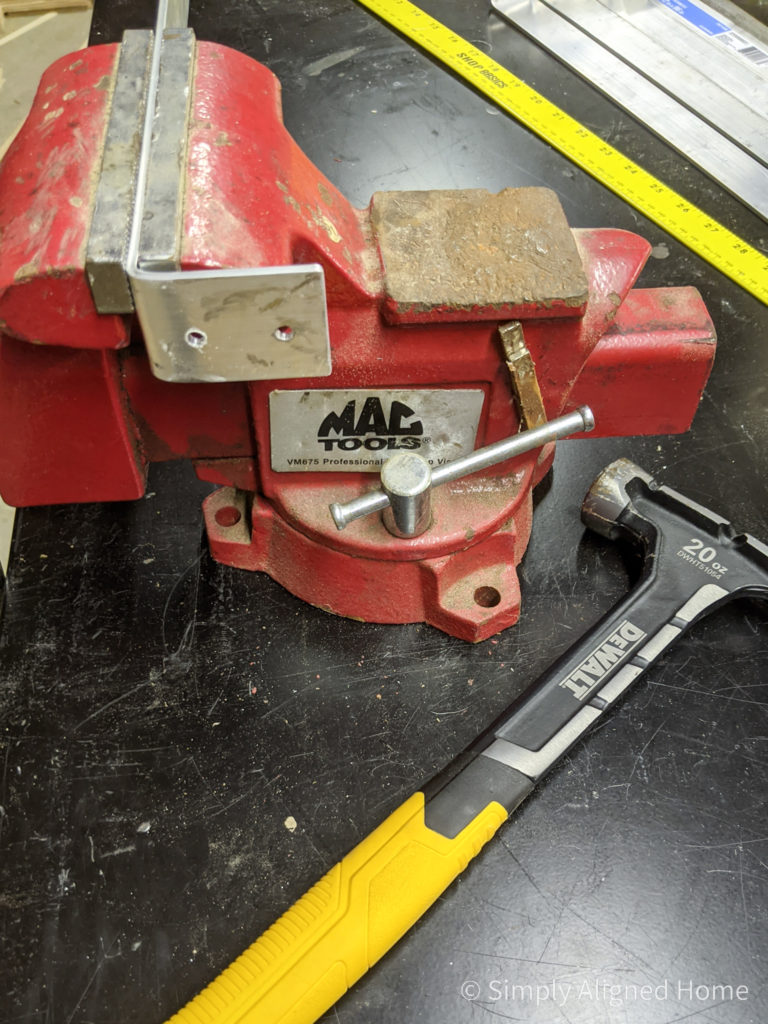
I also tried bending it over the side of a metal table…which worked pretty well. Just be sure not to bend it over a table that you are worried about ruining. Bending the aluminum like this is not perfect, but you’ll never notice once they are on the ladder!
Spray Paint the Rungs and Screws
To the finished look of the black rungs, I used spray paint.
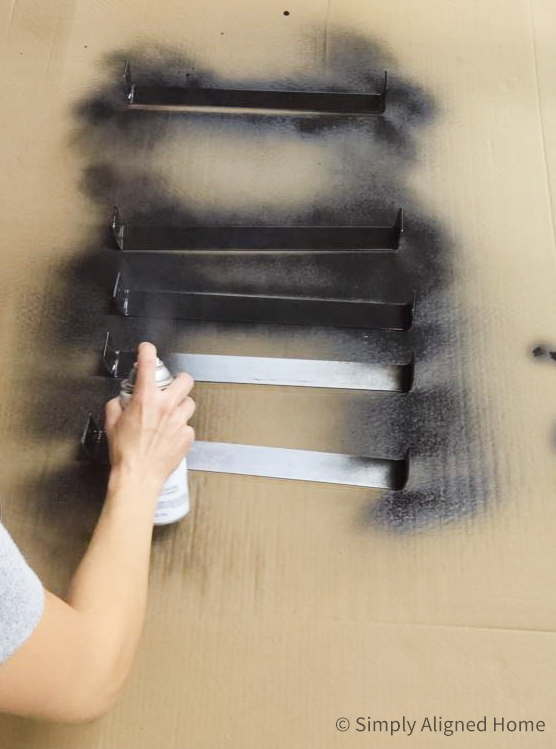
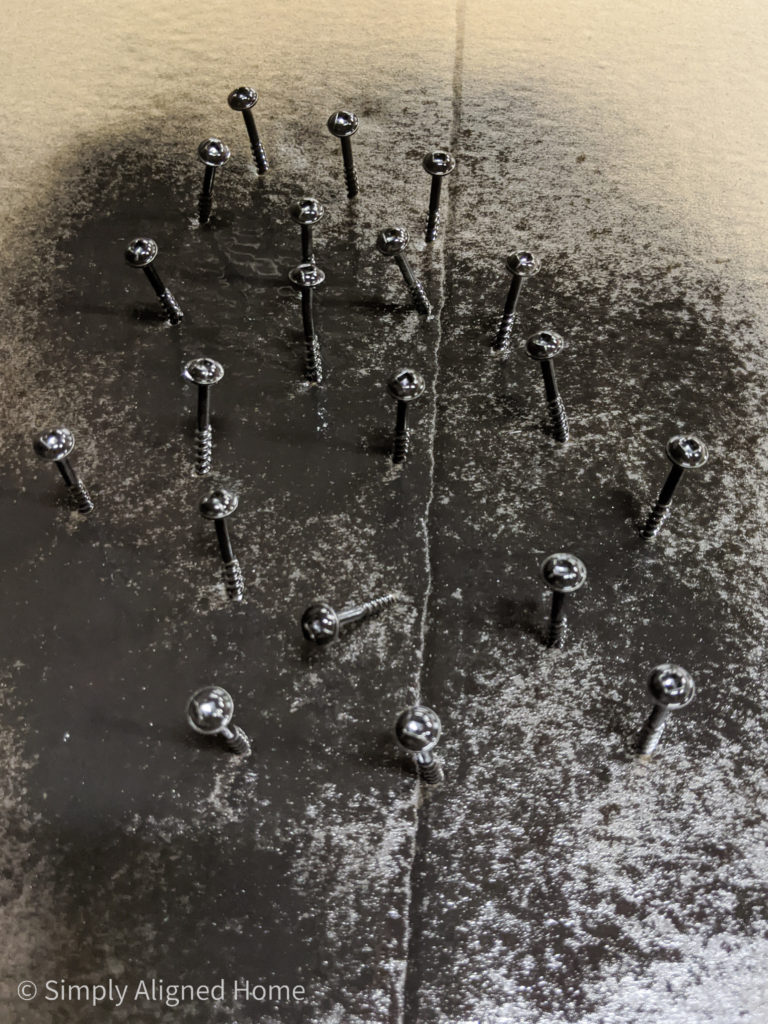
I wanted the screws to blend in, so I spray painted them as well. The easiest way to paint screws is to stick them into a piece of cardboard. This allows you to fully cover all sides of the screw head.
Cut the Wood Rails
On to the fun/easy part! When I’m working on projects that involve something other than wood, I’m always excited to get to the wood working part!
I decided to use two 2x4s for the rails. After a little experimenting, I cut the bottoms of the rails at a 10 degree angle. This angle will determine how far away from the wall the ladder will sit.
Once the bottoms were cut, I turned the 2×4 so that it was parallel to the miter saw blade. I then cut a small portion of the rail off. This will give the ladder a nice flat surface to rest against the wall, as opposed to the corner being against the wall.
Stain and Seal the Wood Rails
Before I stained the rails, I did a quick sanding with 220 grit sandpaper and my orbital sander. I applied two coats of my Behr water based stain in Early American. Luckily, it is fast drying, so I was able to apply a coat of polyurethane not long after staining it.
One tip when it comes to applying polyurethane…don’t skip the sanding step between coats. I used to skip it thinking it was a waste of time. I was so wrong! Sanding between coats gives you a really smooth and professional finish!
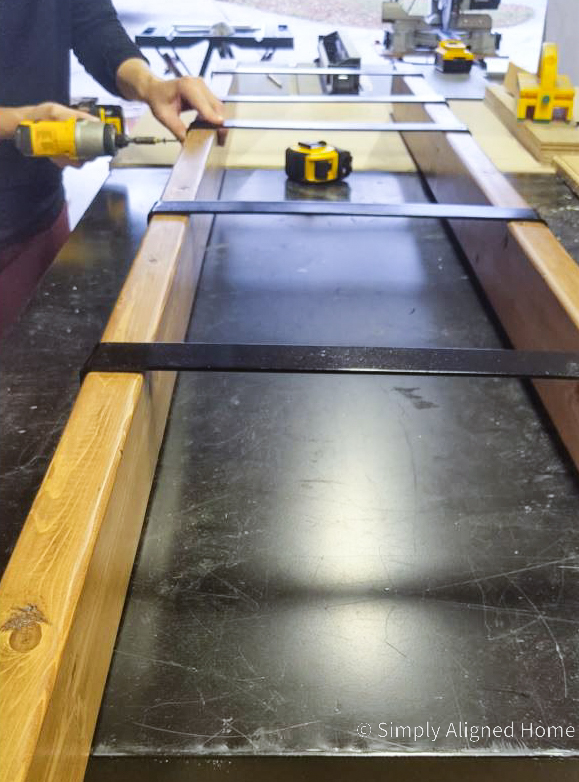
Install the Rungs
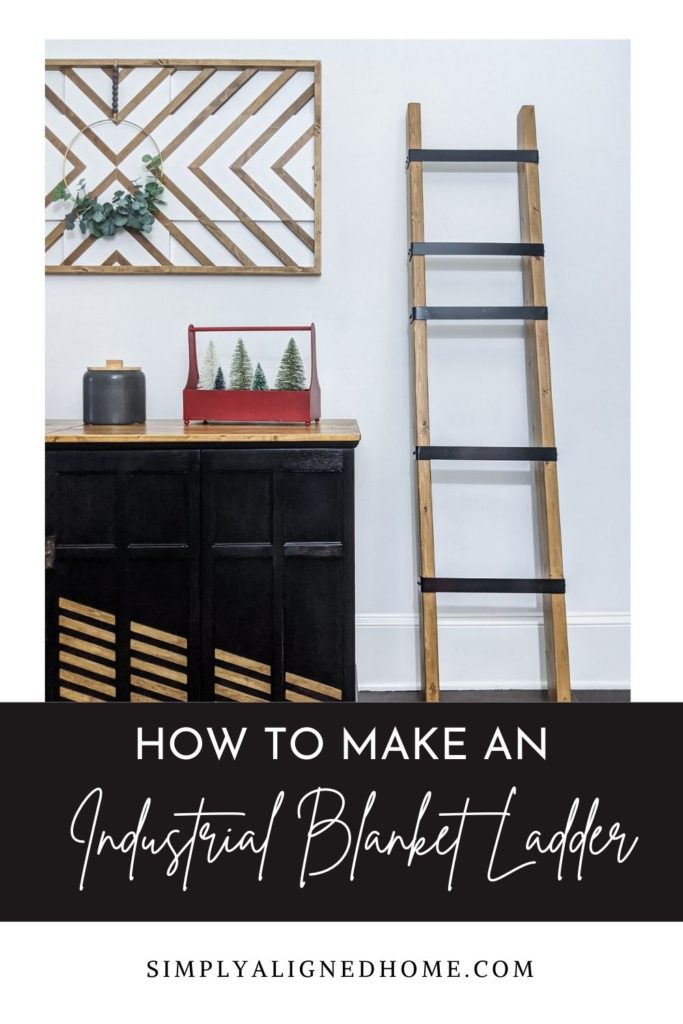
The final step was to attach the rungs to the rails. Don’t worry…I have random spacing on purpose! Once I determined the perfect spot for reach rail, I secured it with the spray painted screws.
That’s it! It was a fun, simple and affordable project. My inspiration for this project was a similar blanket ladder that cost just under $300…and I made this one for less than $30. DIY projects are worth the extra effort, especially when you can save hundreds of dollars!
For more fun and easy projects, check out a few of these one hour DIY projects!