
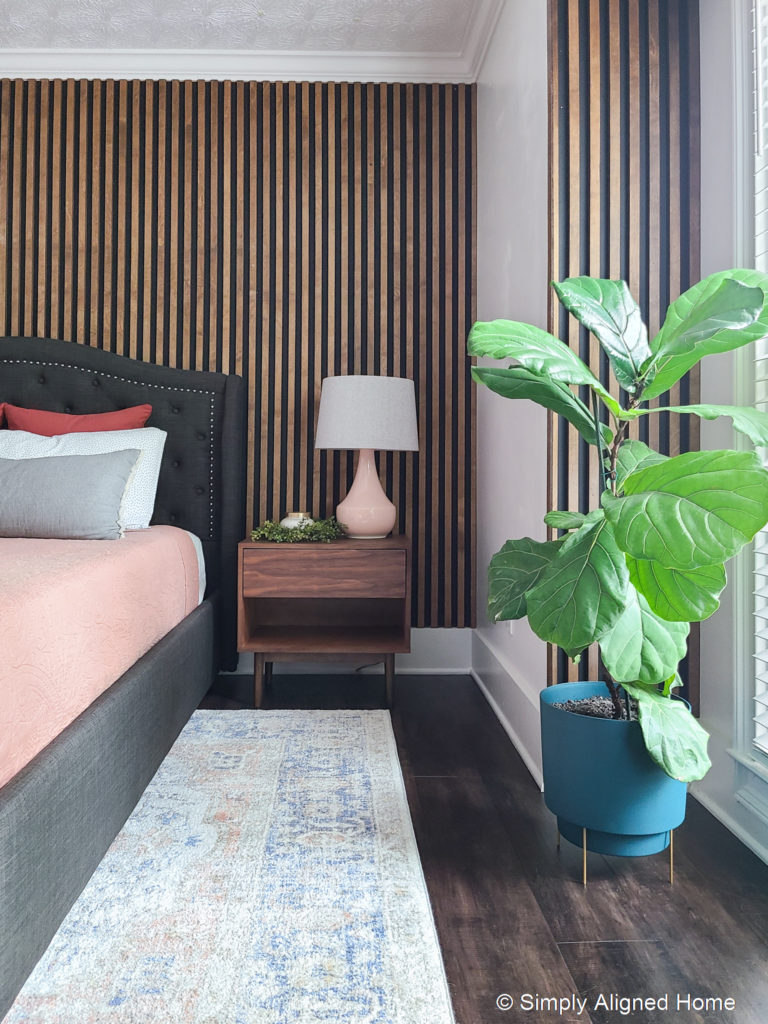
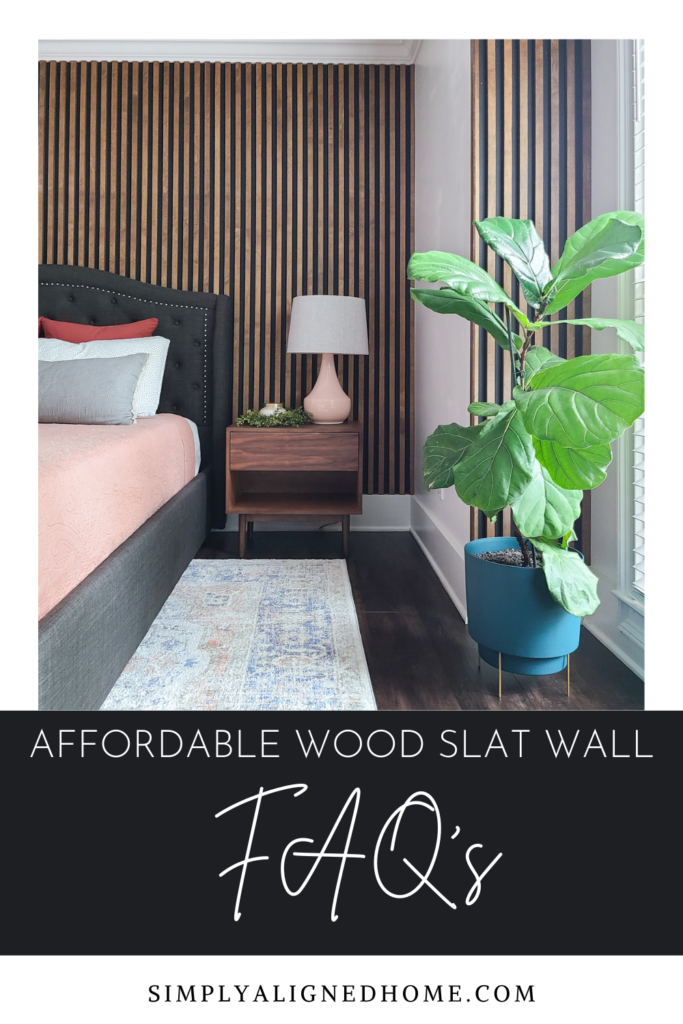
One of my most popular projects is my affordable wood slat wall…and I can see why! The warmth and depth of a wood slat wall is stunning. There are a few questions that I frequently receive about the wood slat wall, so I thought it would be best to share those questions and answers.
What type of wood did you use?
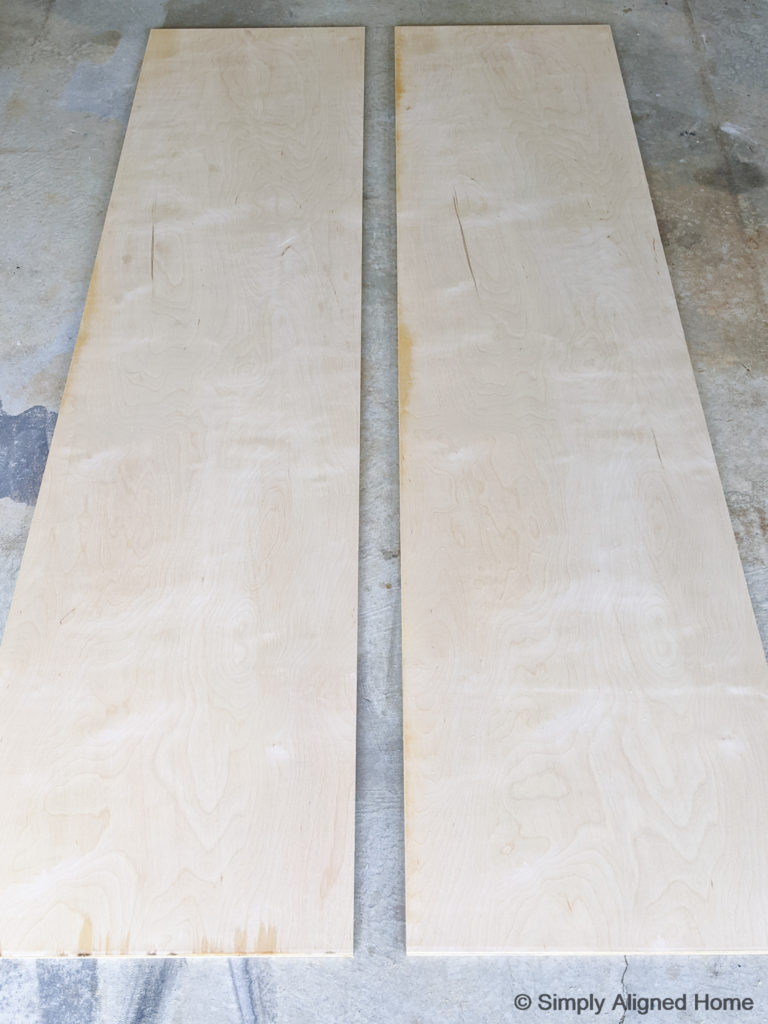
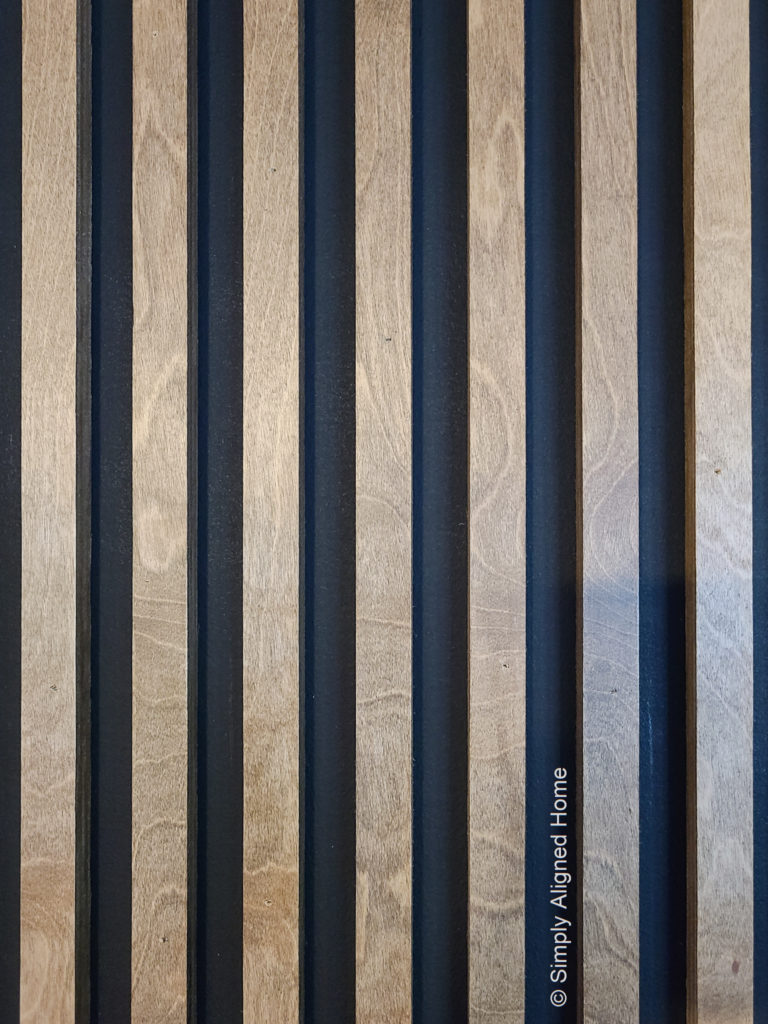
I used 3/4″ birch plywood. My wall is fairly large and purchasing pieces of precut wood would have been very expensive. I decided to keep the cost down by using plywood.
I chose birch plywood because it does stain nicely. Any stain grade plywood would look great!
How do you know how many slats you need?
The beauty of using 1″ slats and 1″ spacing is that the math is really easy! I took the overall width of my wall and divided it by two. That gave me the total number of slats that I would need for my wall. I chose to cut a few extra slats to account for mistakes or if I just didn’t like how a slat looked.
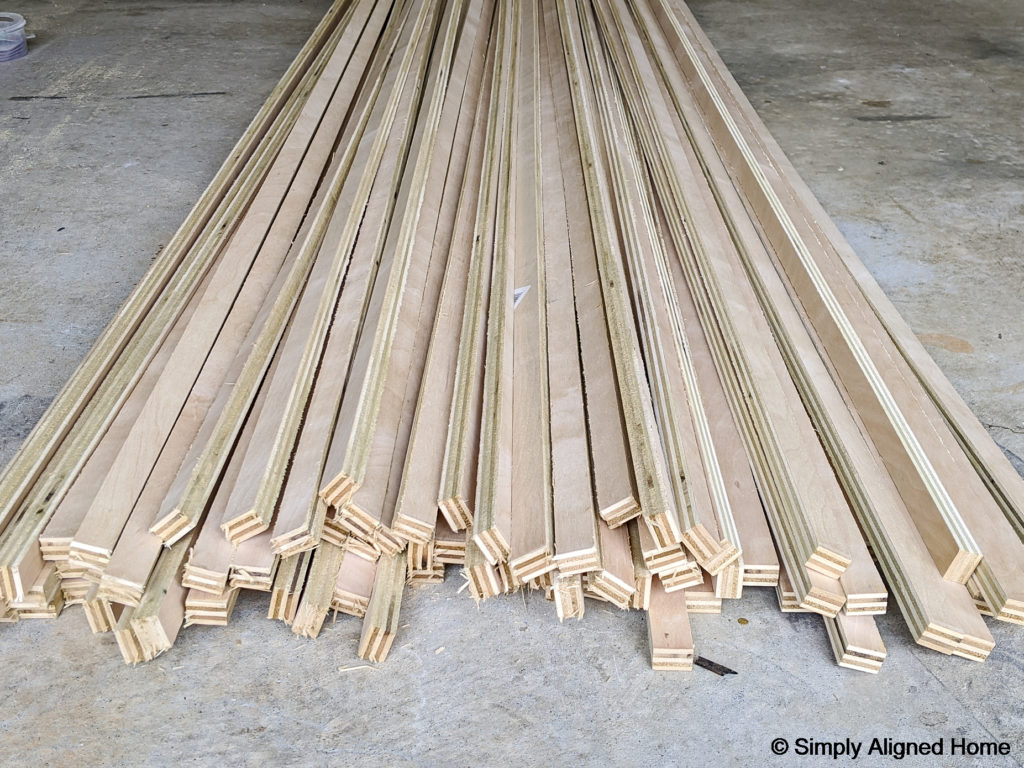
Note: When calculating how many sheets of plywood you will need, remember that most saw blades remove about 1/8″ of material with each cut. Multiply the total number of slats you need by 1-1/8″ to get the total width of plywood that you need.
What did you do with the raw edges of the plywood?
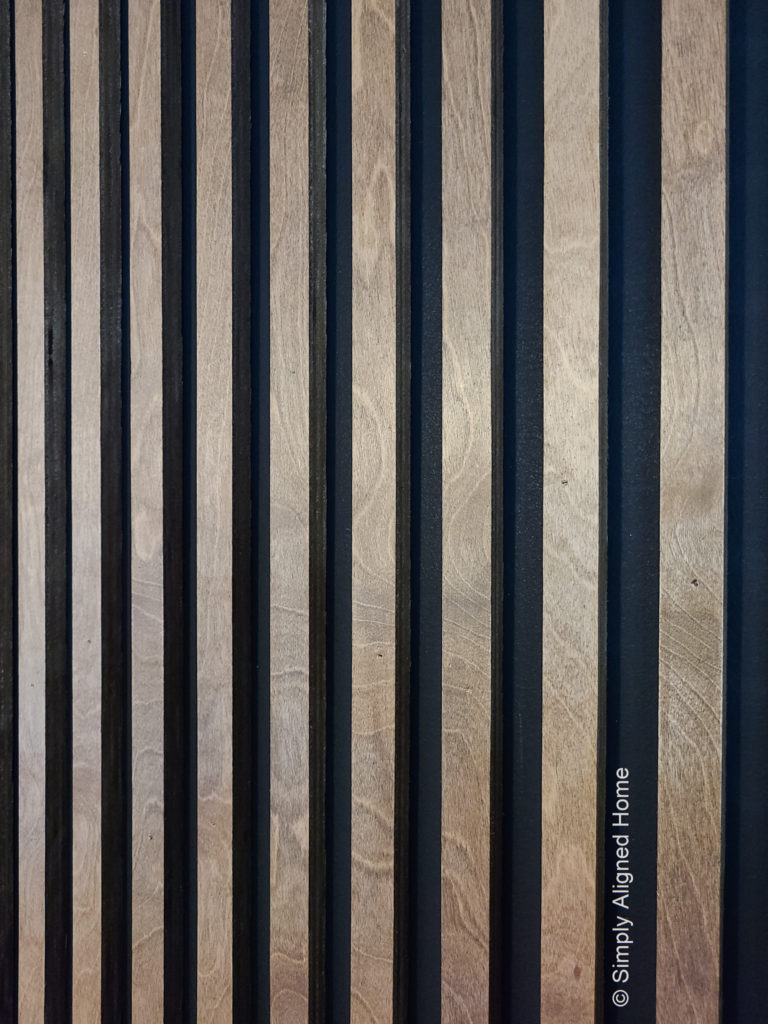
Nothing! I mean, I did sand them down to remove the rough edges from ripping the plywood, but I didn’t bother filling them. I chose a dark wood stain and the paint behind the slats is black. With this color combination, you don’t even notice the raw edges of the plywood…unless if you are inspecting the wall.
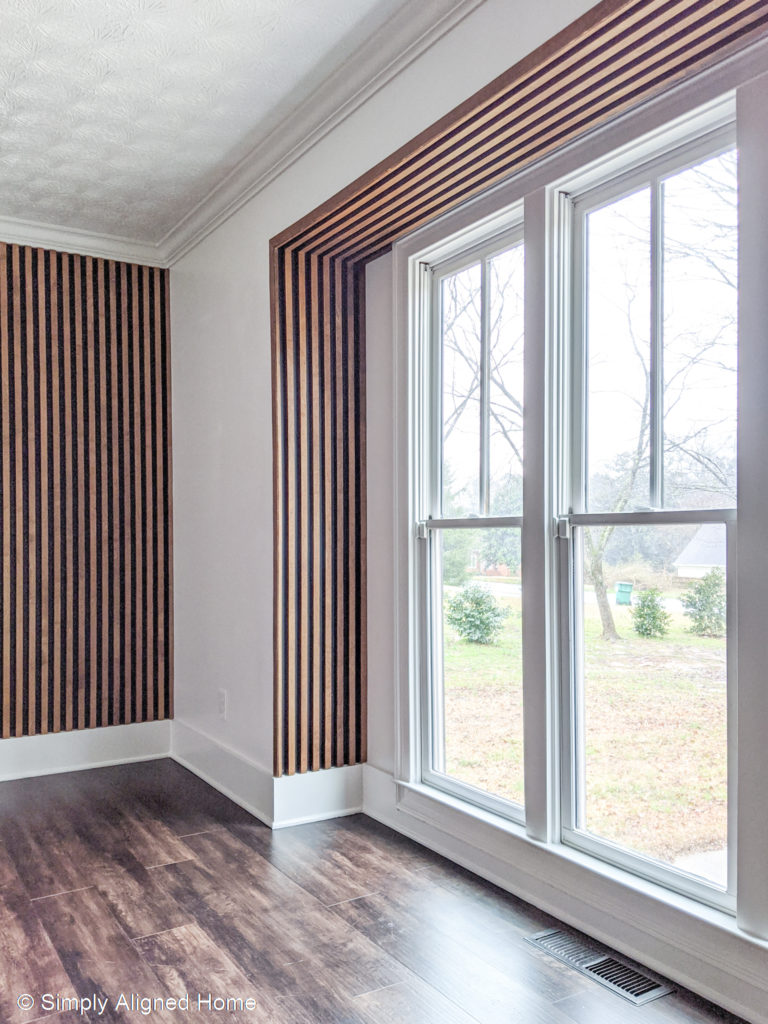
If my walls are taller than 8′, how do I hide the seams where the slats meet?
I showed this detail on the slat wall that I installed around the bay window. The ceiling was longer than 8′, so I had to piece the slats together. I used my miter saw to make bevel cuts (cut the slat on a 45 degree angle) where the slats met. I made sure that the slats lined up perfectly at the joint before I secured them to the wall. I was also careful to alternate the seams and not have them line up.
The seams are only noticeable if you look for the change in wood grain. Once you have all of the slats on the wall, I doubt you’ll even notice the seams!
Did you fill the nail holes?
Nope! I used a finish nailer to install the wood slats. The hole left by a finish nailer is slightly larger than a brad nailer, but is still relatively small. With the stain I selected, you can barely see the nail holes. You have to get really close to the slats and really look for the nail holes to be able to see them. I think the nail holes would have been more obvious if I did try to fill them.
How do you clean the slats?
Honestly, I haven’t ever had to clean the slats. The room doesn’t get very dusty. I did clean them once just to test it out. I simply used a brush connected to the end of my vacuum and it seemed to work well!

If you have any other questions regarding my wood slat wall or any of my other projects, don’t hesitate to ask! I love helping others tackle projects of their own! If you liked this project, be sure to check out other projects like the modern accent wall that I created for less than $50.

Hi Nicole! I am planning on replicating this design on an accent wall in my home. There is a light switch that I will have to work around. Do you have any suggestions as to how to do that? I am wondering if I should not use 3/4” width of birch plywood. Also, I am not sure about me attempting to cut the plywood into strips myself. Would you know if this is something that Lowe’s could do affordably for me? Thank you for your time and I love your designs! Absolutely gorgeous!