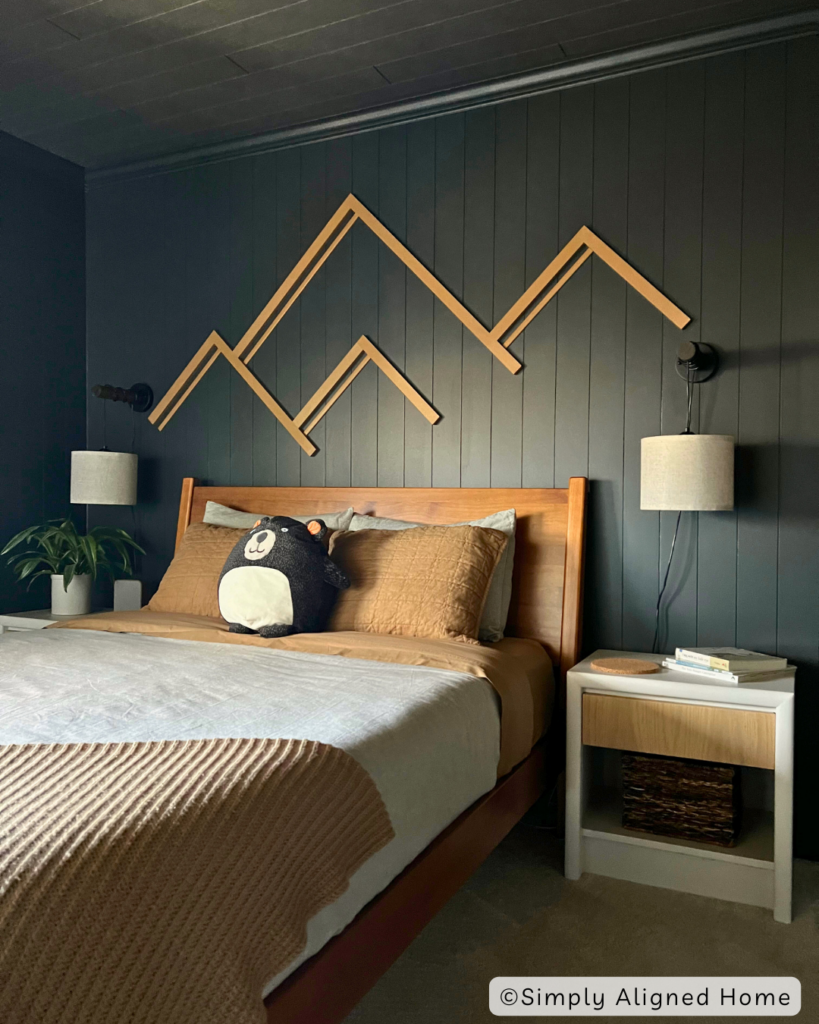
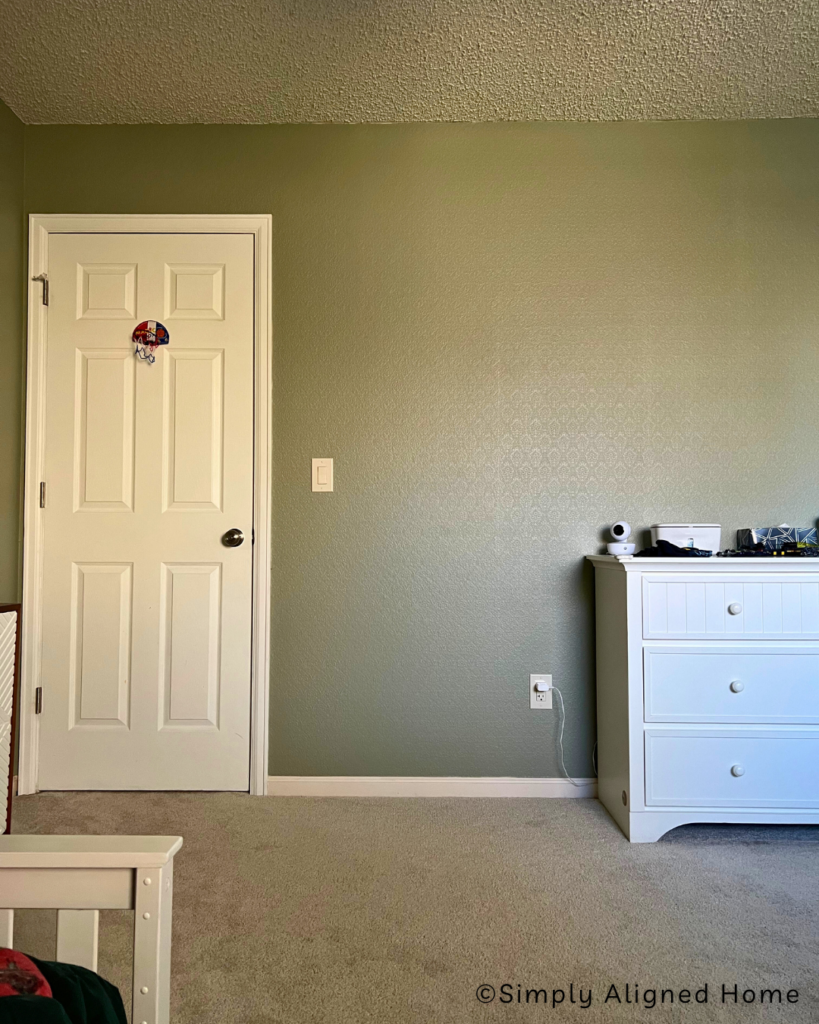
I’m going to share how I took my son’s room from plain to playful! Since moving in a year ago, all that I had done in our son’s room was paint the walls. The room featured mismatched furniture, and upon closer inspection after the initial paint job, I discovered that some of the walls had previously been wallpapered and painted over!
It was time to update his room and bring in some personal touches!
**This post contains affiliate links to products that I used or recommend. If you purchase something through an affiliate link, I may receive a small percentage of the sale at no extra cost to you. I really appreciate your support!**
Boy’s Room Makeover Reveal (Before and After)
Adding Shiplap Paneling
As you can see in the pictures below the room didn’t have much going on, just the essentials.
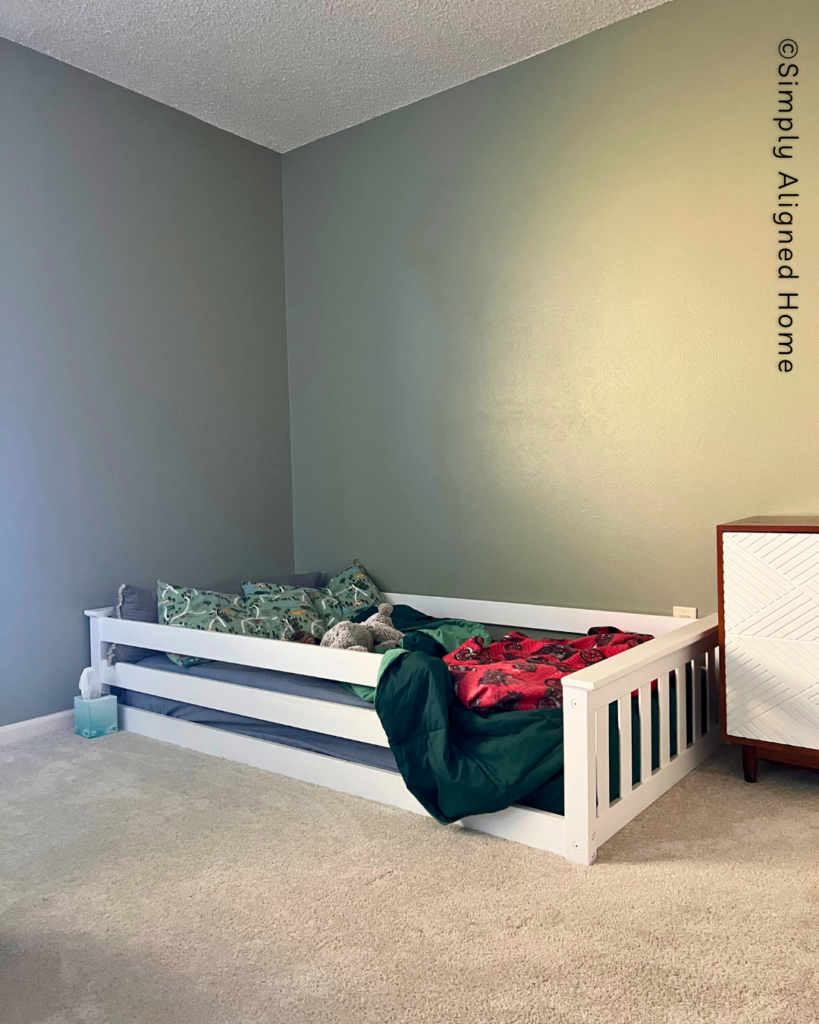
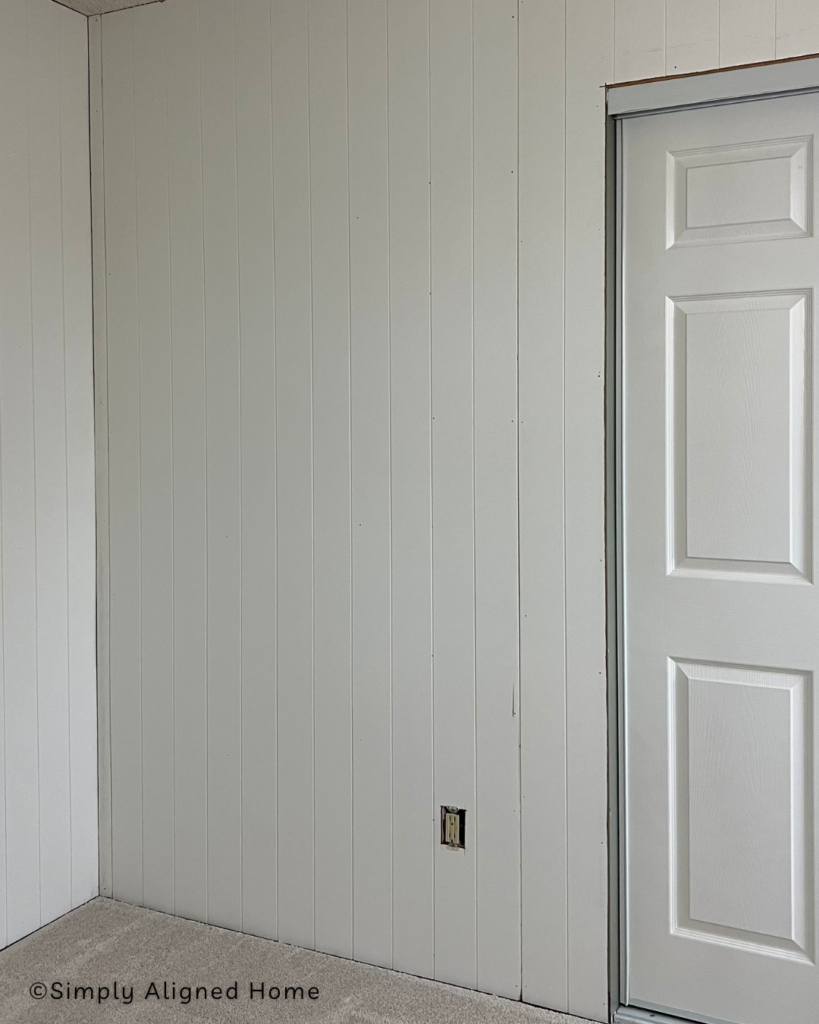
I wanted to do something really fun in here and you all know I love my shiplap paneling! First, I took off all the baseboards and door trim with my trim puller. Once everything was off it was time to add vertical shiplap paneling to every wall.
You can buy these panels at your local hardware store like Lowe’s, Home Depot or Menards. The great thing is they are super cost friendly and they look just as good as the actual shiplap boards that are way more expensive.
Add Armstrong WoodHaven Ceiling Planks
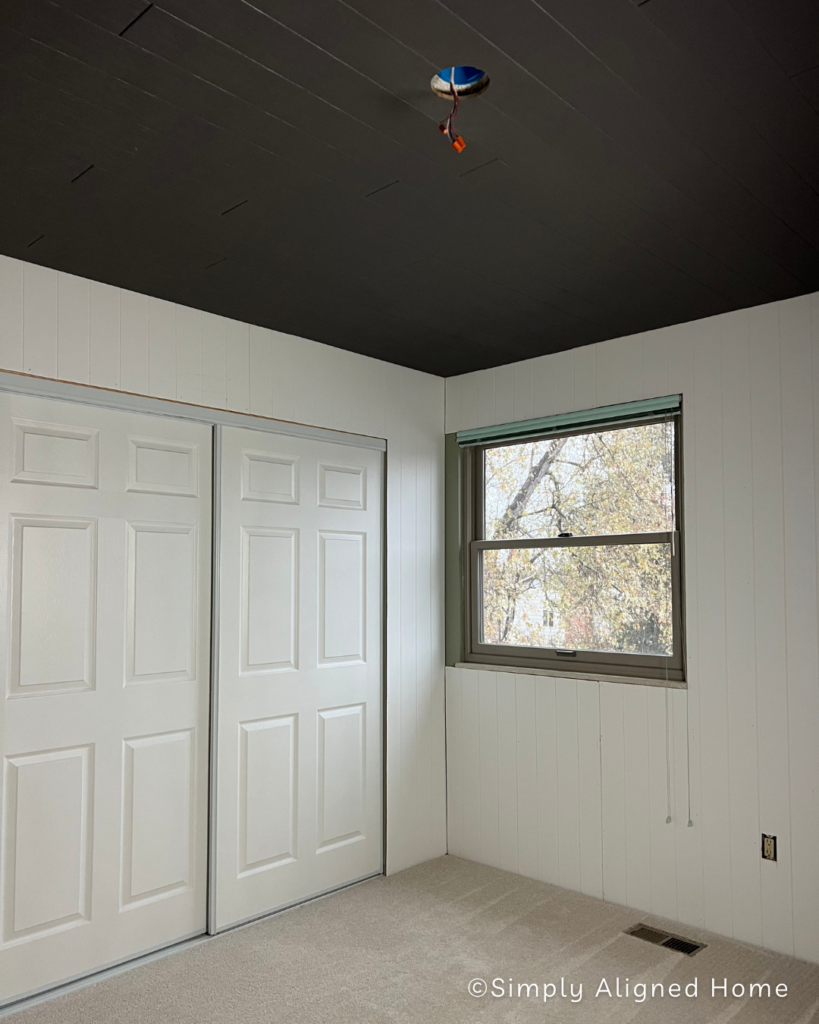
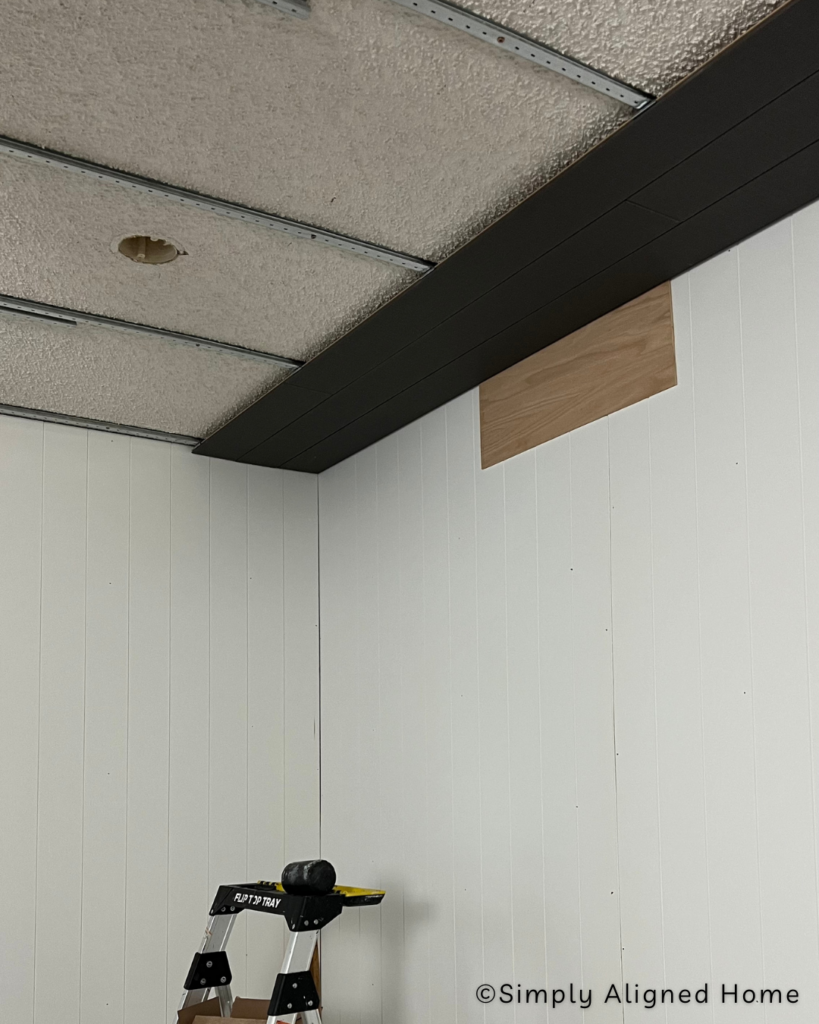
After I had shiplapped the bottom part of the room it was time to tackle the ceiling. Recently, I had made over our basement and added these Armstrong Ceiling Planks to the ceiling. After the install I had quite a few planks left and thought it would be neat to add those to my son’s room.
If you want a more in-depth step-by-step of how to install the ceiling planks check out the article in my full review.
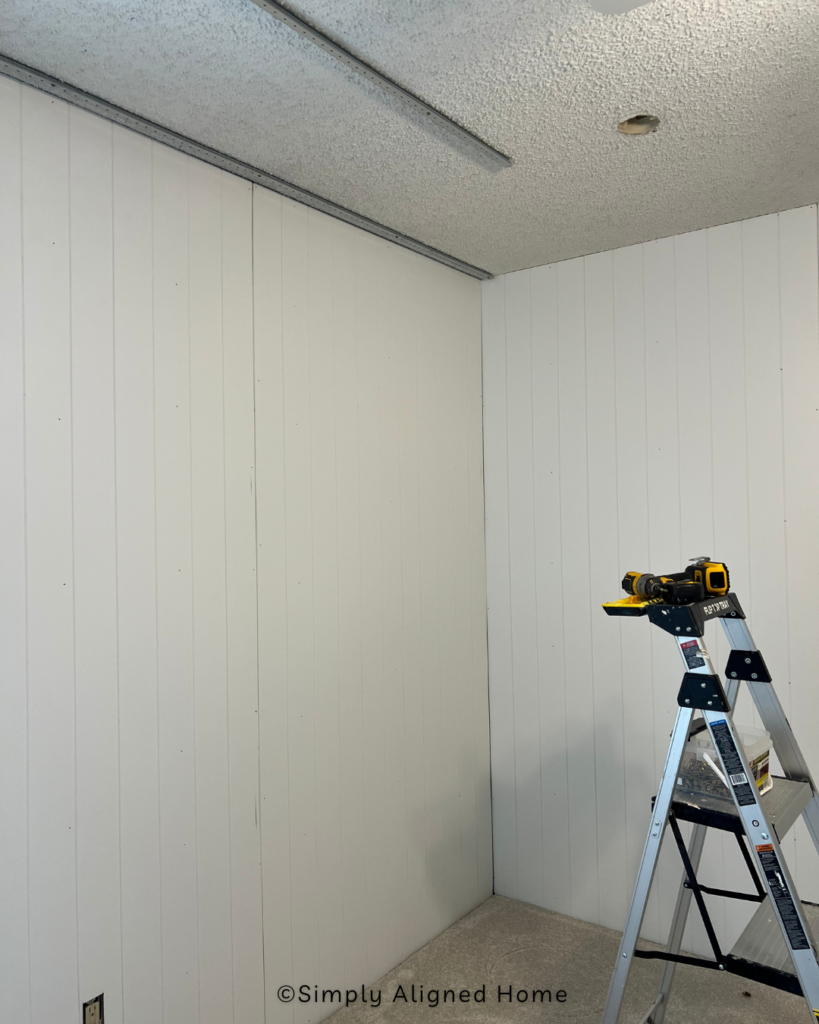
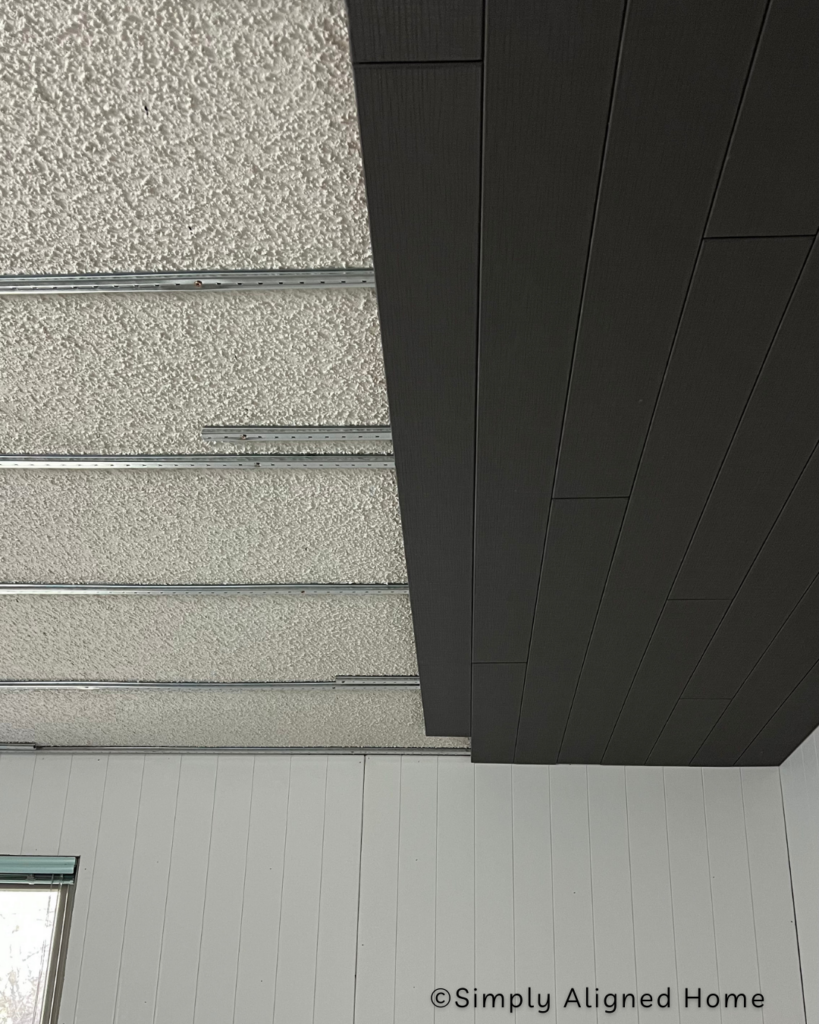
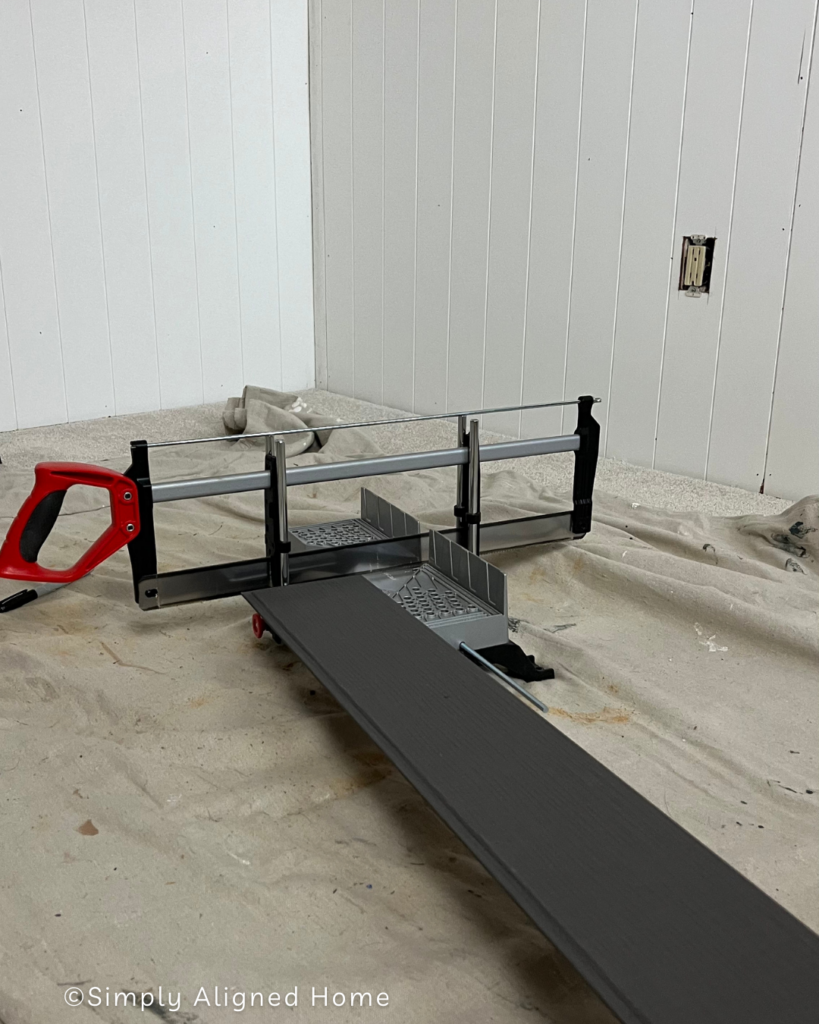
The planks are great because they were incredibly quick and easy to install. I even utilized a hand saw for cutting all the boards, saving me the hassle of constantly heading out to my workshop for each cut.
Adding Trim
Before I could paint the room I had to add all new trim to the walls and doors. Adding trim is probably one of my favorite parts of working on projects. It really starts to look finished once the trim goes up.
My least favorite part of trim is crown moulding. I have only ever attempted crown moulding once and the angled cuts really confuse me! My first attempt wasn’t successful but after that first mistake it was surprisingly smooth sailing.
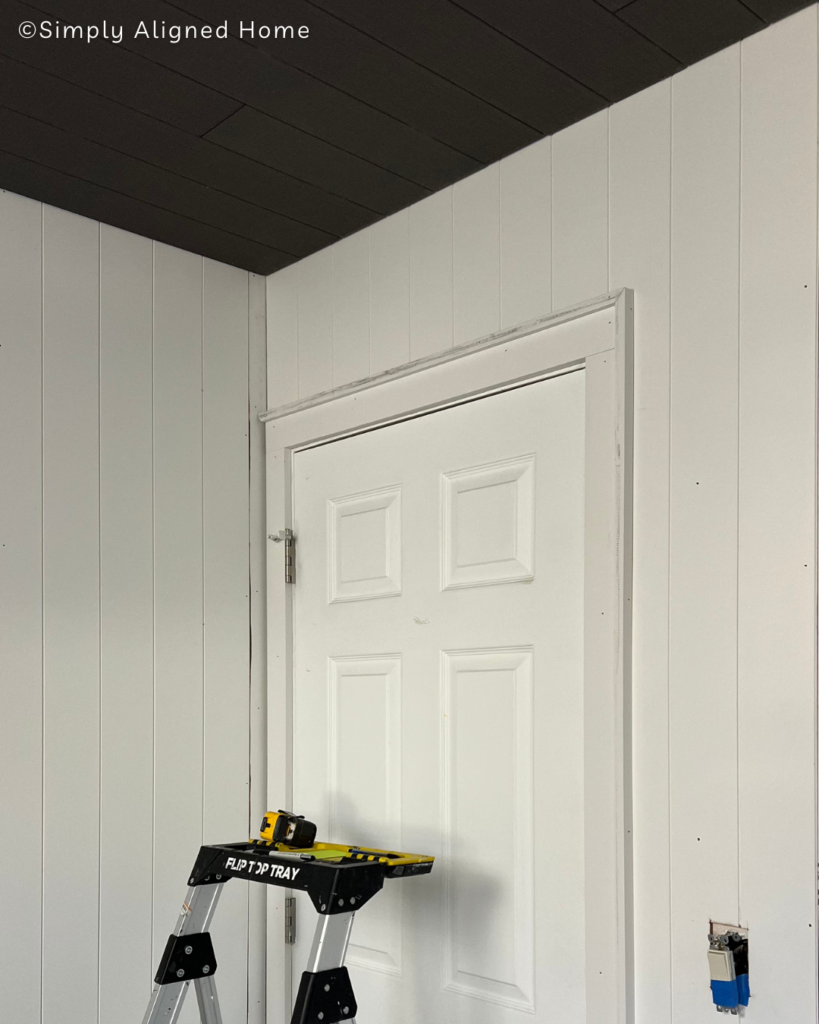
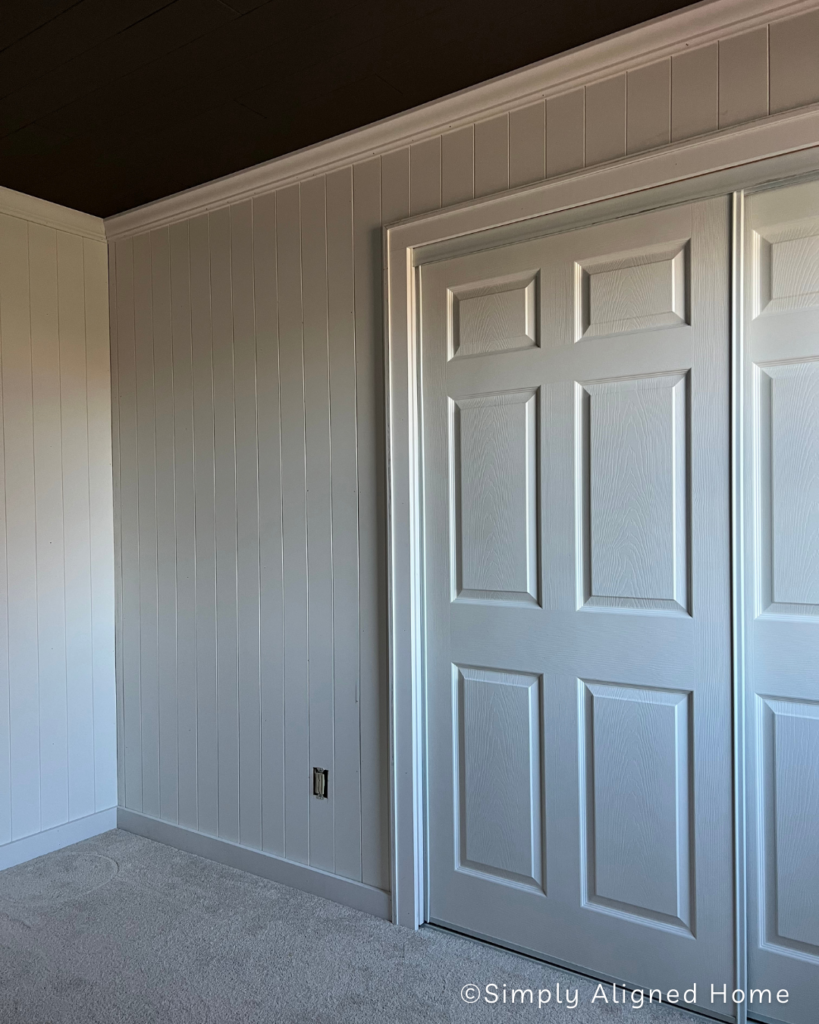
Next, up was caulking seams, wood filling nail holes and then giving it all a good sand.
Painting The Room
This is where the magic happens! I decided for my son’s room I wanted to go dark, like the ceiling. I was able to use Iron Ore from Sherwin Williams and surprisingly it was almost an identical match to the Armstrong ceiling planks.
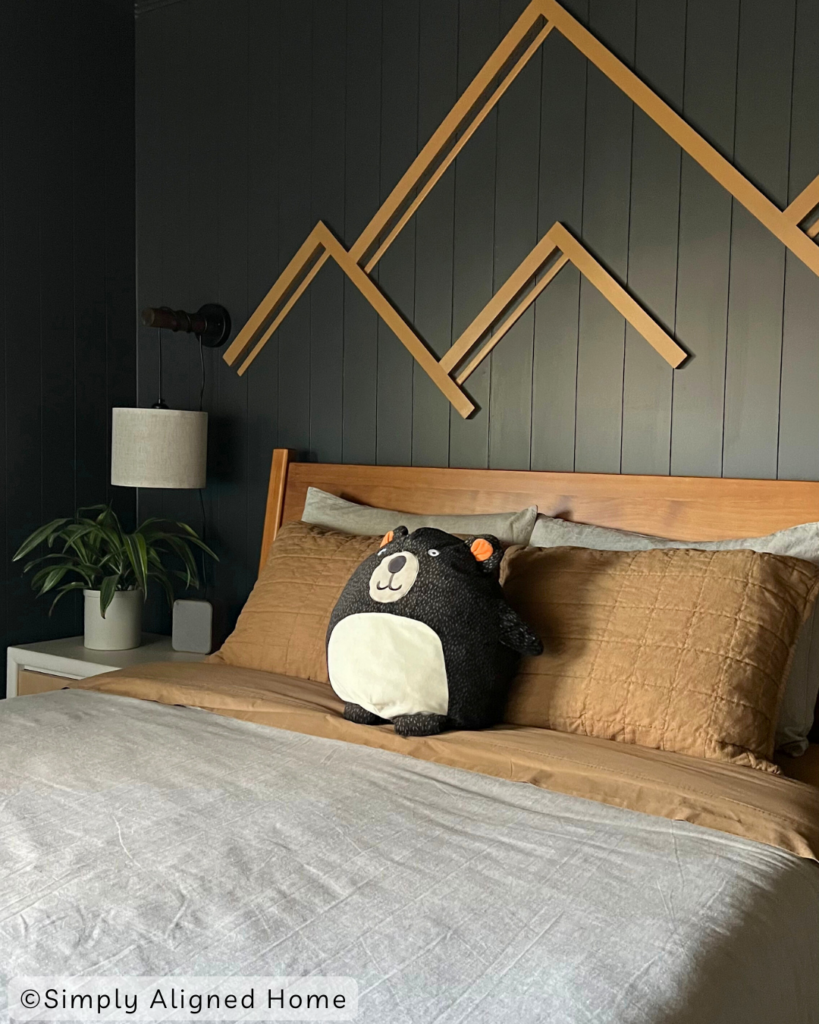

When painting shiplap I always paint the seams first and then come back in with a roller before the paint drys. I do this to prevent any brush marks. To paint alongside the ceiling baseboards I used a drywall knife as my straight edge. This really helps me from having to tape the whole room and if I paint along the drywall knife I don’t get any paint on the carpet or ceiling!
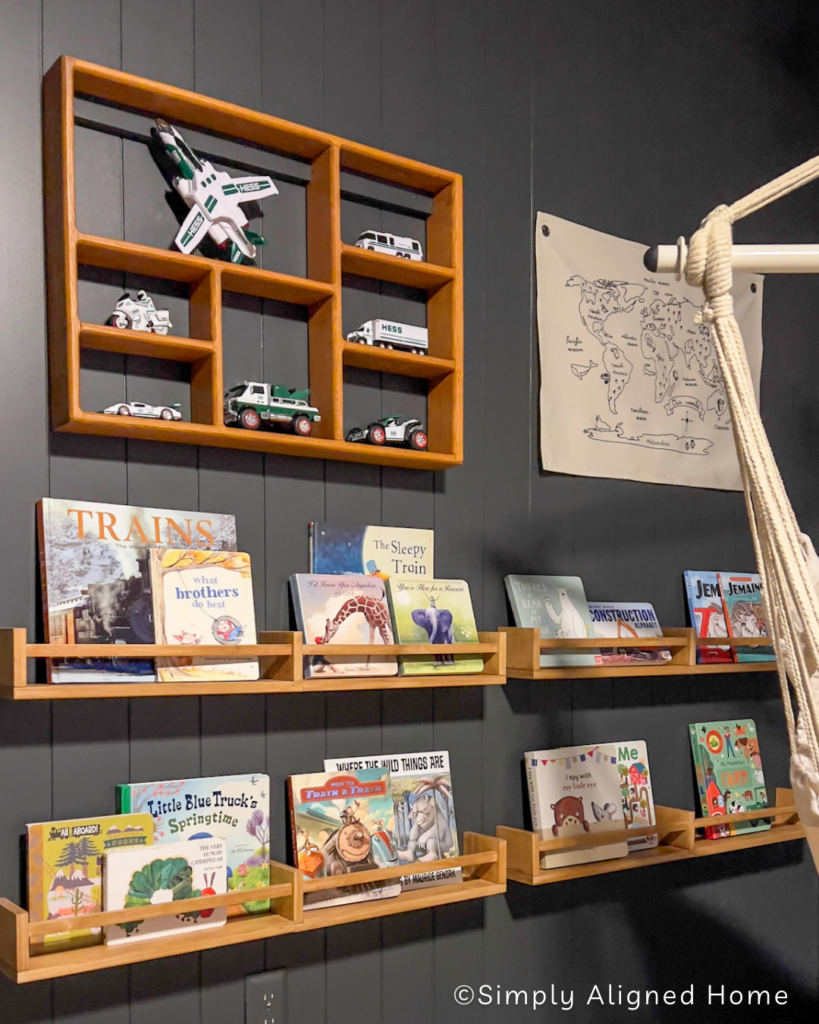
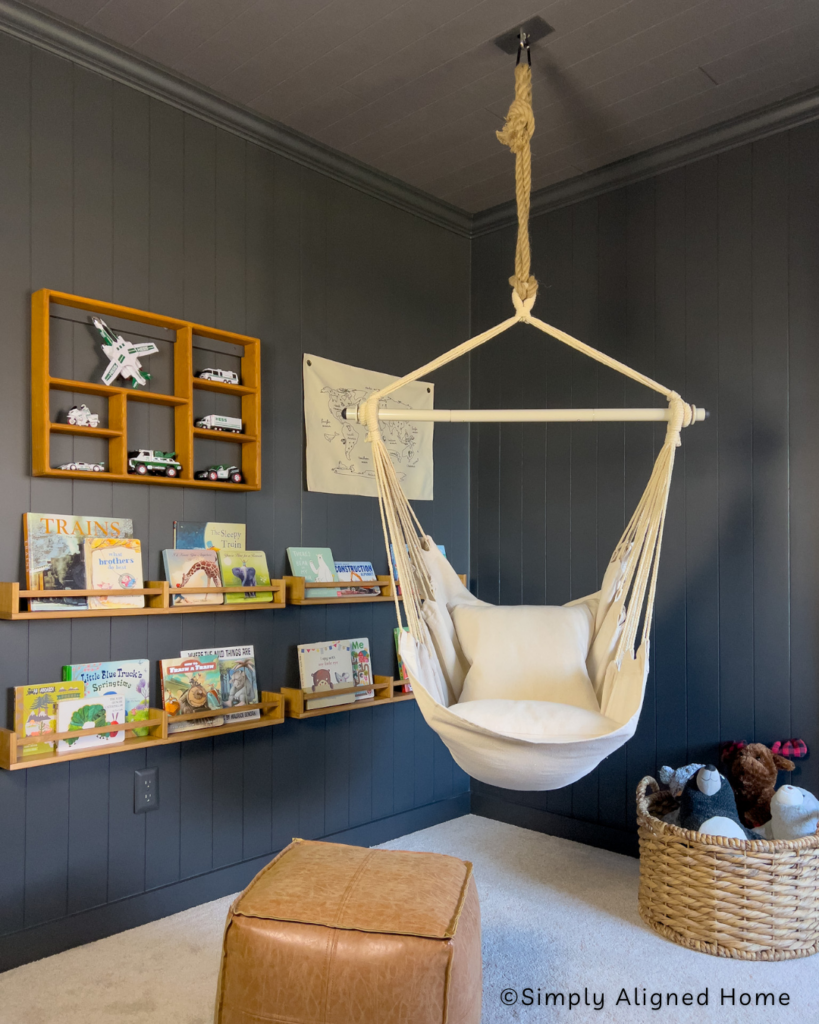
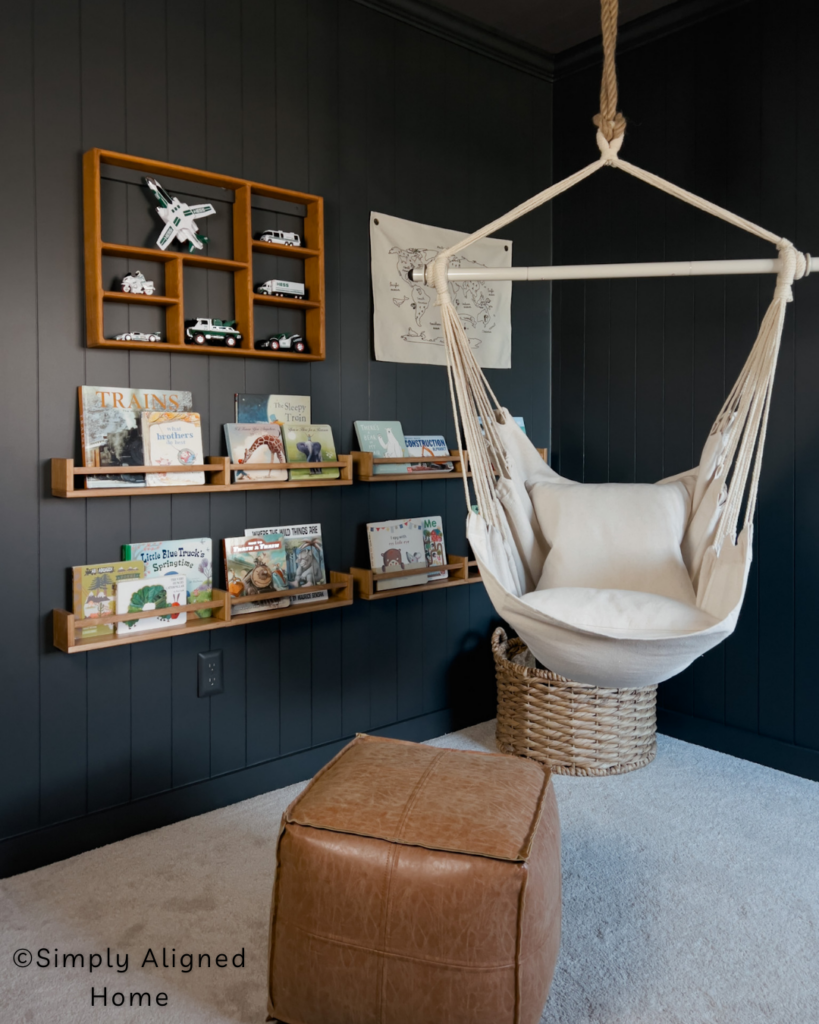
It was a bold choice going full dark in this room but I really love it and better yet my son loves it too. I added some shelves for his books and a cute hanging swing for him in the corner! Now he can enjoy his new room and swing on his new swing for hours!
RELATED POST: How To Build A DIY Wooden Mountain Wall Art

**Note: I am not a professional and do not claim to be an expert. Please be sure to always read instructions for all tools and products. Safety is very important and should be your top priority. Wear necessary protection when using tools (eye wear, hearing protection, gloves, etc.) and dust masks when sanding or cutting. Simply Aligned Home is not responsible for any injury or damage. All of my designs are not professionally designed and are for private use only.**
Materials Used
- Shiplap Paneling
- Crown Moulding
- Paint Of Your Choice
- Brad Nails
- Armstrong Ceiling Panels
- Caulk
- Wood Filler
Tools Used
- Paint Brush
- Paint Roller
- Paint Pai
- Brad Nailer
- Hand Saw
- Drywall knife
- Trim Puller
- Mallet
- Utility Knife
- Stud Finder
Decor And Finishing Touches
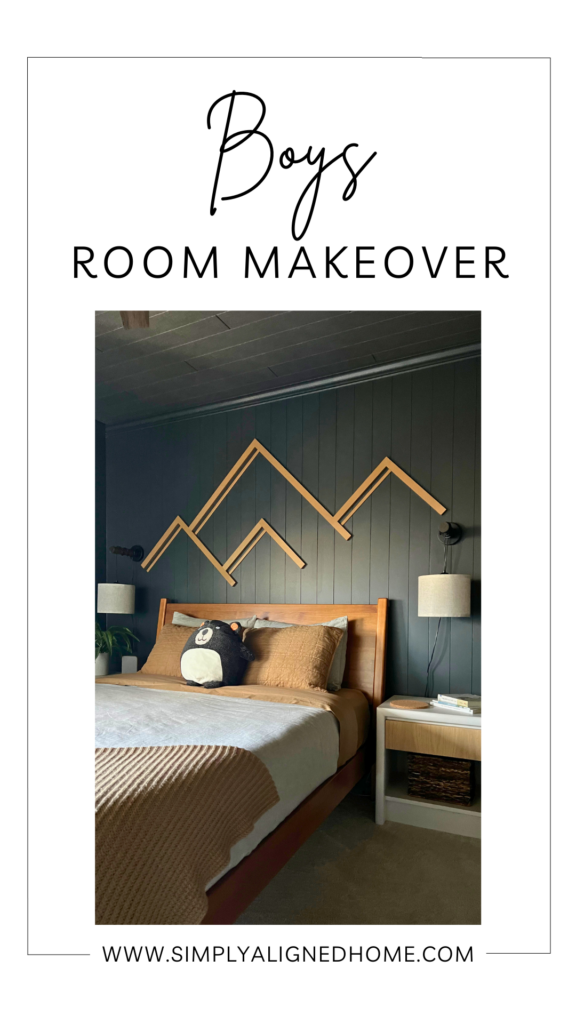
Love it!!