Discover the steps to effortlessly add affordable vertical shiplap to enhance your space.
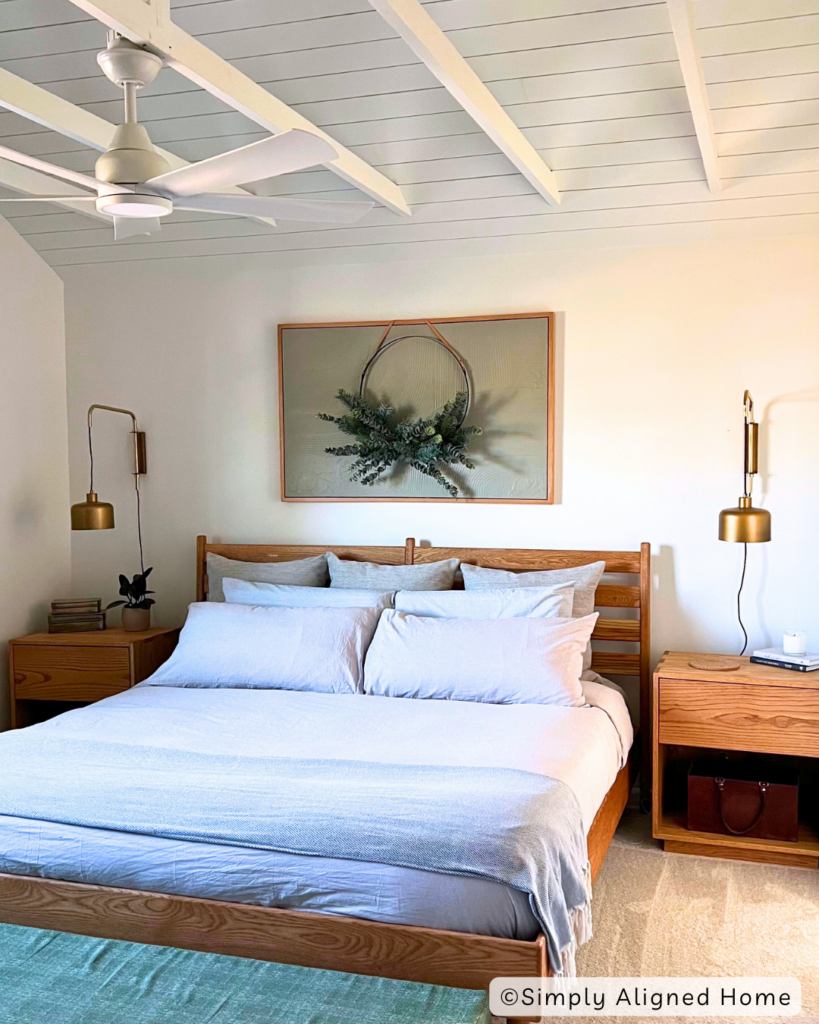
More progress has been made in our primary bedroom! This has been a long makeover starting with when my contractor raised the ceilings. Next up, I built these storage wall units, easy joint compound wall art, new dog bed and these modern nightstands and bed frame!
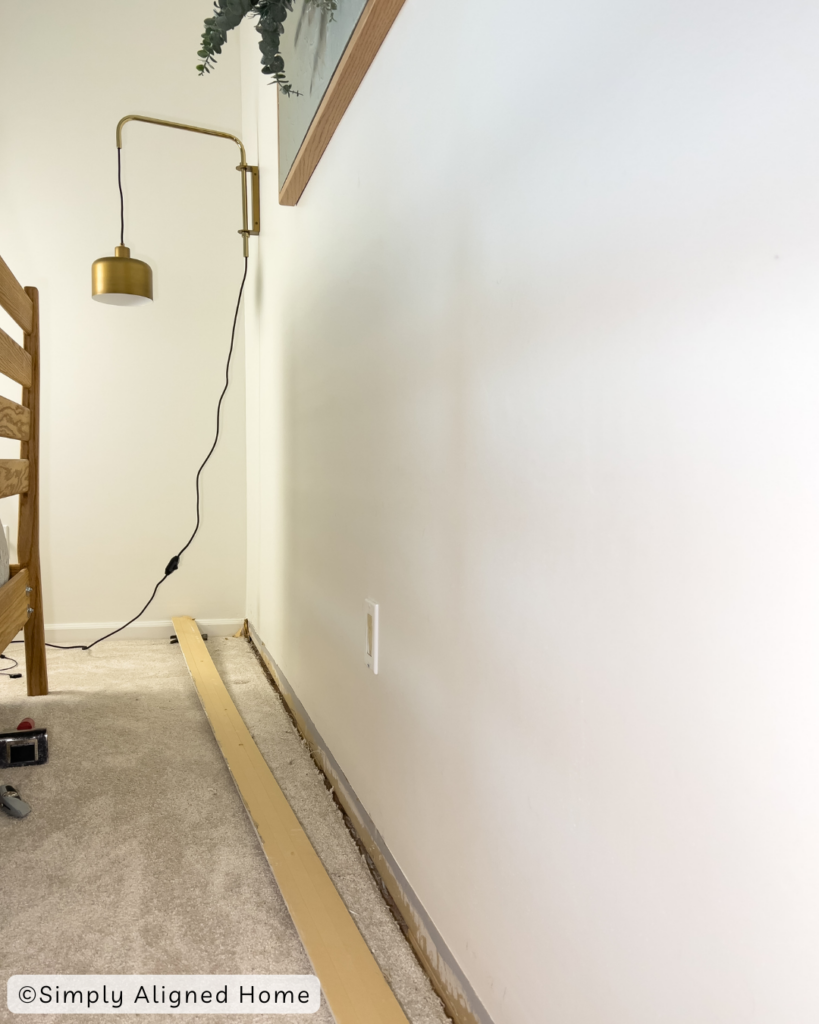
After doing all that I decided I wanted to try a accent wall behind our bed that I have seen a few people do. I had some left over supplies and figured why not give it a shot. You can see the before and after down below.
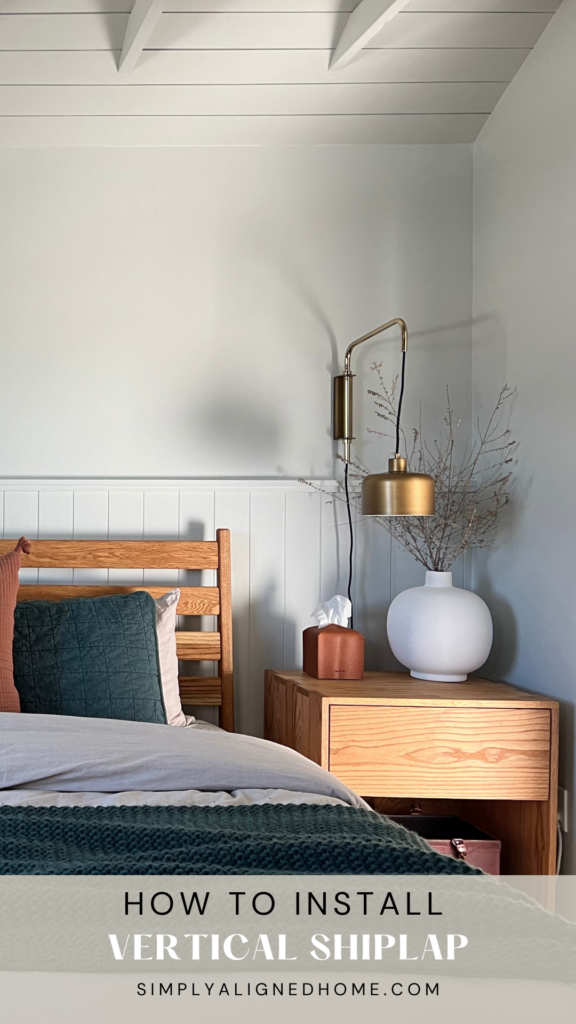
I am loving the new calm feeling this room brings, let me show you how I added this simple vertical shiplap wall behind the bed.
**This post contains affiliate links to products that I used or recommend. If you purchase something through an affiliate link, I may receive a small percentage of the sale at no extra cost to you. I really appreciate your support!**
How To Install Vertical Shiplap
Remove Existing Baseboards
Before installing my shiplap paneling, I removed the baseboards first. To remove the baseboard, I used a utility knife to cut the caulk. Then using my trim puller and hammer, I lightly hit the trim puller until it was behind the baseboard. Once it’s behind the baseboard, I slowly pull the baseboard from the wall.
Install Shiplap Panels
I decided to use shiplap paneling for my vertical boards. One reason was because I had some on hand already. Another awesome reason is because it’s the cheapest way to do shiplap and I honestly think it looks just as nice!
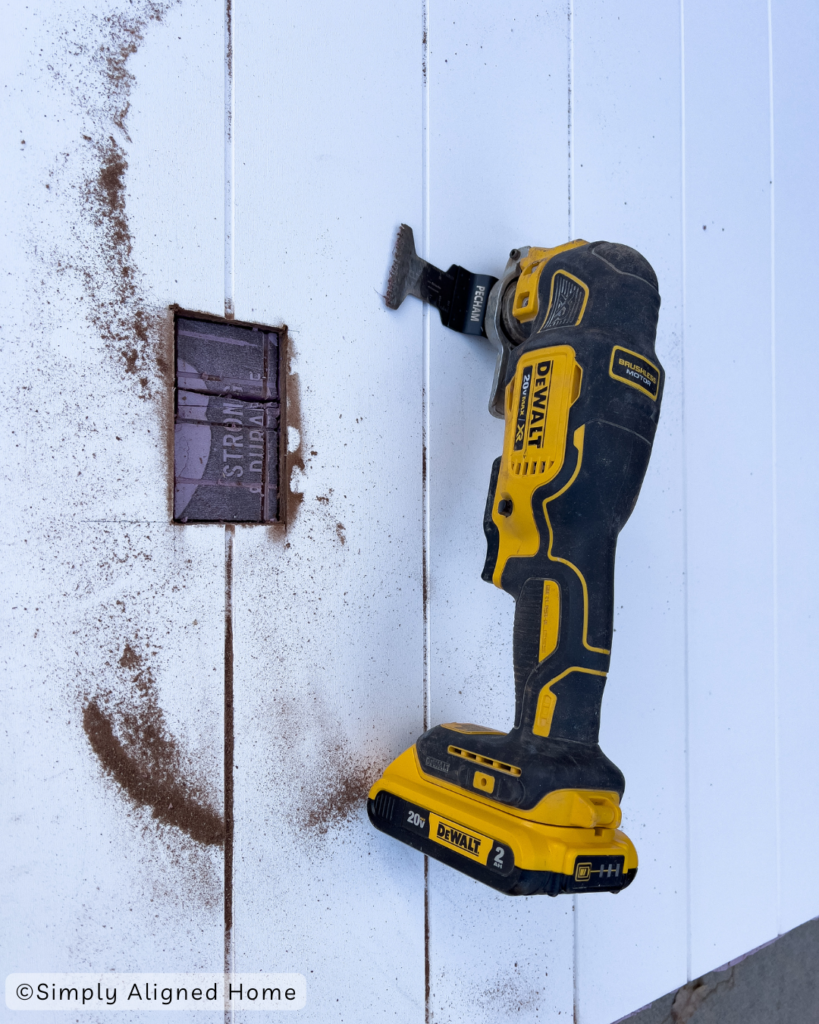
To cut the panels to size, I used my track saw. I laid down a foam insulation board from the home improvement store then laid my panels on top. If you don’t have a track saw you can use a circular saw or table saw to cut your panels. If you have outlets to cut around I suggest using an oscillating tool.
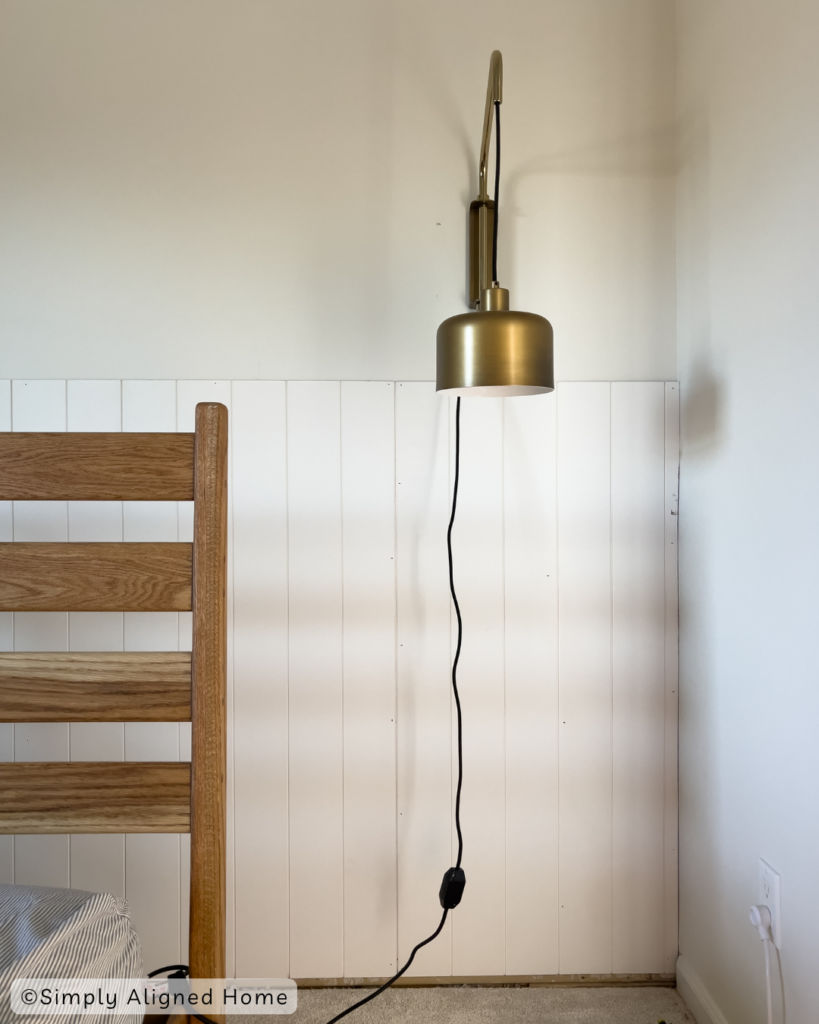
When it was time to install the boards to the wall, I used my stud finder to help locate my studs. I secured the trim to the studs using brad nails. If you don’t have studs where you need to nail your board, you can always alternate the angle of your brad nails for a better hold.
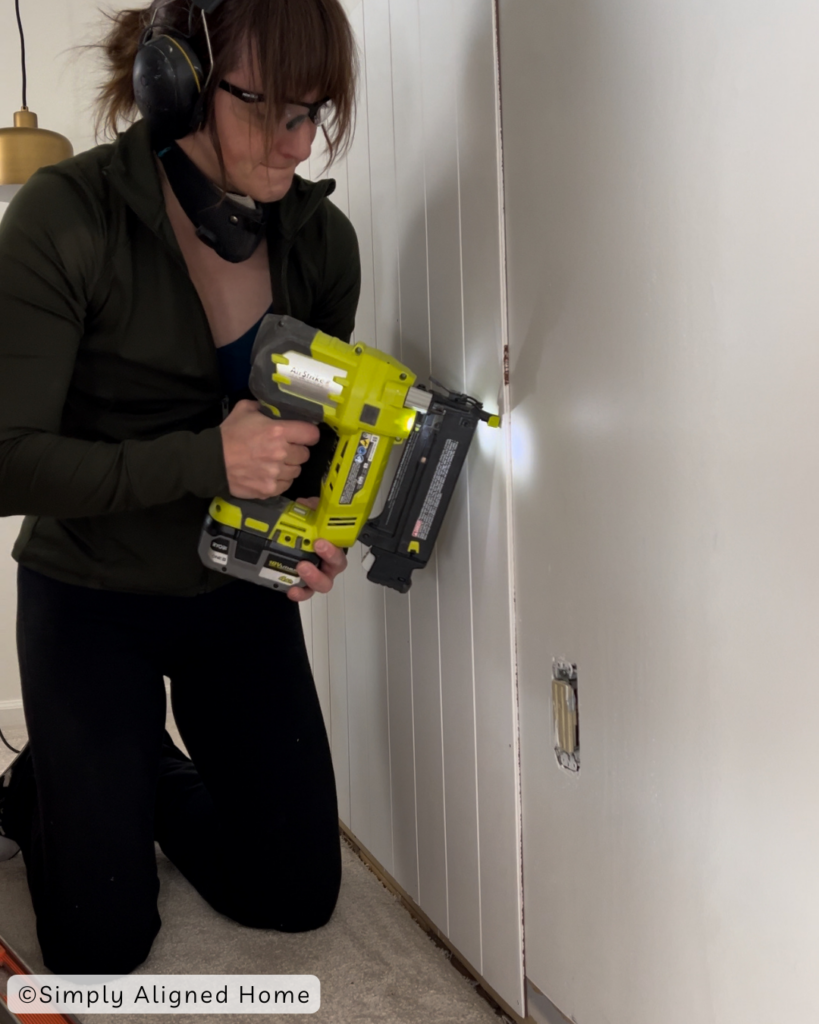
Whatever you do, don’t use construction adhesive. If you do and you want to remove it in the future, you will damage your walls.
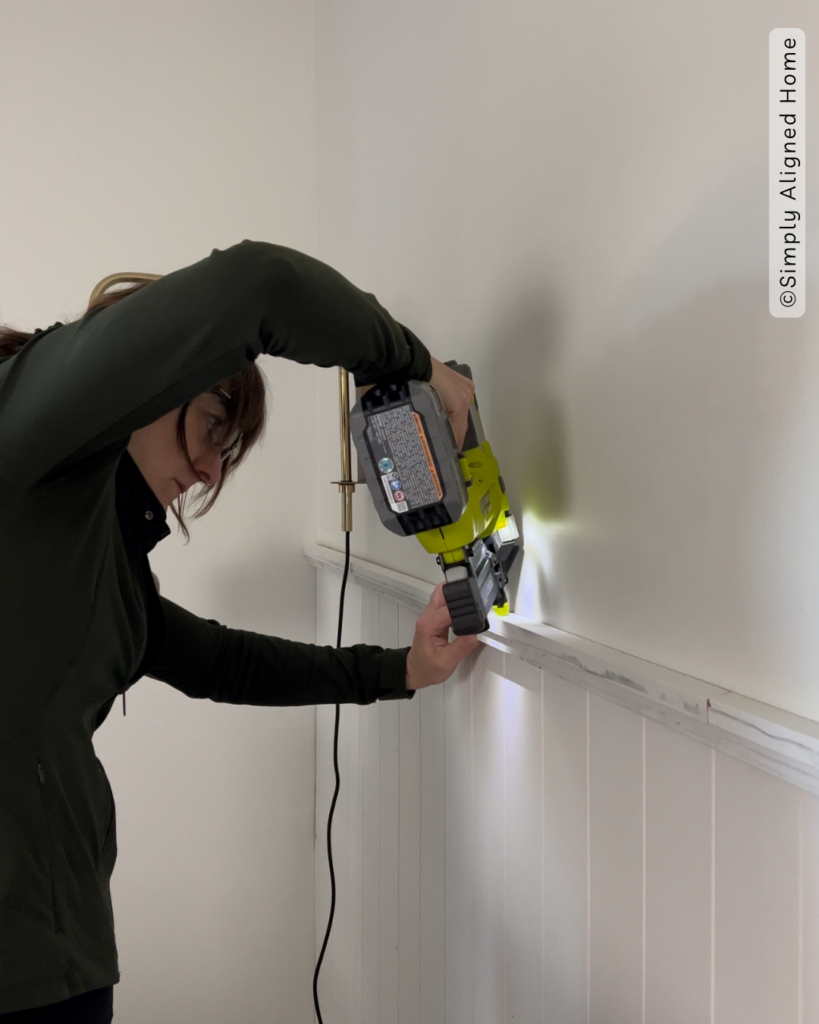
Install Trim Pieces
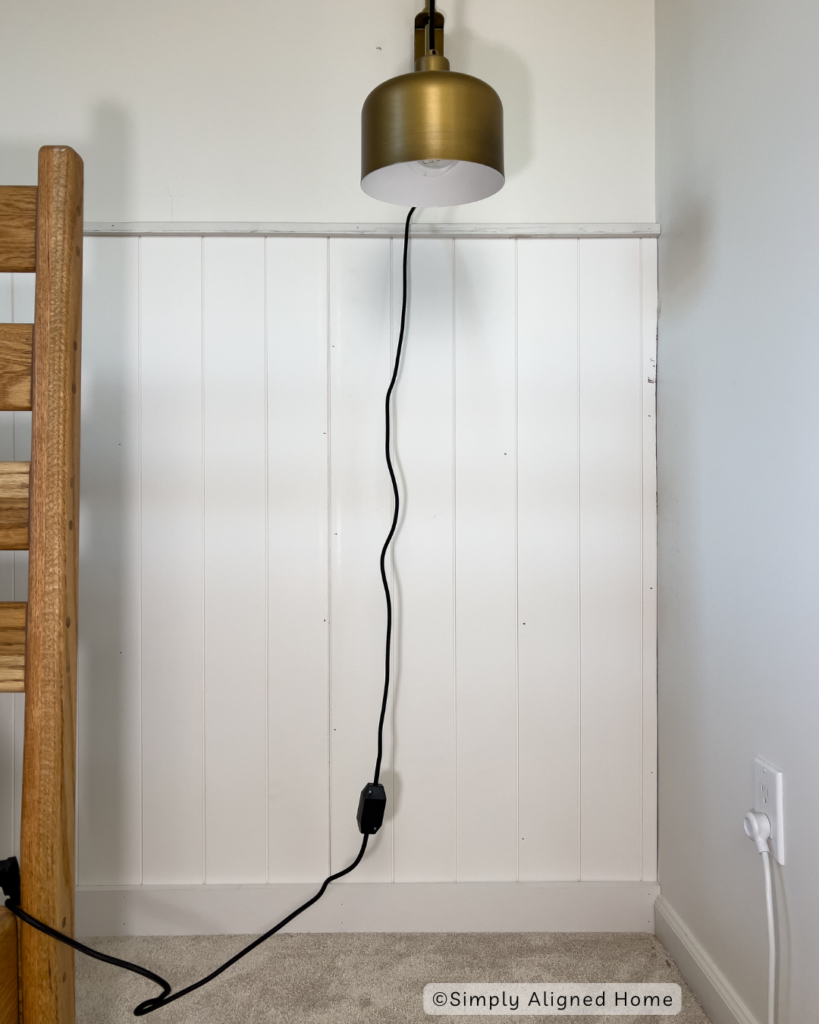
For the baseboard, I decided to not re-install the old ones and go with a new 1×4 board. I will be replacing the rest of the baseboards in this room when I replace the flooring. Using my brad nailer, I secured it to the wall by nailing it to the studs.
Next, I needed to install top trim to hide the unfinished seam of the shiplap. I used scrap wood that I had on hand and ripped them down to two seperate sizes. For the bottom of the top trim I ripped a piece of wood down to 3/4″x3/8″ and for the top piece I did 3/4″x1″.
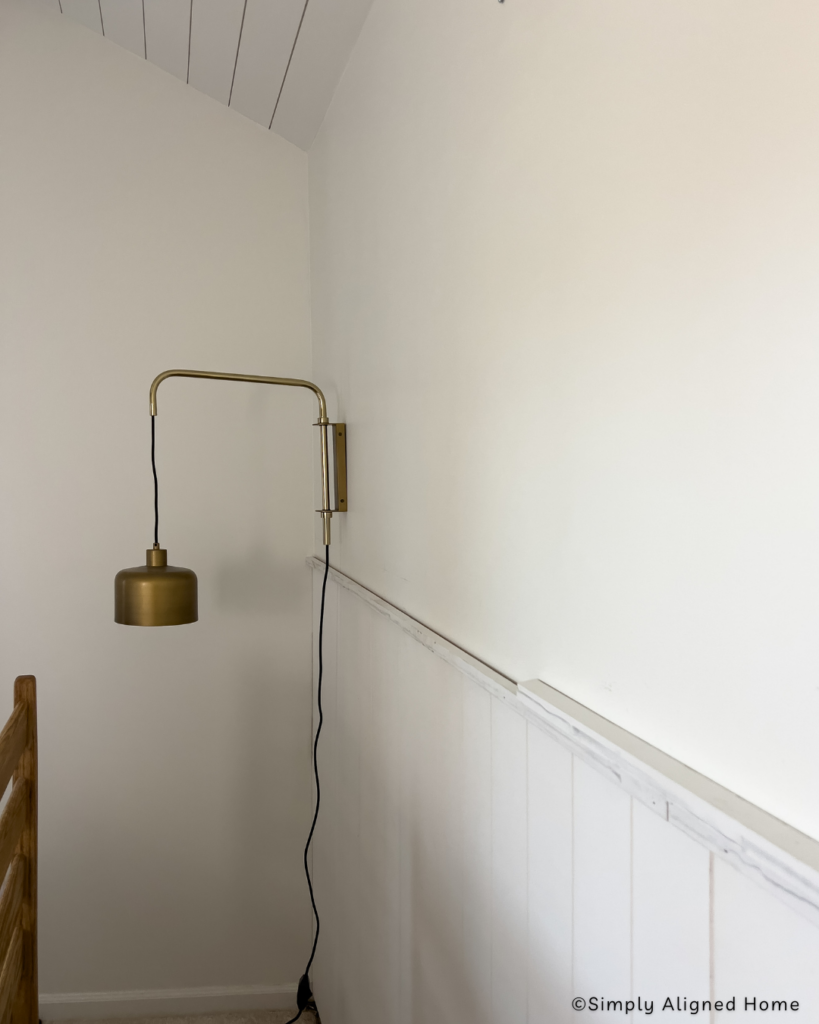
After that I filled all the nail holes with wood filler and caulked all the seams.
Paint
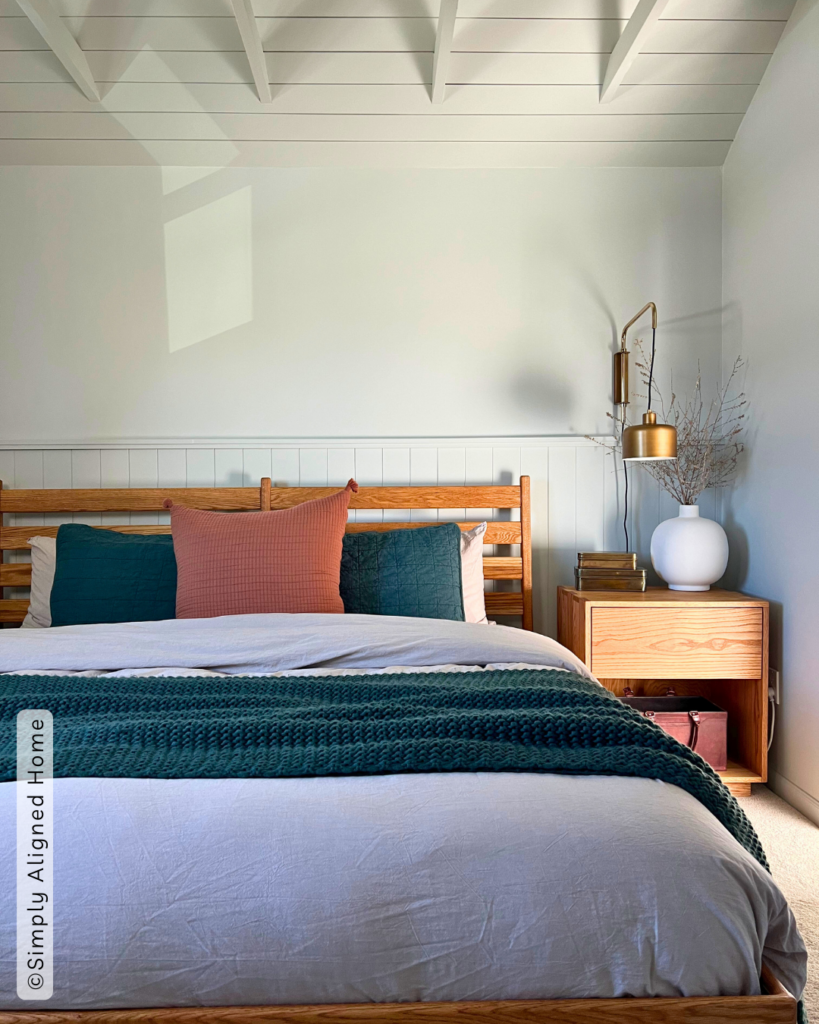
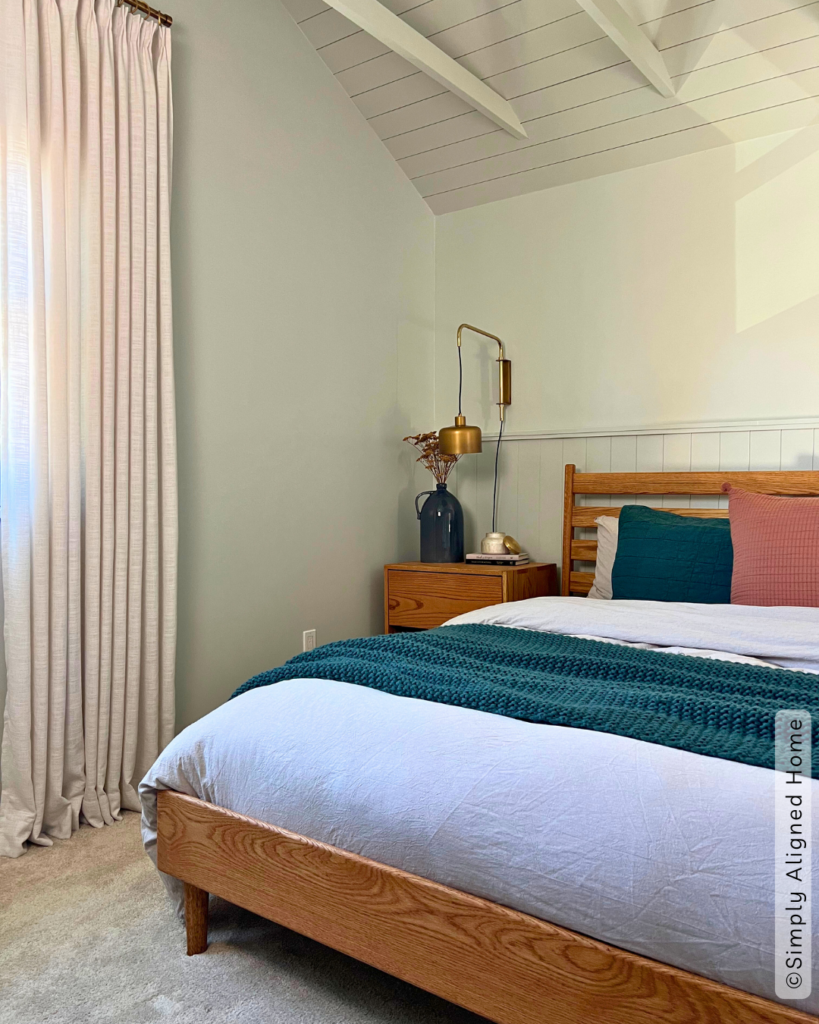
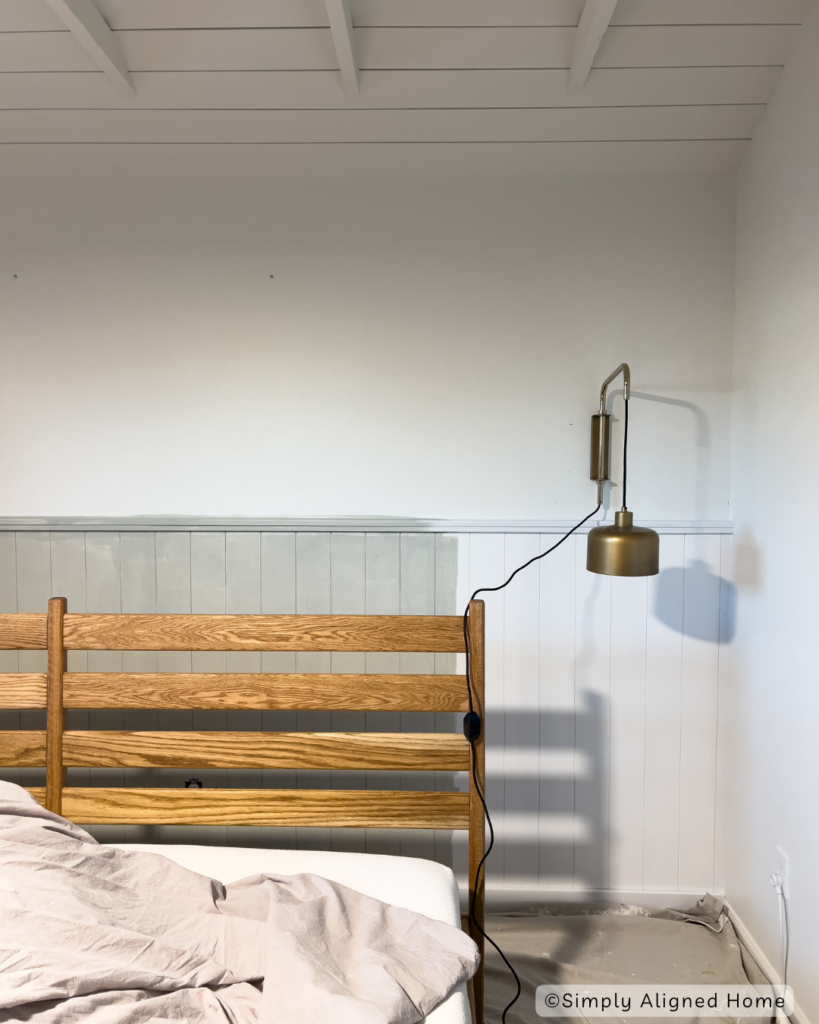
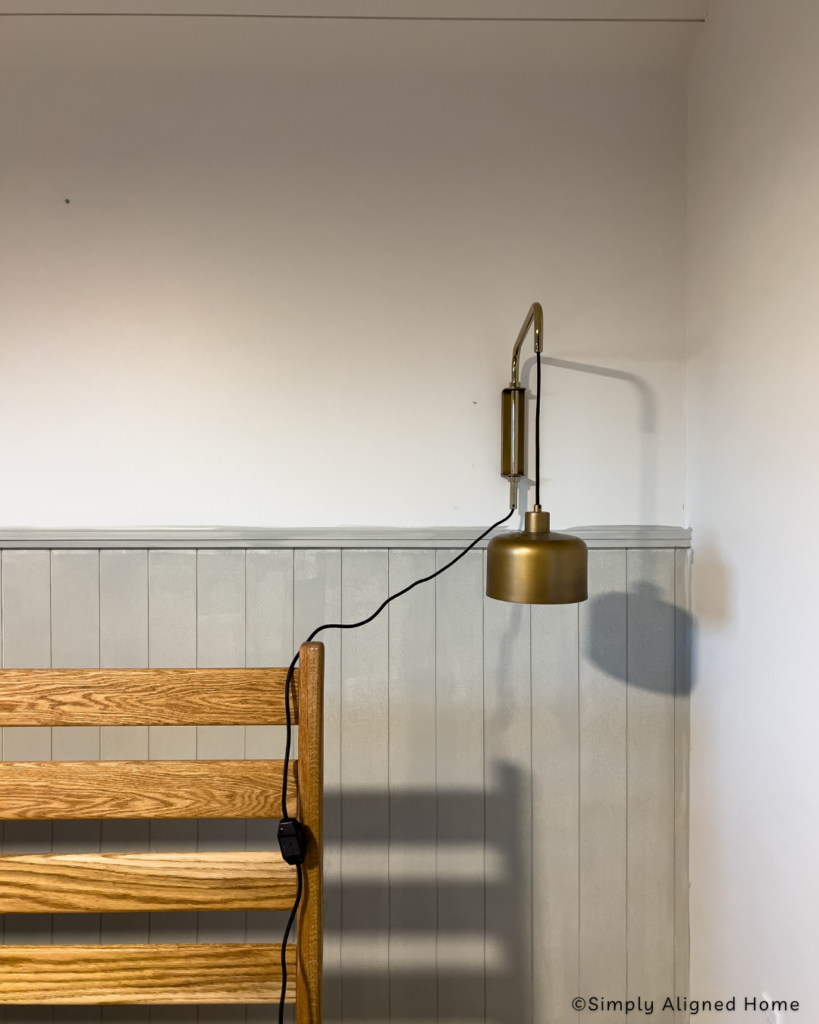
Now it’s time for paint! When I originally went to paint the accent wall I thought I would just paint the shiplap but after seeing it finished I wanted a different look. So, I decided to paint my whole room Pigeon by Farrow & Ball tinted at 50%.
Some tips when painting shiplap, paint the seams first with a brush then come in with a roller right after to get rid of any brush marks. After painting the whole wall behind my bed I decided to start with the ceiling first. For the ceiling I used a ceiling paint in a flat finish. I highly recommend the ladder I’m using for all projects, it’s the Gorilla Ladder!
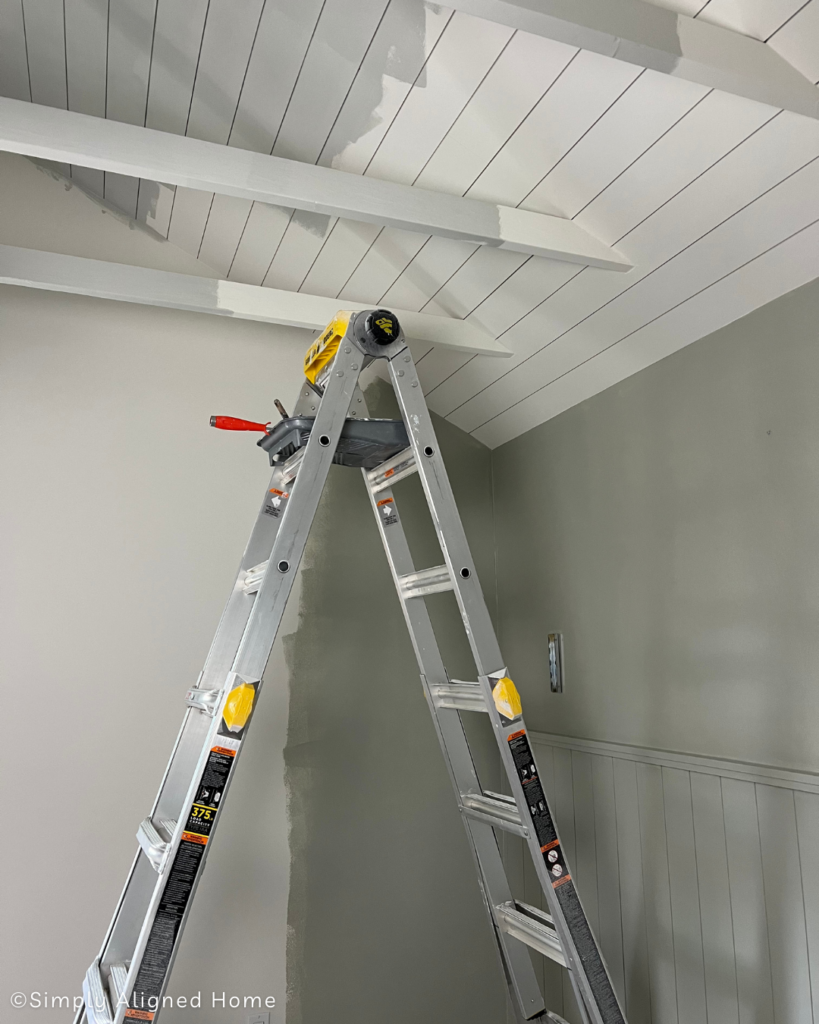

I could have sprayed the ceiling but to be honest sometimes clearing the room and taping everything off isn’t worth it. So, I used the good ole paint brush and roller method, which I actually find therapeutic and enjoy!
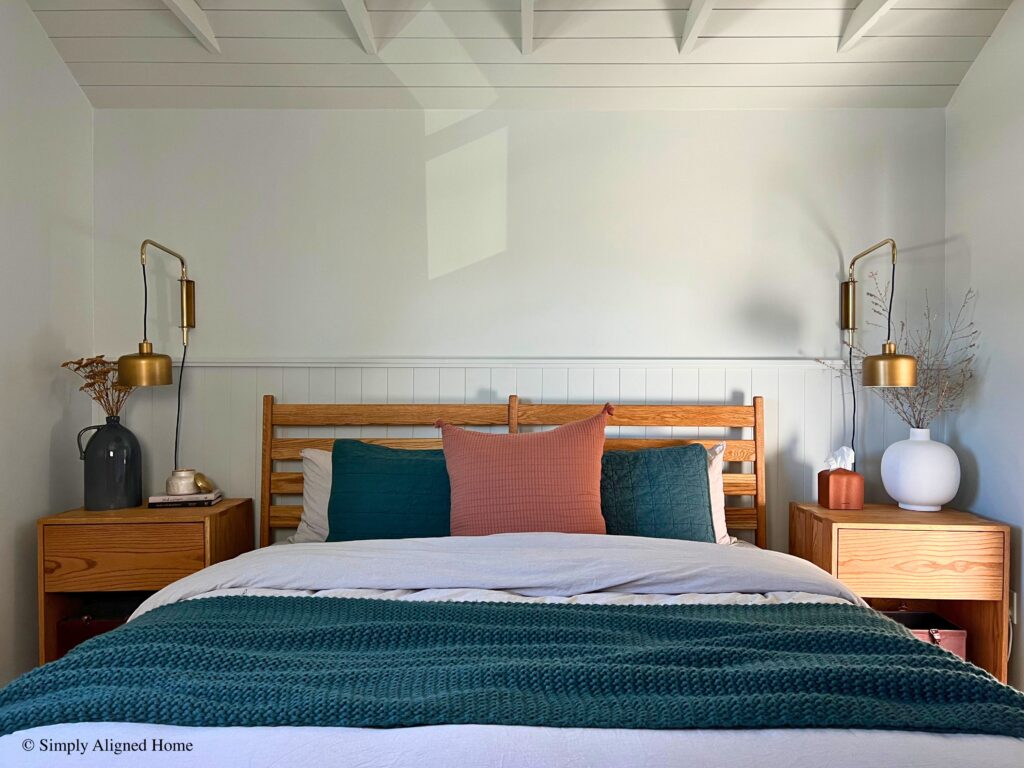
I just love how the vertical shiplap accent wall looks in our room! I’m glad that I decided to paint the whole room instead of just the vertical shiplap. Let me know down in the comments if you have a wall like this in your home or if you plan on building one!

**Note: I am not a professional and do not claim to be an expert. Please be sure to always read instructions for all tools and products. Safety is very important and should be your top priority. Wear necessary protection when using tools (eye wear, hearing protection, gloves, etc.) and dust masks when sanding or cutting. Simply Aligned Home is not responsible for any injury or damage. All of my designs are not professionally designed and are for private use only.**
Materials Used
- Brad Nails
- Shiplap Panels
- 1×4
- Paint
- Caulk
- Wood Filler
Tools Used
- Brad Nailer
- Level
- Stud Finder
- Trim Puller
- Utility Knife
- Hammer
- Oscillating Tool
- Measuring Tape
- Paint brush, Paint Roller, Paint Pail
- Track Saw or Circular Saw
Decor & Finishing Touches
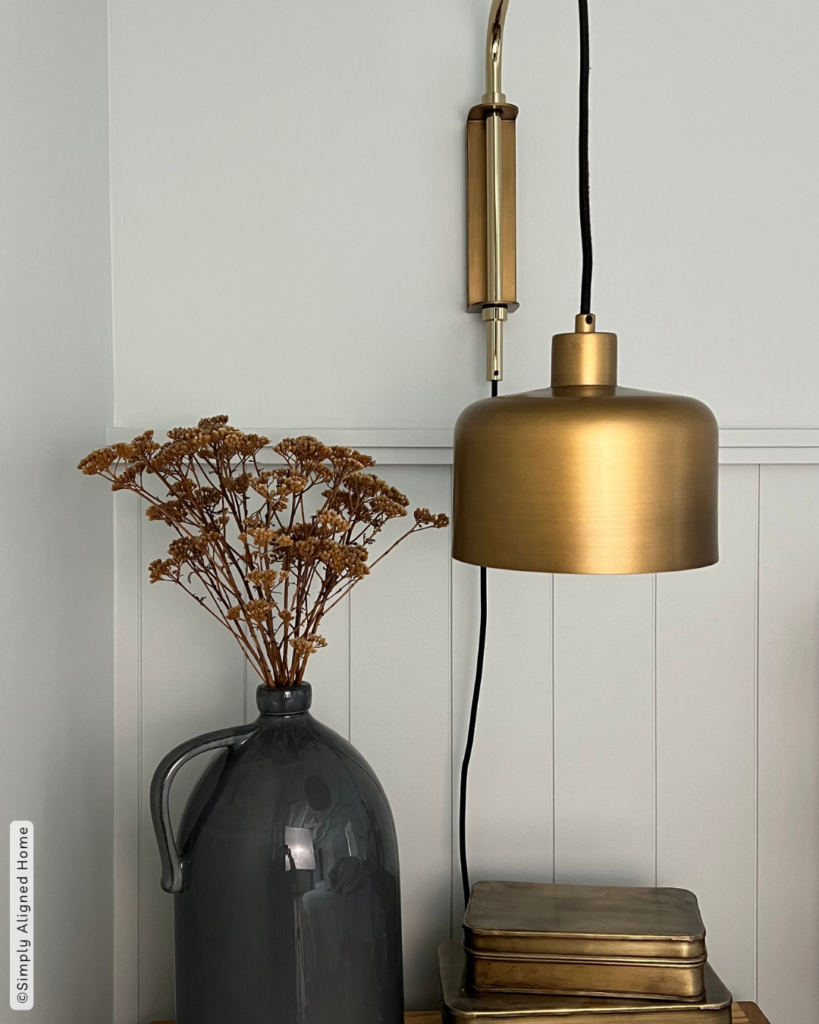
- Wall Sconces
- Duvet Cover
- Throw Pillow
- Top Up Bottom Down Window Shade
- Curtains
- Curtain Rings
- Curtain Rod