
There are so many different types of trim work! You have door trim, window trim, baseboards, crown molding and cabinet trim. In this guide, we will walk you through the fundamental principles of trim work! We will be covering everything from measuring and cutting techniques to the meticulous preparation and installation processes.
**This post contains affiliate links to products that I used or recommend. If you purchase something through an affiliate link, I may receive a small percentage of the sale at no extra cost to you. I really appreciate your support!**
Type of Wood Used for Trim
One of the first decisions that needs to be made with trim work is the type of material to be used. There are so many options that it might be overwhelming.
Hardwood
Hardwood, such as oak, is much more durable than softwood (pine) and MDF. It is a great option when you want a stained wood look.
Softwood
There are two main types of softwood trims that are sold in big box stores, select pine and whitewood (common board).
Pine is a very popular wood trim option in our area. It is very accessible and more affordable than hardwoods. Select pine is finished on all four sides (S4S) and doesn’t have any knots…making it a great option for stained wood trim.
Whitewood or common board is one of the most affordable wood trim options. It does come with quite a few imperfections and knots and does take longer to clean up.
Primed Wood
Primed pine is a slightly more expensive option than unprimed pine. It comes with very few imperfections and requires little to no prep work for painted trim projects. Primed pine can be installed in rooms that might see humidity, such as bathrooms.
MDF
MDF (medium-density fiberboard) is a product that is made of sawdust and shavings. The sawdust is mixed with resin and wax and pressed into a board. MDF is easy to work with and more affordable than wood.
There are a few downsides to using MDF. It is softer than wood and can easily be damaged. Additionally, it is not suitable for installation in wet areas. And it is very important to know that cutting MDF creates a good amount of unhealthy dust. You should always wear a mask or respirator when cutting MDF and wood!
How to Measure Trim Work
Measuring trim work accurately is crucial for achieving a professional and polished finish. There are a couple measuring challenges you might cross when installing trim work.
Overhangs
A trim overhang typically refers to the portion of trim that extends beyond the main surface or edge of a structure. This can be seen in various architectural and carpentry elements, and it serves both functional and aesthetic purposes.
Trim overhangs are commonly found in different parts of a building. Here are a few examples:
- Window and Door Trim Overhang: Trim around windows and doors often extends beyond the window or door frame. This overhang can enhance the appearance of the window or door. It also protects the edges from the elements, and helps limiting water drainage when installed on the exterior of a home.
- Decorative Trim Elements: Trim overhangs can also be part of decorative elements, such as cornices, brackets, or corbels, which extend beyond the main structure to add ornamentation and style.
Inside And Outside Corners
Measuring inside and outside corners for wood trim requires careful consideration to ensure that the trim pieces fit together seamlessly. Here’s how to measure inside and outside corners on wood trim:
Begin by clearly identifying the intersection point where two pieces of trim will meet. Employ a tape measure for precise measurements of each trim piece that will intersect, especially if the pieces are at an angle. Determine the angles needed for miter cuts, keeping in mind that while most corners are mitered at 45 degrees, other angles may be necessary based on the design.
Utilize a miter saw to cut the trim pieces at the designated angles, emphasizing the need for precision to ensure a snug fit. Before permanent attachment, conduct a dry fit by placing the trimmed pieces in position, allowing you to see if they fit snug together.
You can see in my modern picture frame moulding article that there was a ton of mitered corners to be cut!
How to Cut Trim Work
Cutting trim work accurately is essential to achieving a professional and polished finish. These are your four main tools you will need to have for completing trim work.
Tools Needed:
- Miter Saw: Ideal for making precise angled cuts commonly used in trim work.
- Tape Measure: Essential for measuring the lengths of trim pieces accurately.
- Pencil: Used for marking measurements on the trim.
- Safety Gear: Safety glasses and ear protection, especially when using power tools.
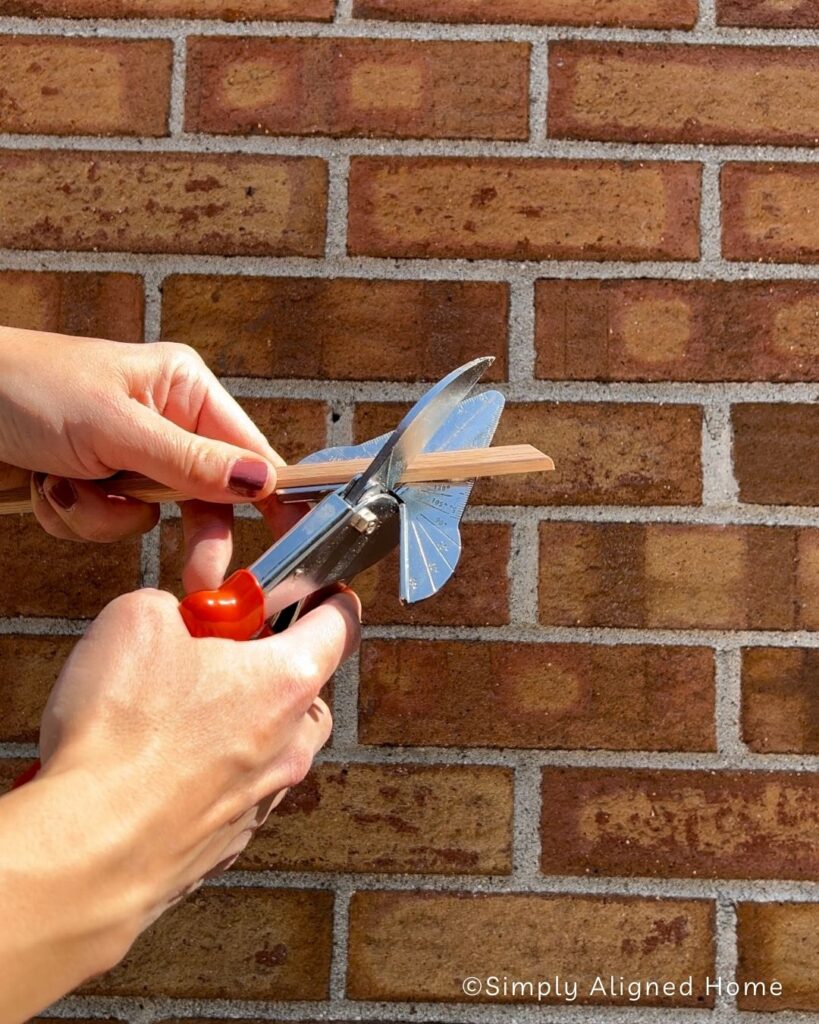
- Miter Shears: Optional: You can use this tool for delicate pieces of trim to cut precise angles.

Steps To Cut Trim Work:
- Measure Twice: Double-check all measurements before making any cuts. The saying “measure twice, cut once” is crucial in carpentry to avoid mistakes.
- Mark Cut Lines: Use a pencil to mark the cut lines on the trim. For straight cuts, use a square to ensure a perpendicular line.
- Adjust Miter Saw: Set the miter saw to the correct angle if you’re making angled cuts. Most corners are mitered at a 45-degree angle, but other angles may be needed depending on the design.
- Make Straight Cuts: For straight cuts, place the trim against the saw fence and align the pencil mark with the saw blade. Hold the trim securely and make the cut.
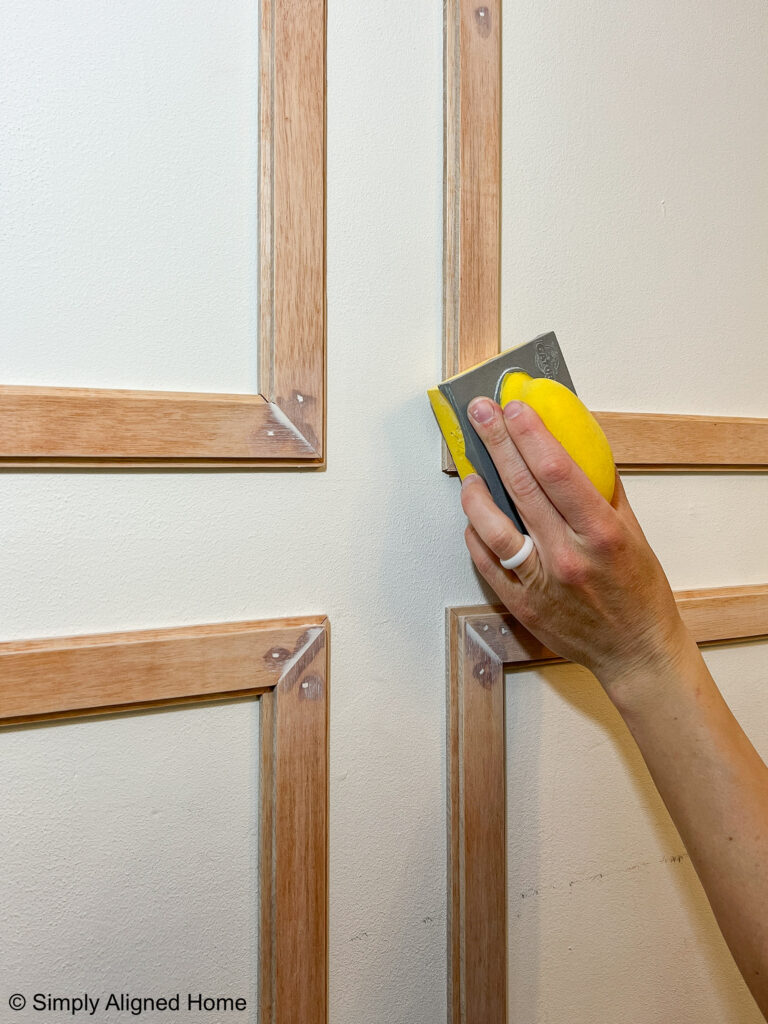
How to Prep Trim Work Before Install
Prior to installing your trim work, a critical first step is the inspection and sanding process. Each individual piece of trim should undergo a examination for any defects, rough spots, or imperfections. This allows for a decision on whether issues can be effectively remedied through sanding or if the trim needs a replacement.
You will want to achieve a smooth and even texture, serving as the foundation for a flawless finish when the trim is eventually painted or stained.
How to Install Trim Work
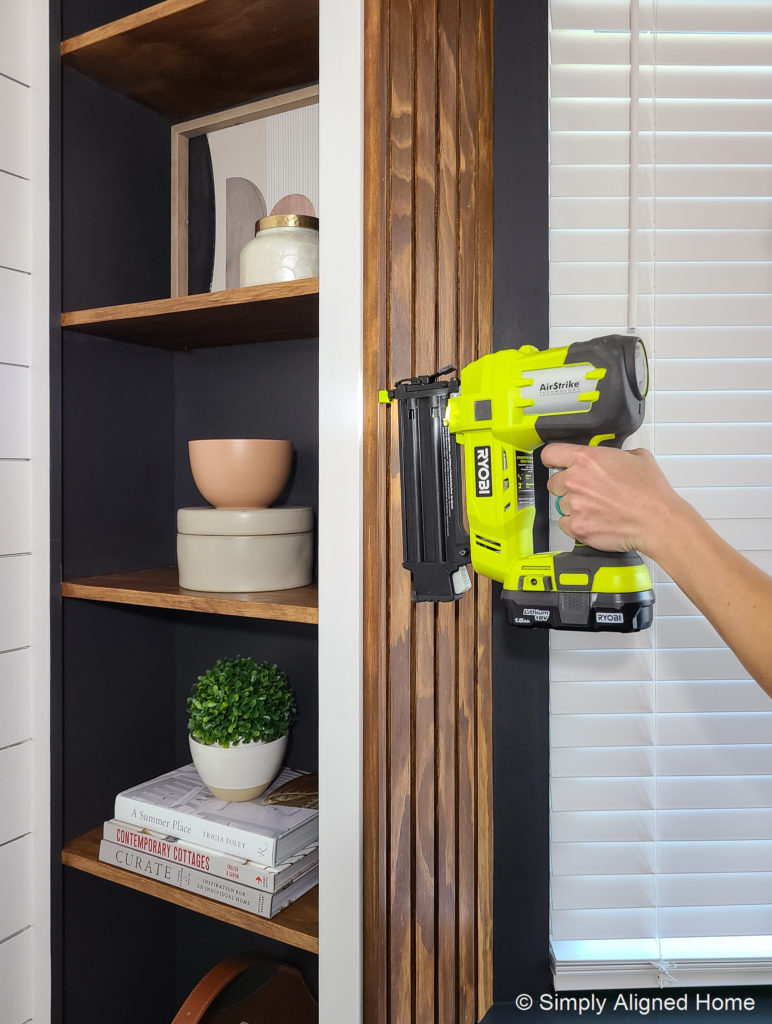
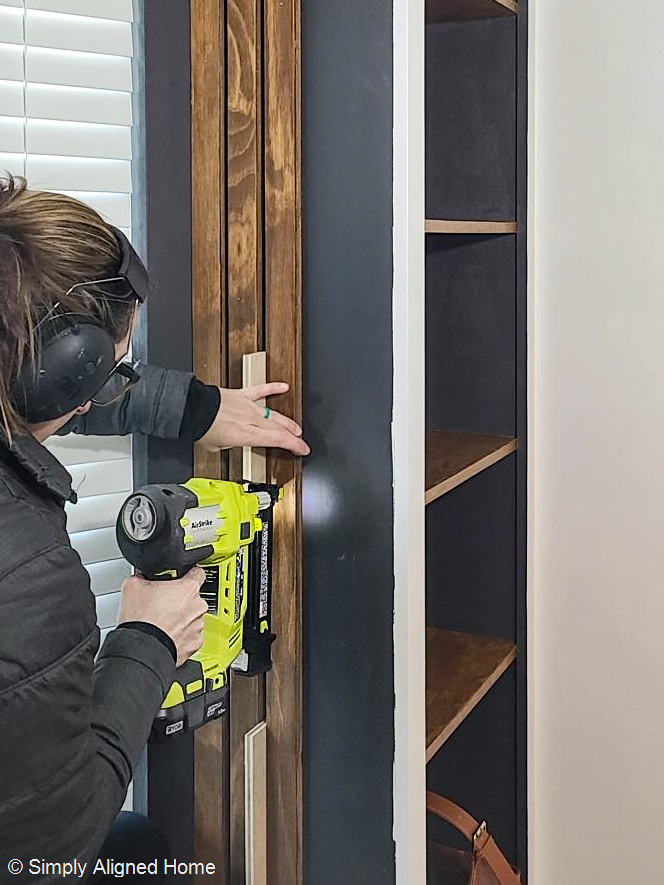
Most trim work can be installed with just nails. If you secure the trim to the studs, it will be nice and secure! If you aren’t able to nail it to the studs, you can alternate the angle (angled to the left then angled to the right) of the nails to secure your trim.
Here are 3 types of nail guns used for installing trim work:
- Pin Nailer: A specialized power tool designed for precision nailing using 23-gauge nails.
- Brad Nailer: Commonly used for attaching thin moldings, trim, and decorative elements using a 18 or 16-gauge nail.
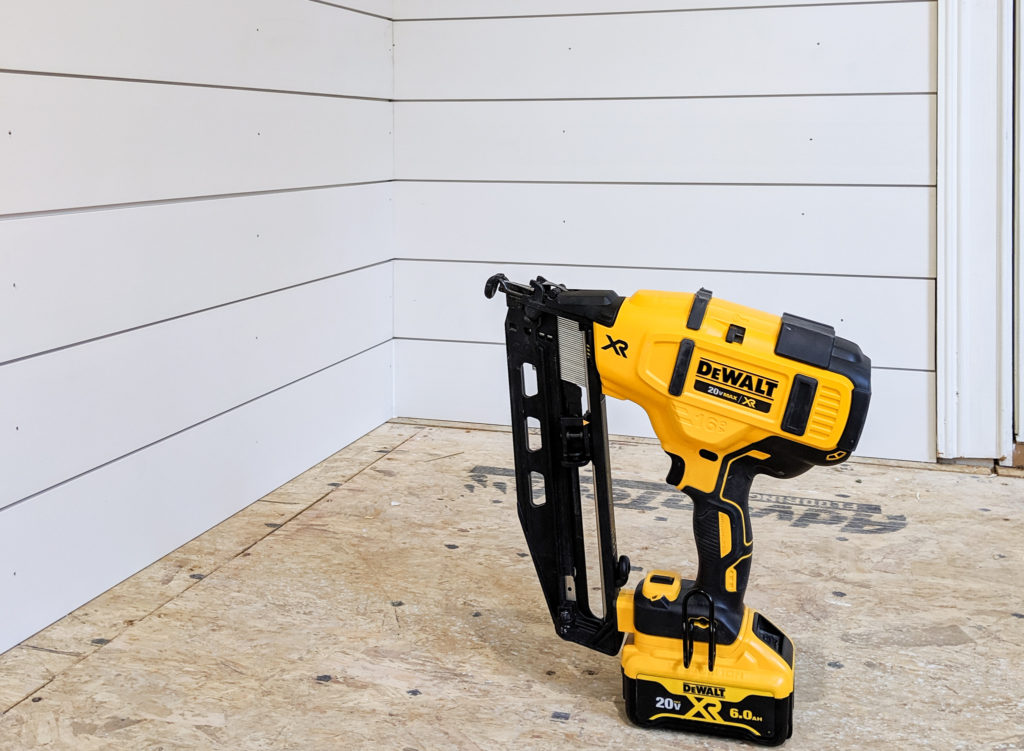
- Finish Nailer: It is designed to drive finish nails at a 15 or 16 gauge size, which are larger than brad nails but smaller than common nails, offering a balance of holding power without creating large, noticeable holes.
Brad Nailer vs Finish Nailer vs Pin Nailer
There are so many different types of nailers. I personally own both a brad nailer and finish nailer.
A finish nailer is a type of nailer used in woodworking for attaching finish or trim elements to a surface. It is designed to drive finish nails, which are larger and have a larger head compared to other types of nails. You would typically use a finish nailer for thicker wood.
A brad nailer is a type of power tool designed for fastening lightweight trim and molding in woodworking and carpentry. It uses brad nails, which are thin, small-gauge nails with a small, rounded head. Brad nails leave smaller holes in the material compared to standard finish nails, making them ideal for applications where a more discreet and less visible finish is desired.
A pin nailer is ideal for delicate work where maintaining the appearance of the material is crucial. They are commonly used for attaching delicate trim, small moldings, or in situations where the smallest hole possible is desired. Pin nailers are especially popular for projects where the holes need minimal filling or touch-up.
How to Get a Nice Finish
Achieving a flawless finish on trim involves a combination of meticulous preparation and careful finishing touches.
Wood Filler vs Caulk
Wood filler and caulk serve different purposes in woodworking and trim installation, and the choice between them depends on the specific needs of the project. Here’s a general guideline:
- Wood Filler
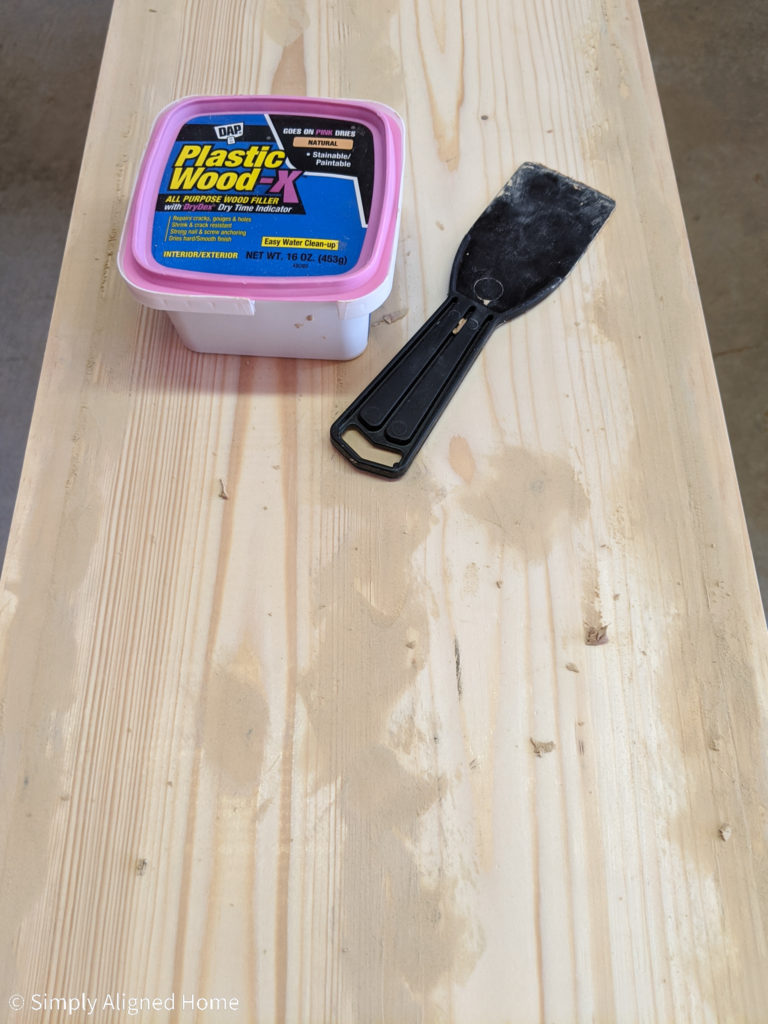
- Purpose: Wood filler is primarily used to fill gaps, holes, and imperfections in wood surfaces. It is a putty-like material that dries hard and can be sanded, painted, or stained.
- Application: Use wood filler for repairing small cracks, nail holes, gouges, or other imperfections in the surface of wood trim. It’s ideal for situations where a solid, smooth finish is required.
- Material Compatibility: Wood filler is suitable for use on wood surfaces and is not flexible. It should not be used in areas where movement or expansion and contraction are expected.
- Caulk
- Purpose: Caulk is used to seal gaps and joints between different materials or surfaces. It remains flexible after drying and is often paintable.
- Application: Use caulk for sealing joints between trim and walls, ceilings, or other surfaces. It’s effective for areas where there may be slight movement such as in corners and along edges.
- Material Compatibility: Caulk is suitable for use on a variety of materials, including wood, drywall, and other surfaces. It’s particularly useful for filling gaps that may expand and contract over time.
Some tips for using wood filler and caulk are:
- When filling small gaps between trim and walls, caulk is generally the preferred choice because of its flexibility. Caulk is not used with stain projects as it is not stainable.
- Wood filler is more suitable for repairing and smoothing out imperfections in the trim itself, especially in areas where a solid, non-flexible surface is desired.
Sand
Sanding your trim work is a significant stage in preparing your product for its final steps. It ensures the elimination of any defects and guarantees a smooth surface, ready for the application of primer and paint. This crucial step enhances the overall quality and appearance of the finished product.

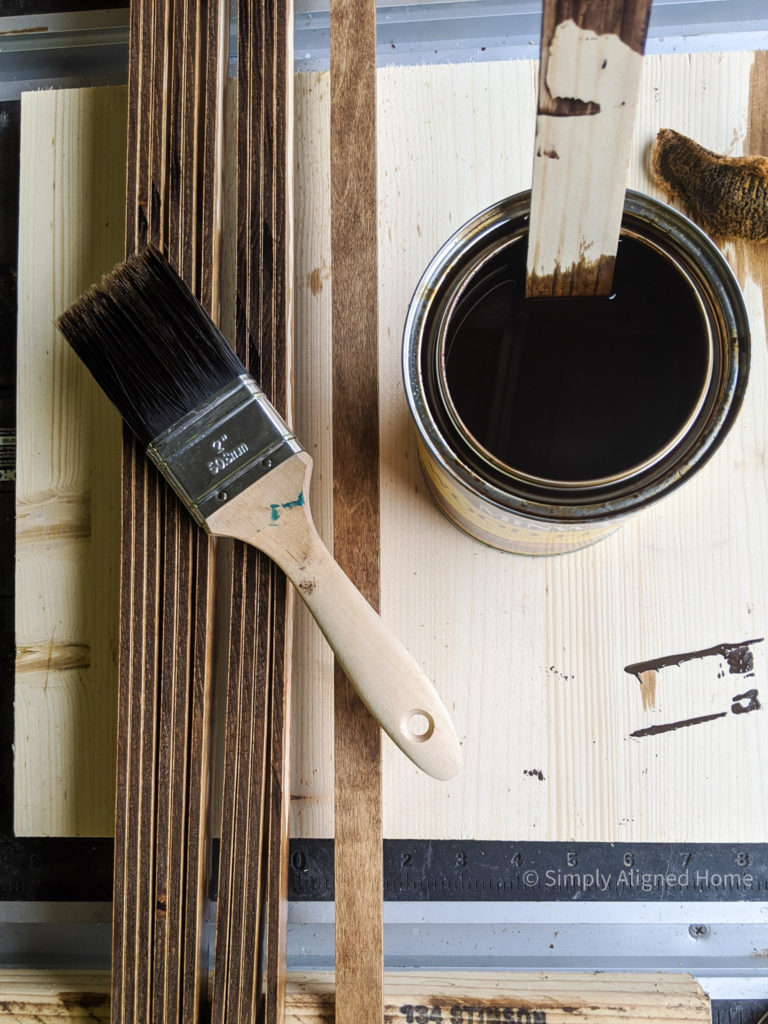
Stain
When deciding how to finish your trim, you have the option of either staining or painting it. If you opt for staining, it is crucial to apply a pre-stain conditioner beforehand to ensure an even application on soft woods. This step is essential to avoid the risk of ending up with blotchy stained wood trim, providing a smoother and more consistent finish. Conditioner is not needed for hardwoods.
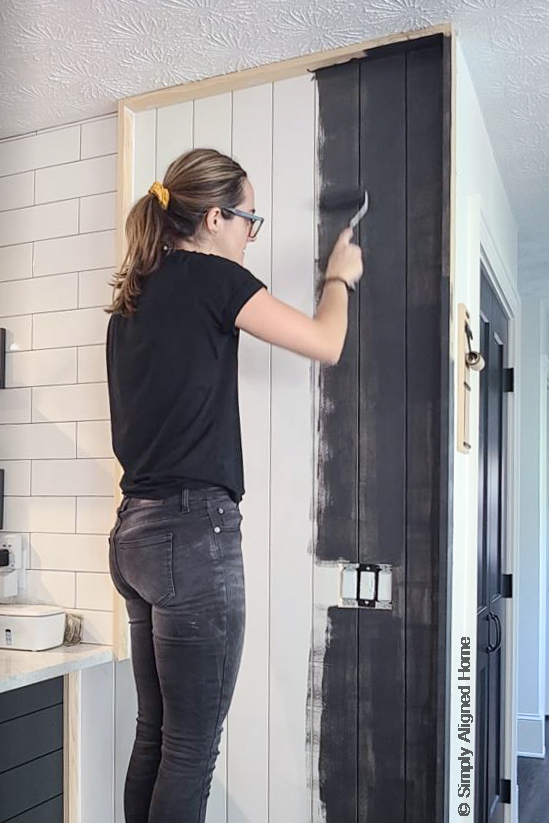
Paint
If you chose to paint your trim work you will want to use a primer first. Primer enhances paint adhesion and ensures a more even finish. Use a primer suitable for the type of trim material you are using. After you have your coat of primer on you will want to lightly sand all your trim and wipe it clean with a rag.
Selecting the right paint is crucial for achieving a durable and visually pleasing finish. When painting trim work, it’s often recommended to use a high-quality enamel paint. Sherwin Williams, Benjamin Moore even Behr all have great enamel paints for trim work.
Remember that the right paint can significantly impact the longevity and visual appeal of your trim work, so invest in a quality product that suits both your aesthetic preferences and practical needs.
From measuring and cutting to the final strokes of paint or stain, each step has been carefully outlined to empower both beginners and seasoned DIY enthusiasts. I hope this helped you embrace the artistry of trim work, and guided you along your DIY journey!

**Note: I am not a professional and do not claim to be an expert. Please be sure to always read instructions for all tools and products. Safety is very important and should be your top priority. Wear necessary protection when using tools (eye wear, hearing protection, gloves, etc.) and dust masks when sanding or cutting. Simply Aligned Home is not responsible for any injury or damage. All of my designs are not professionally designed and are for private use only.**
Tools Used
- Pin Nailer
- Brad Nailer
- Finish Nailer
- Measuring Tape
- Palm Sander
- Miter Shears
- Miter Saw
Absolutely brilliant Nicole. Such a great reference guide for so many novice diy-ers!